Public Business Plan
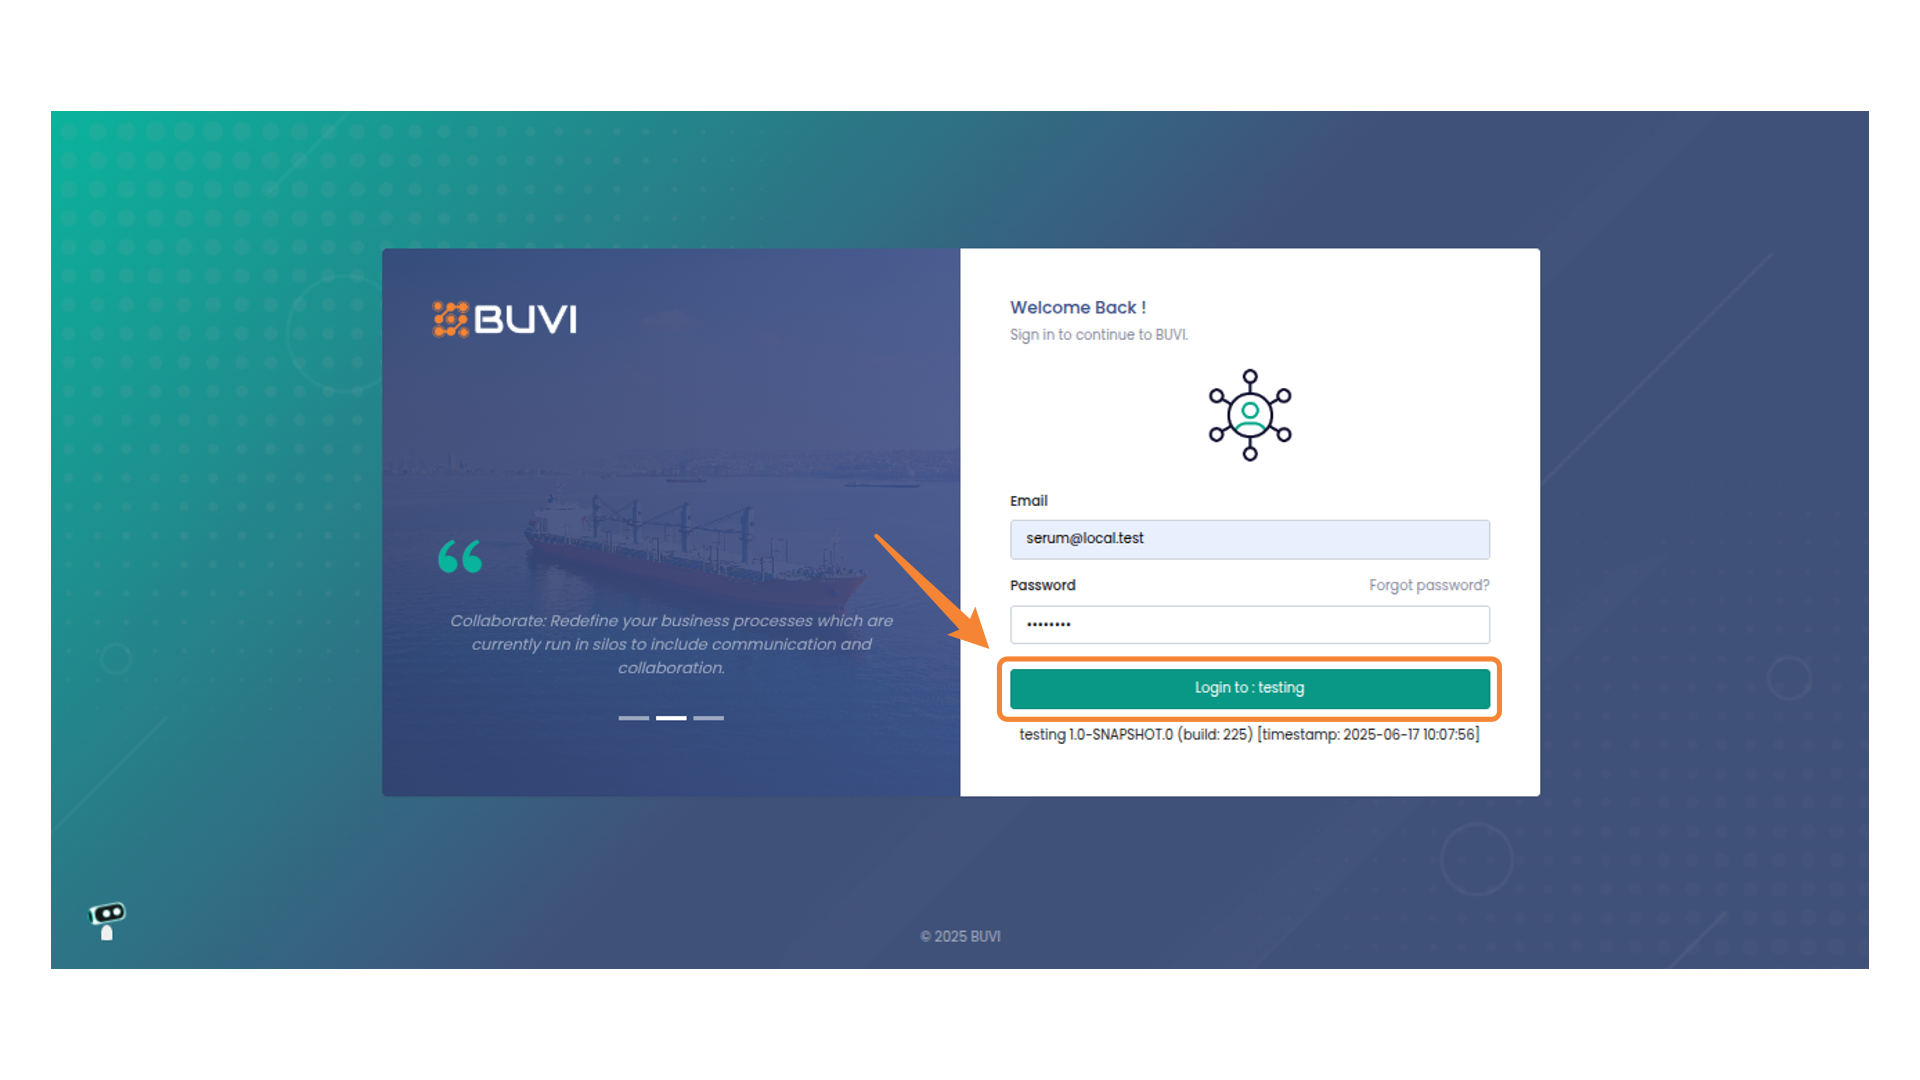
1. Click to Log In
Login to the application
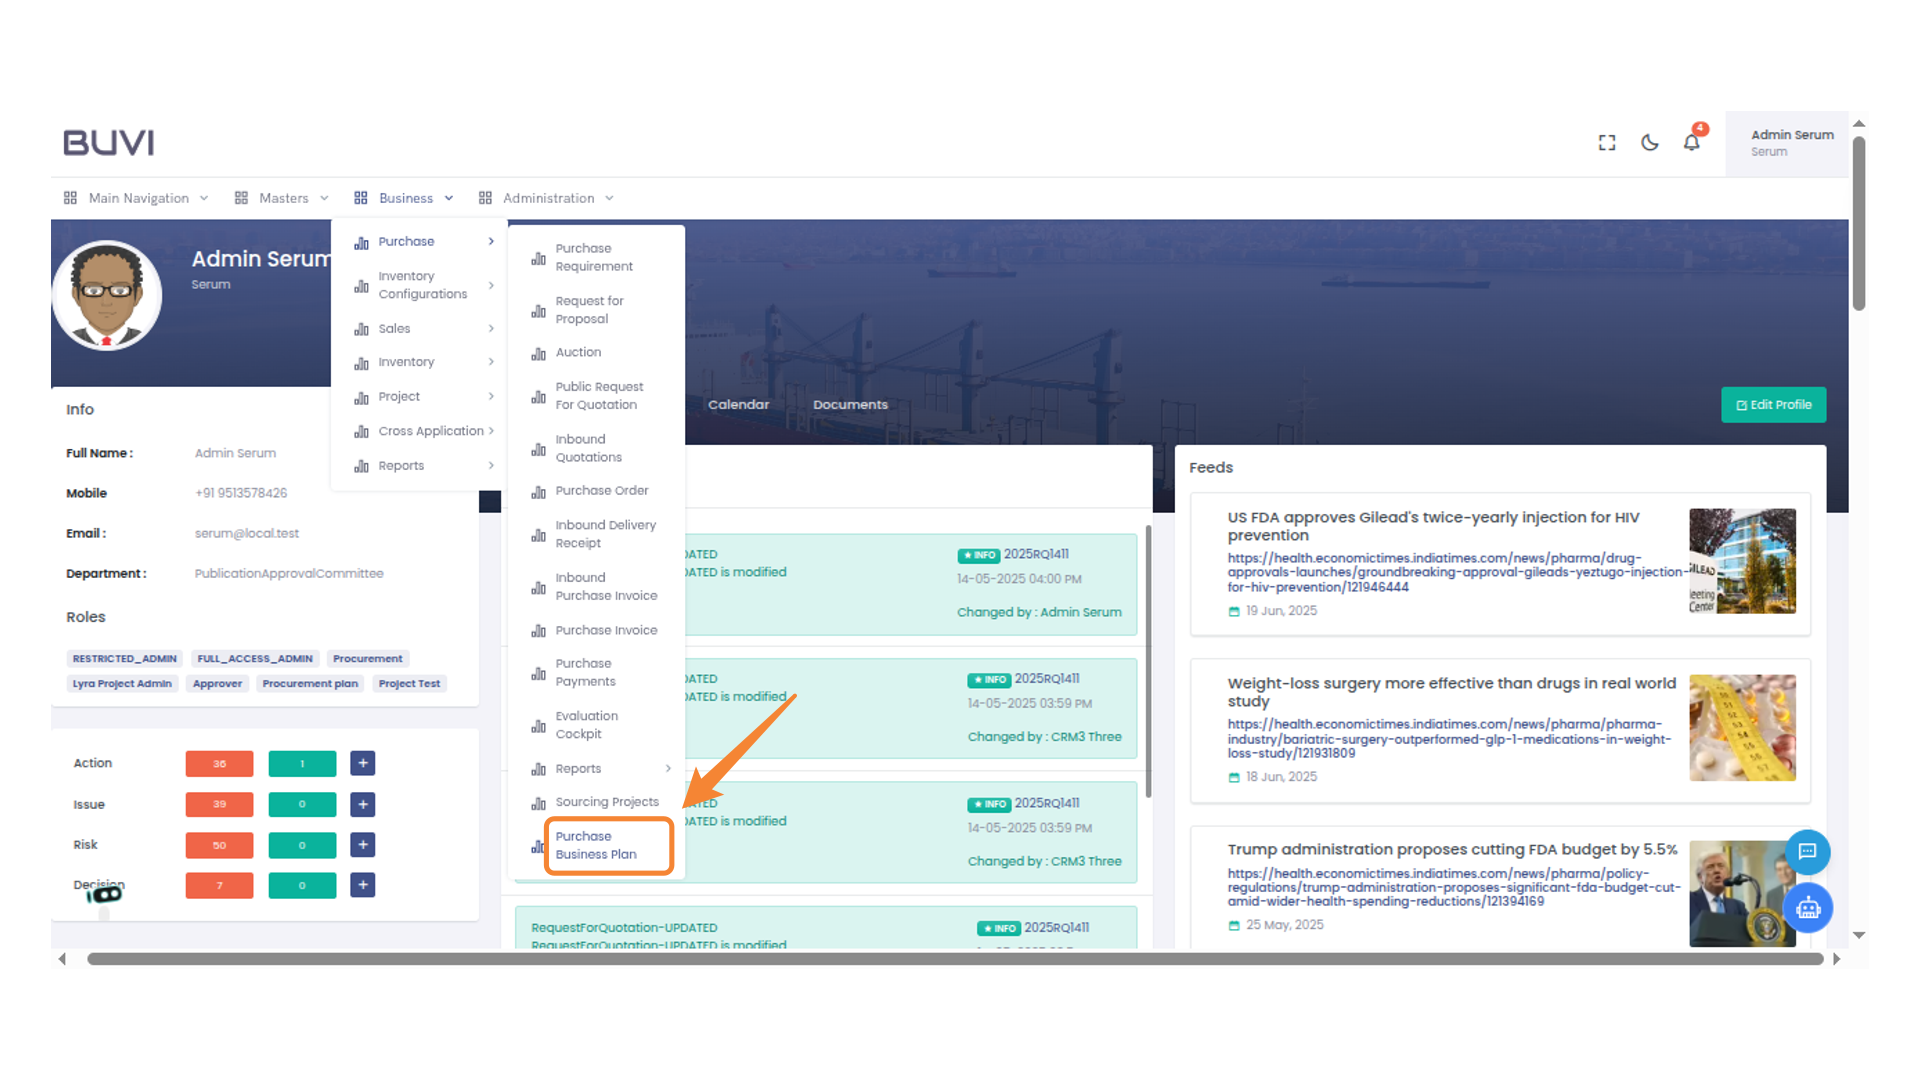
2. Access Business Menu
Click on Business Plan

3. Access Purchase Business Plan
Access purchase business plan
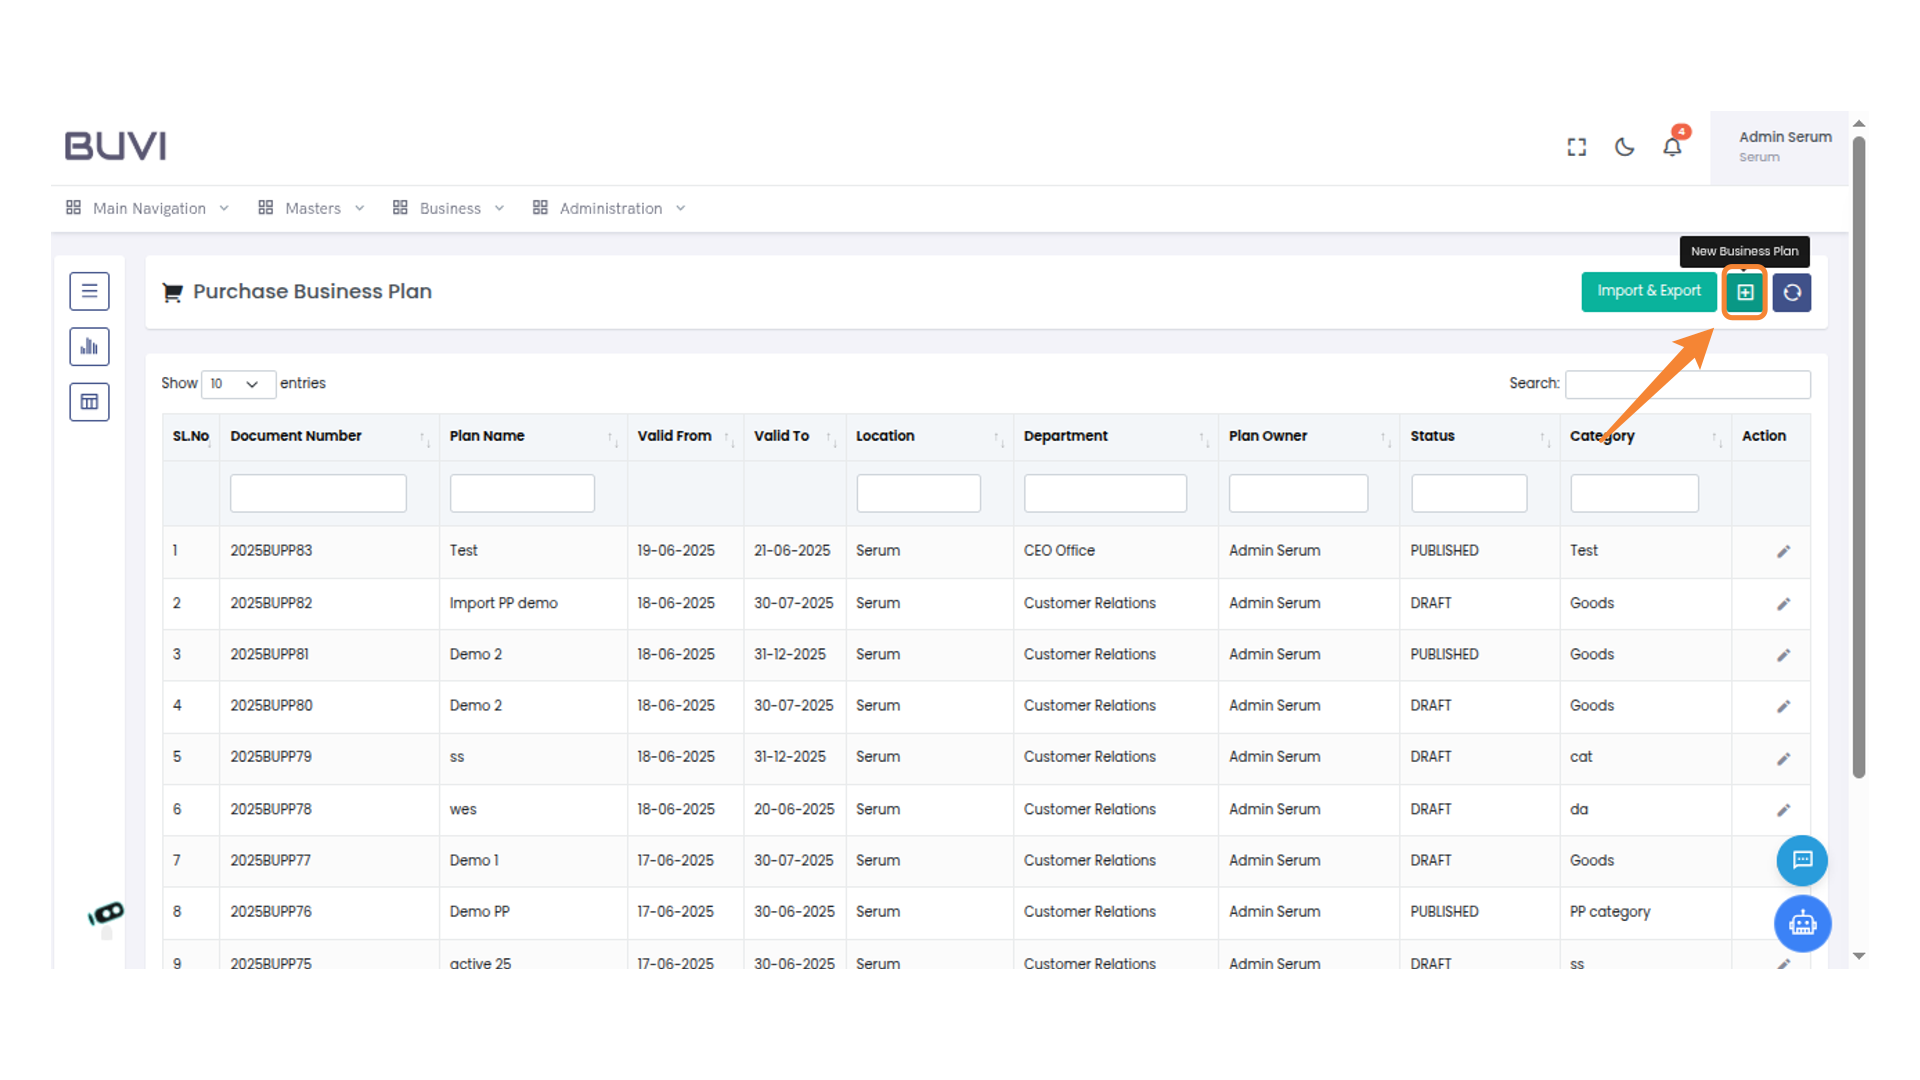
4. Create New Business Plan
Click the icon to create a new business plan.
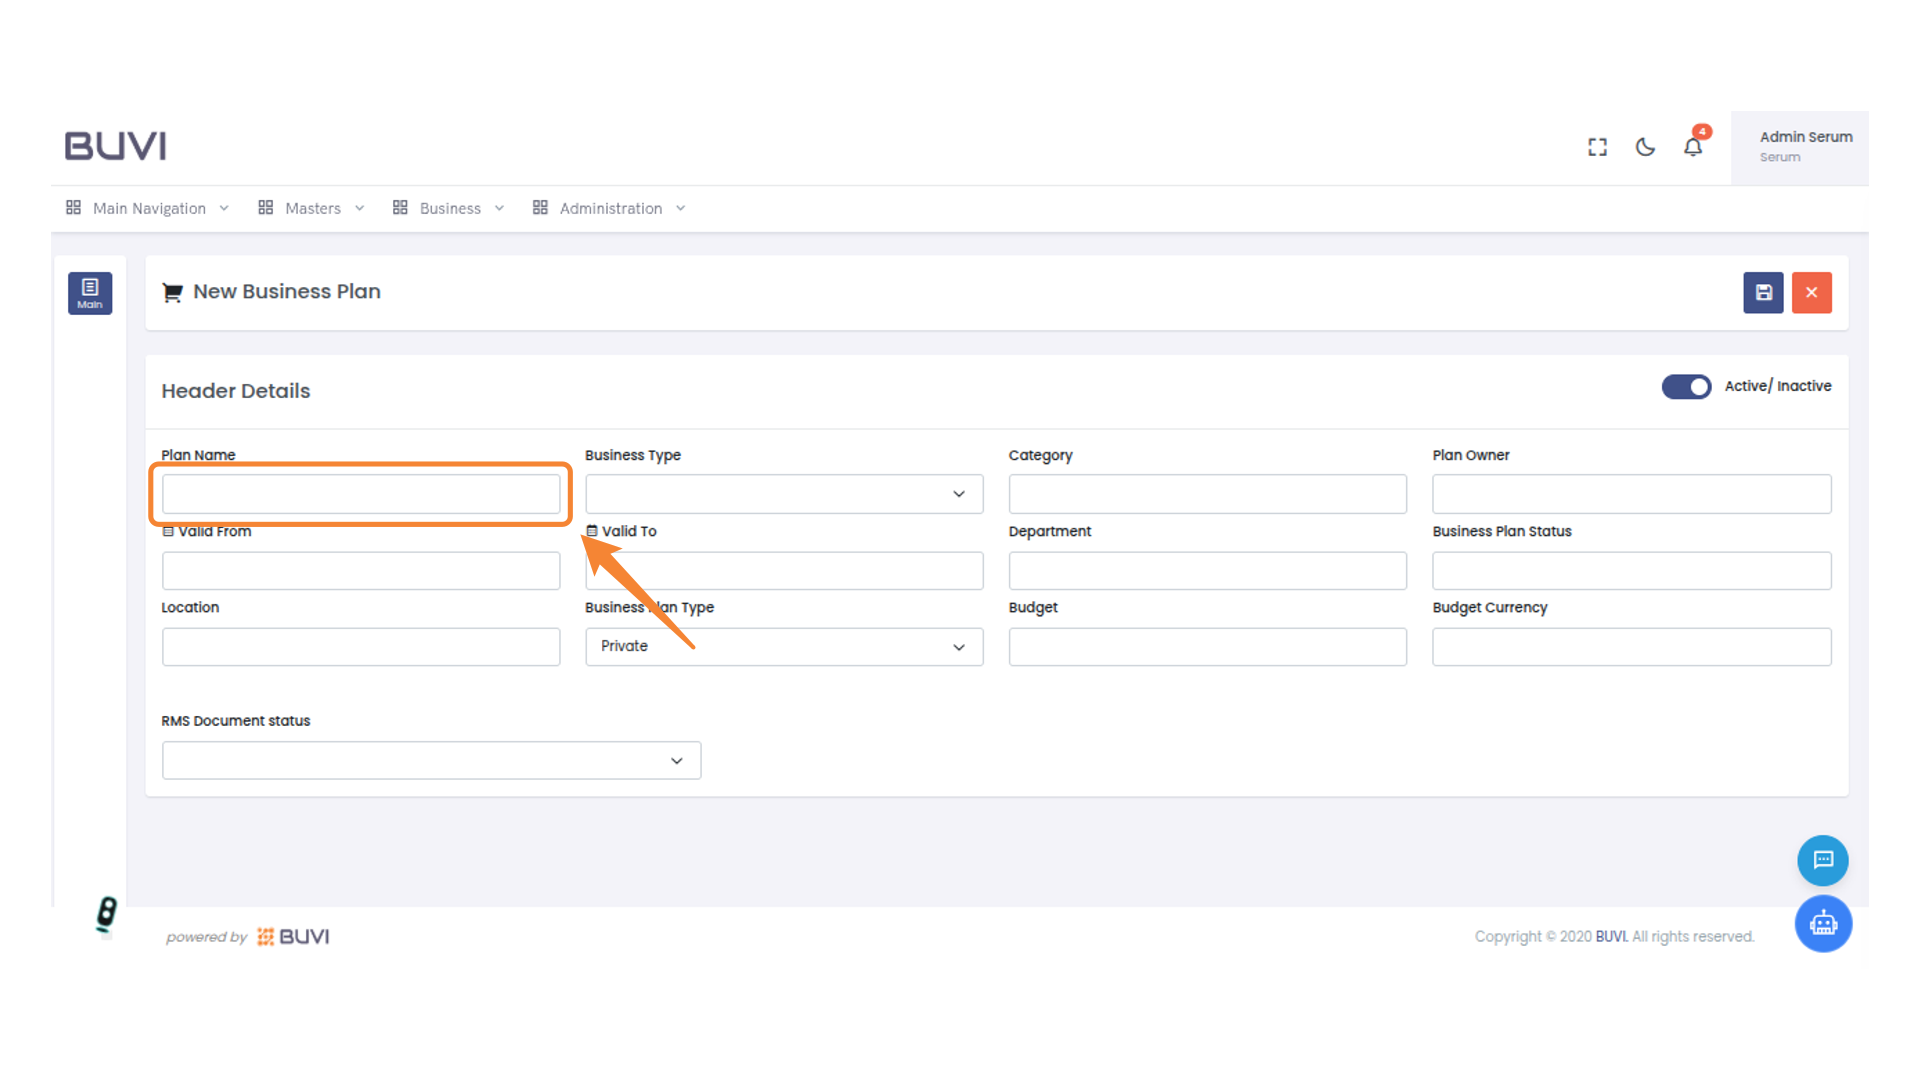
5. Enter Plan Name
Enter the plan name in the designated field.
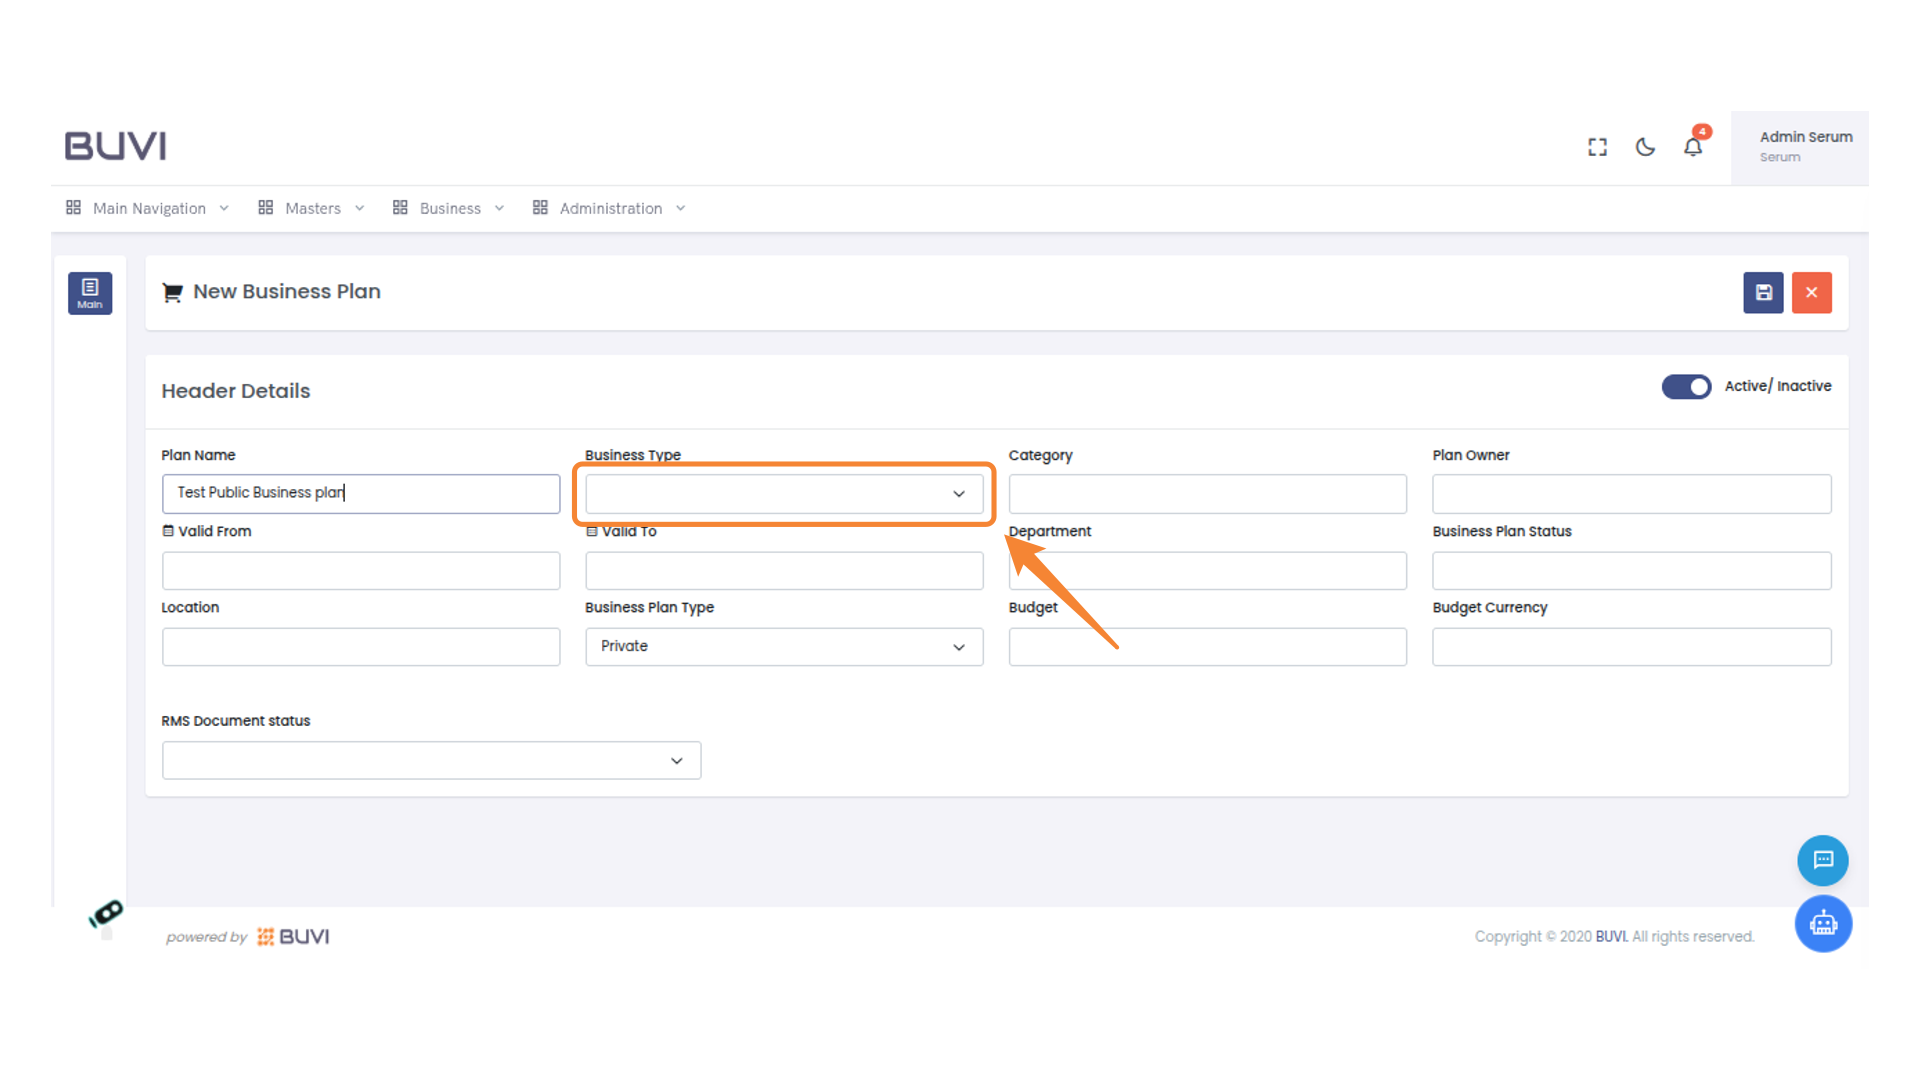
6. Select Business Type
Choose an option from the dropdown to specify the type of business.
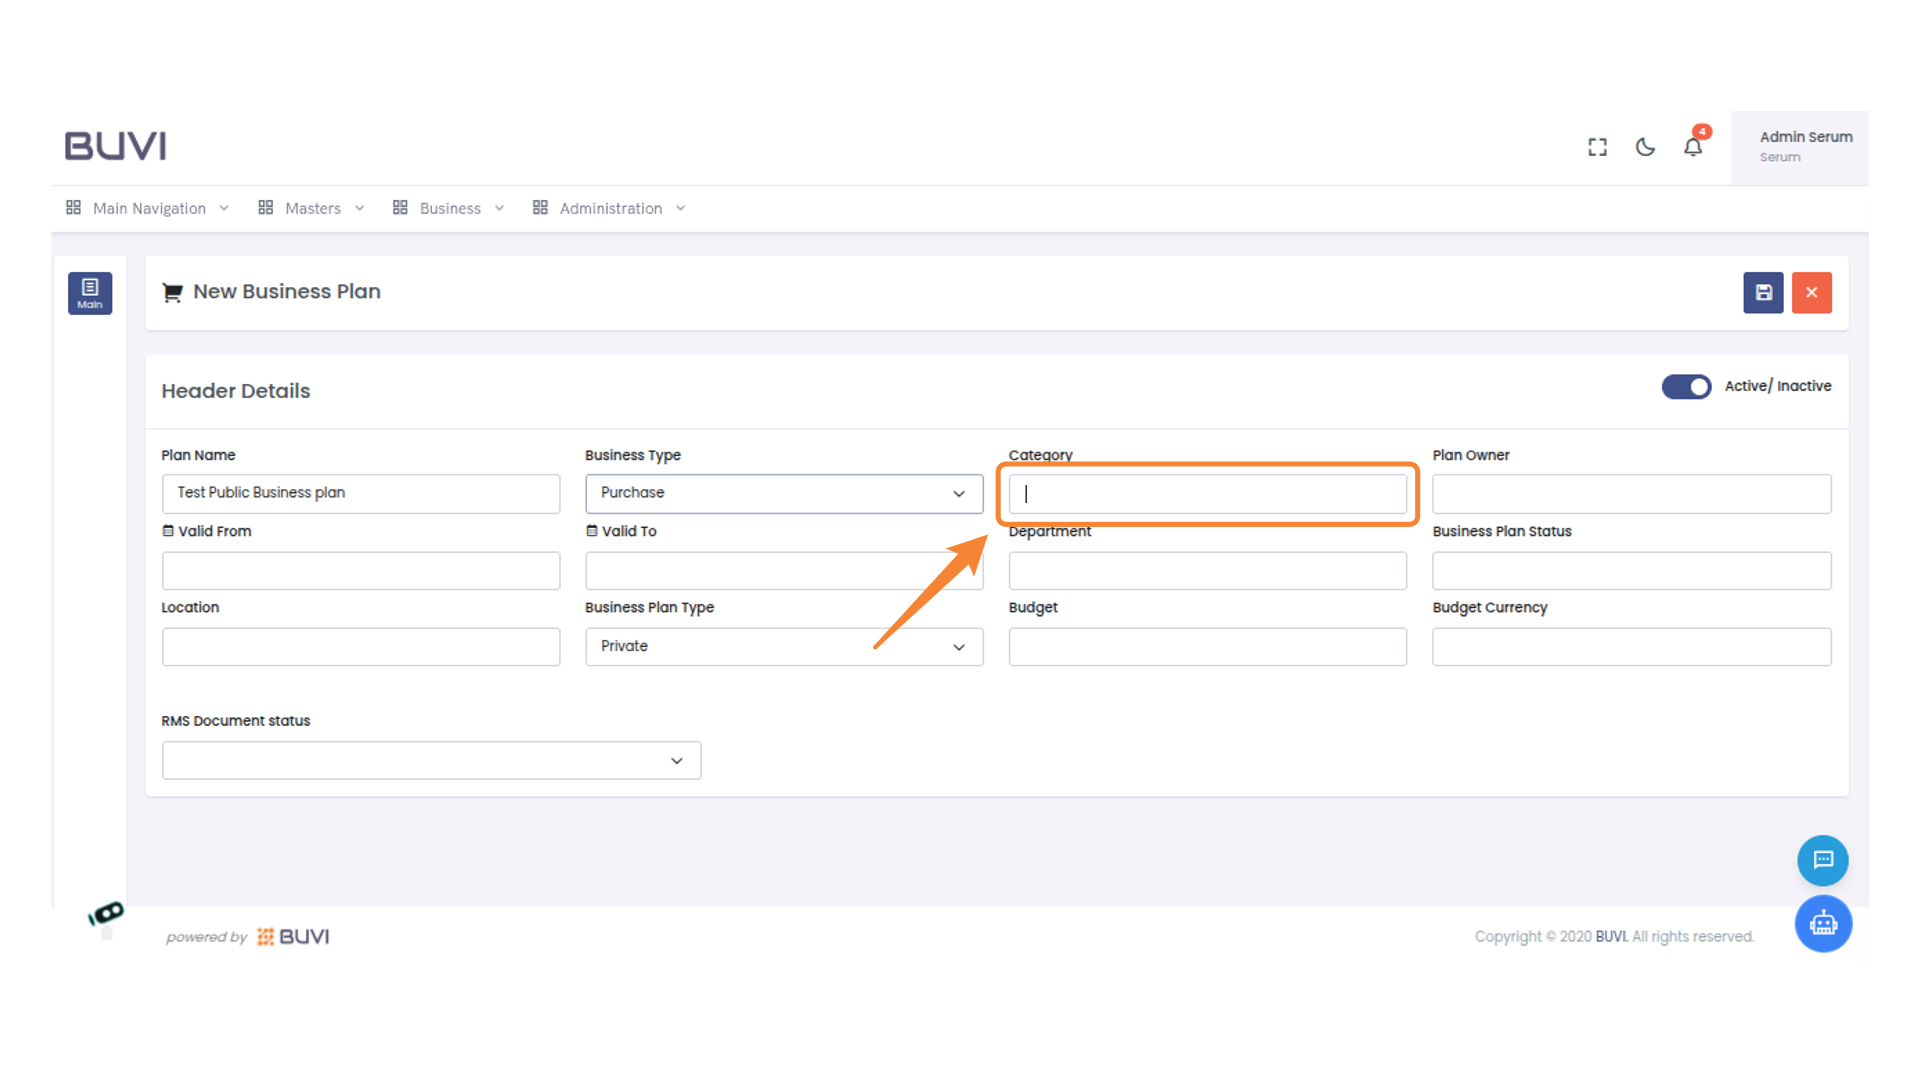
7. Enter Category Information
Input the relevant category details for the new business plan here.
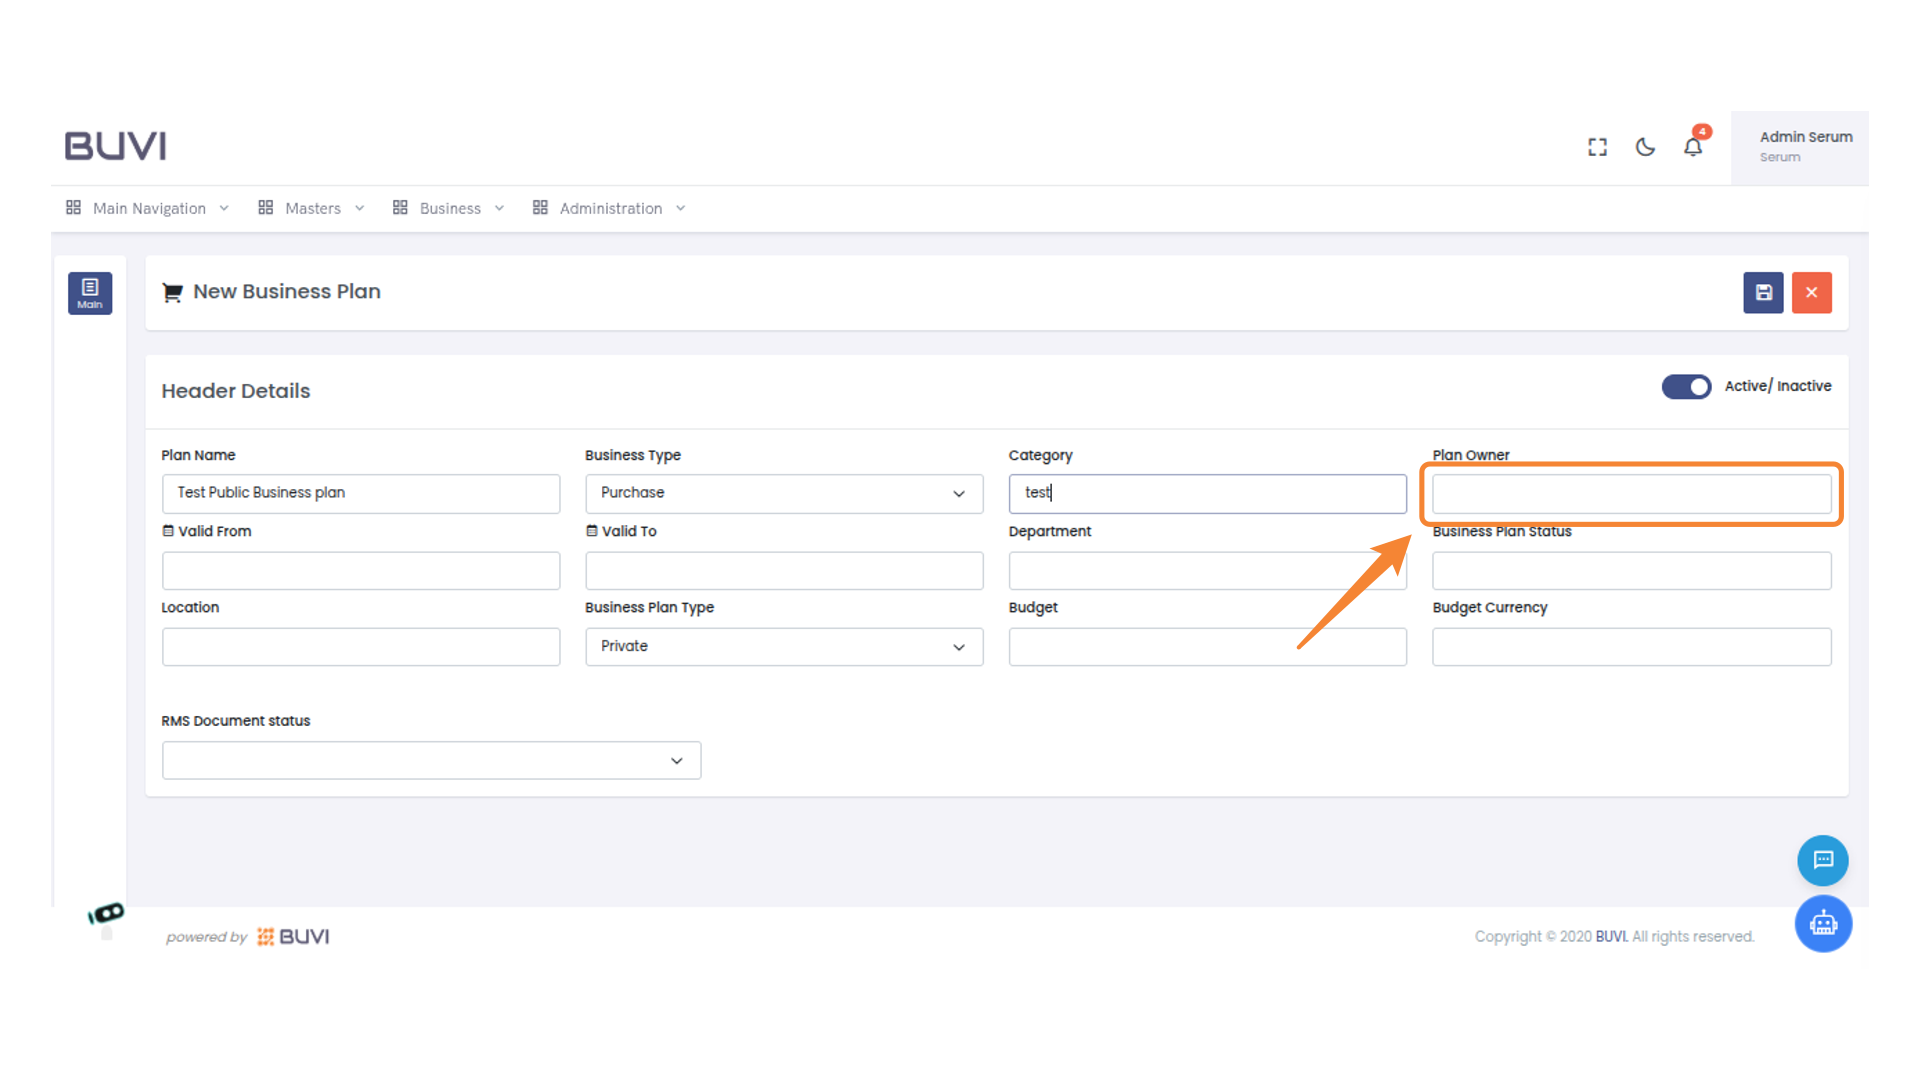
8. Enter Plan Owner
Input the Plan Owner name in the designated field to proceed.
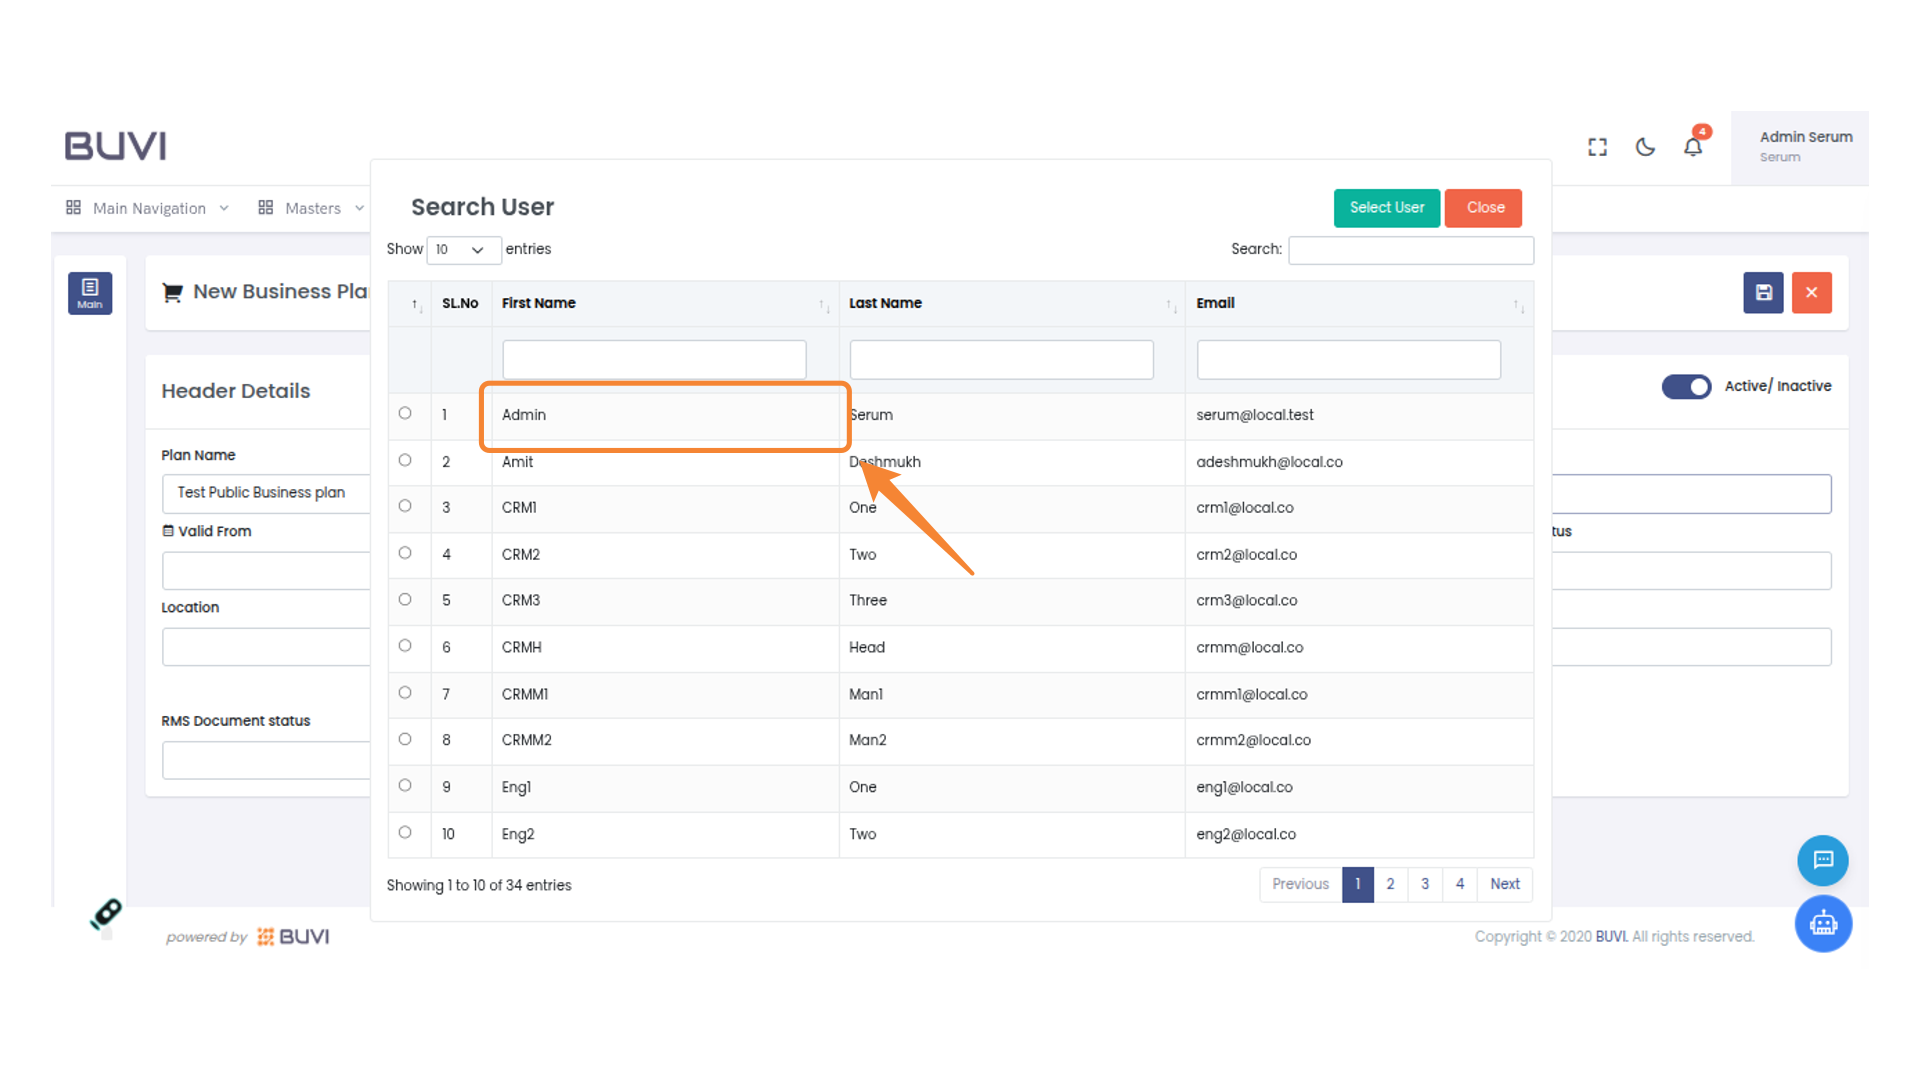
9. Select Admin User
Select the Admin entry from the user list to view or modify its details.
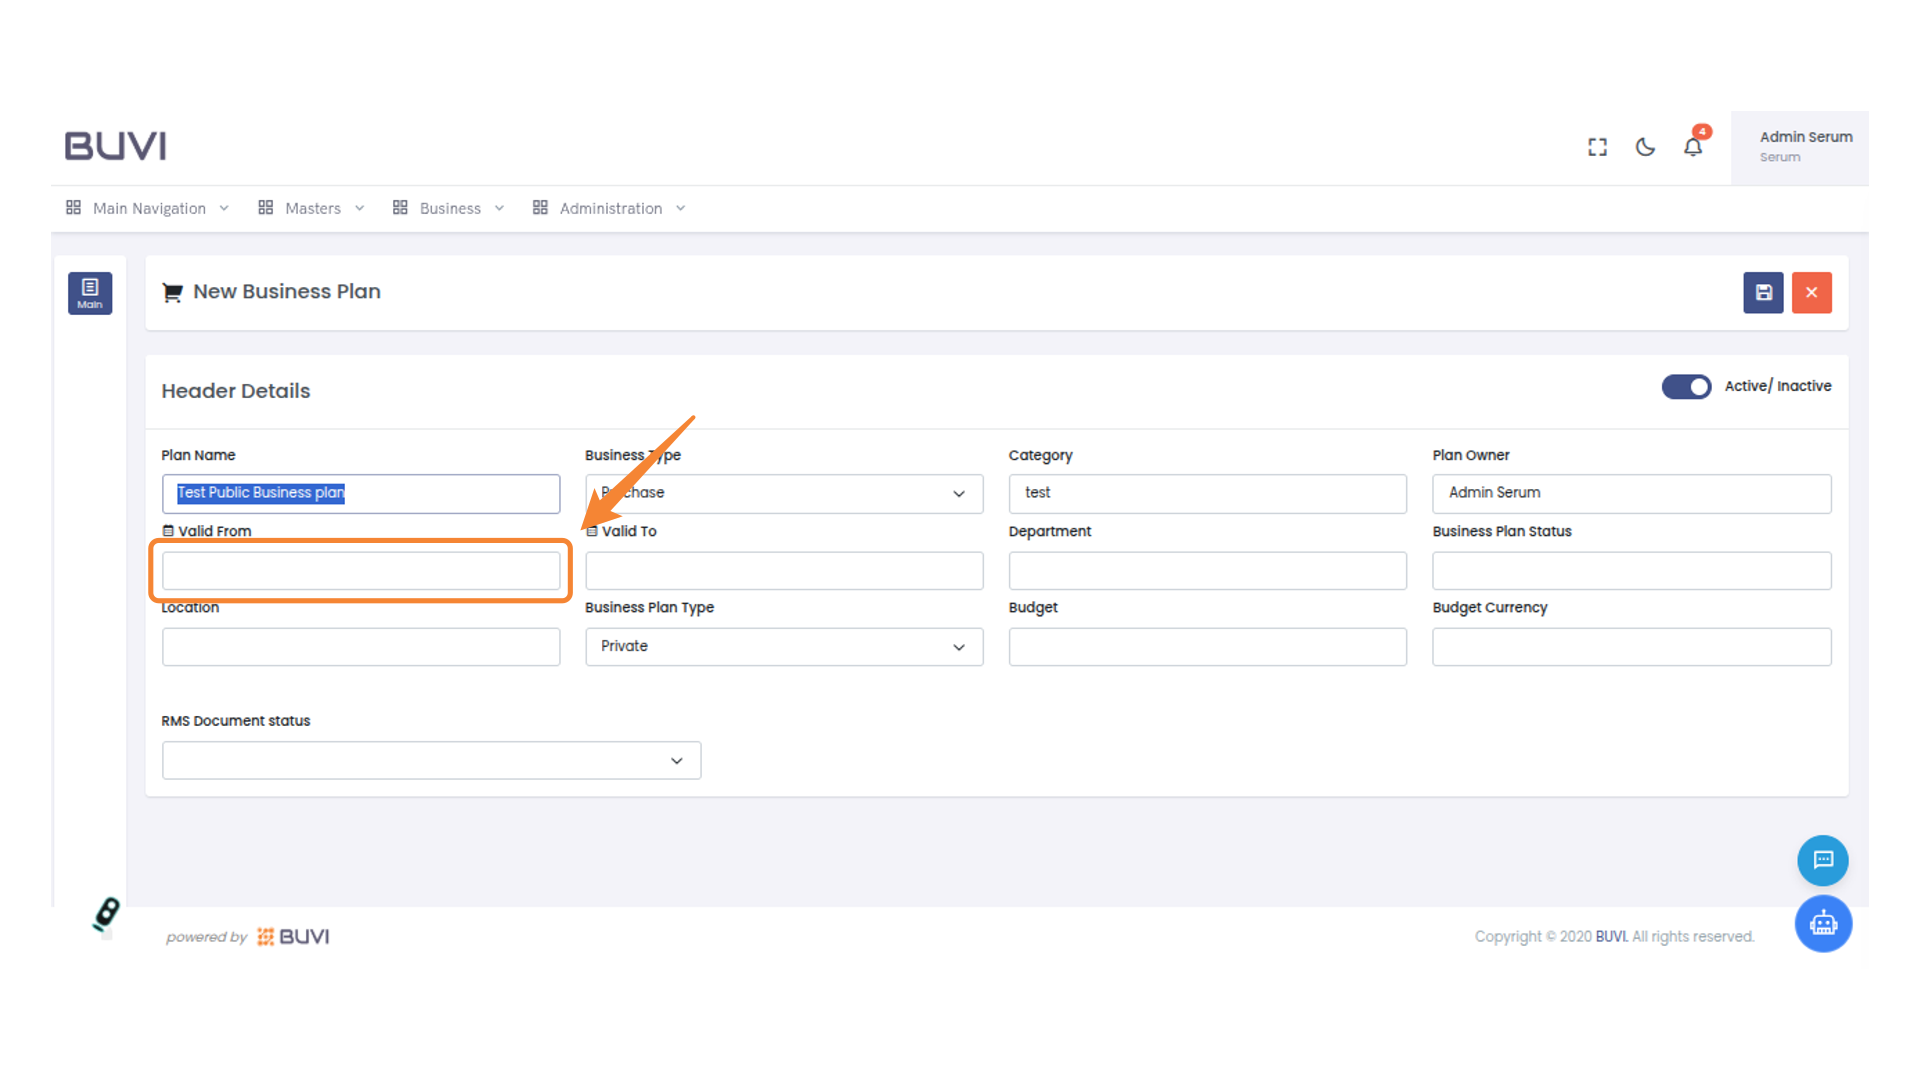
10. Fill Valid From Date Field
Enter the start date for the business plan in the Valid From field.
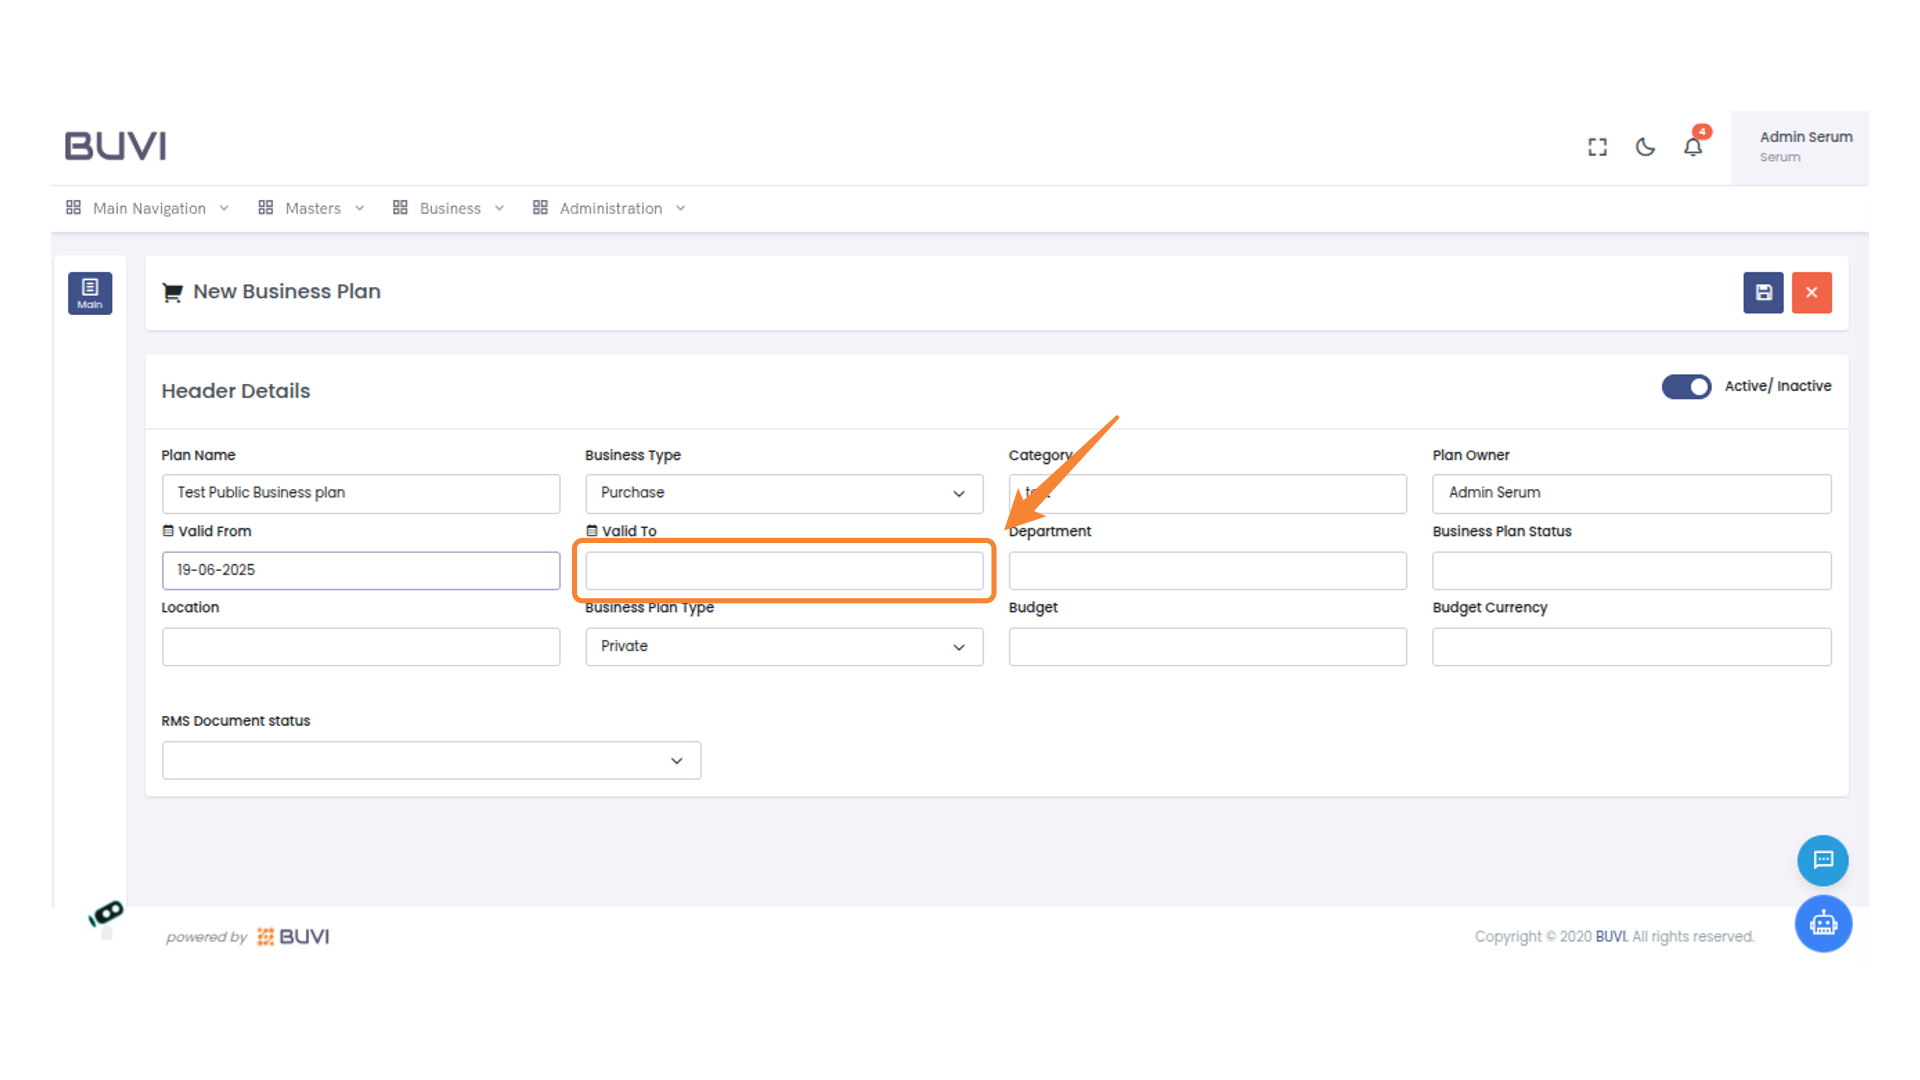
11. Enter Valid To Date
Input the date for 'Valid To' to set the business plan's expiration.
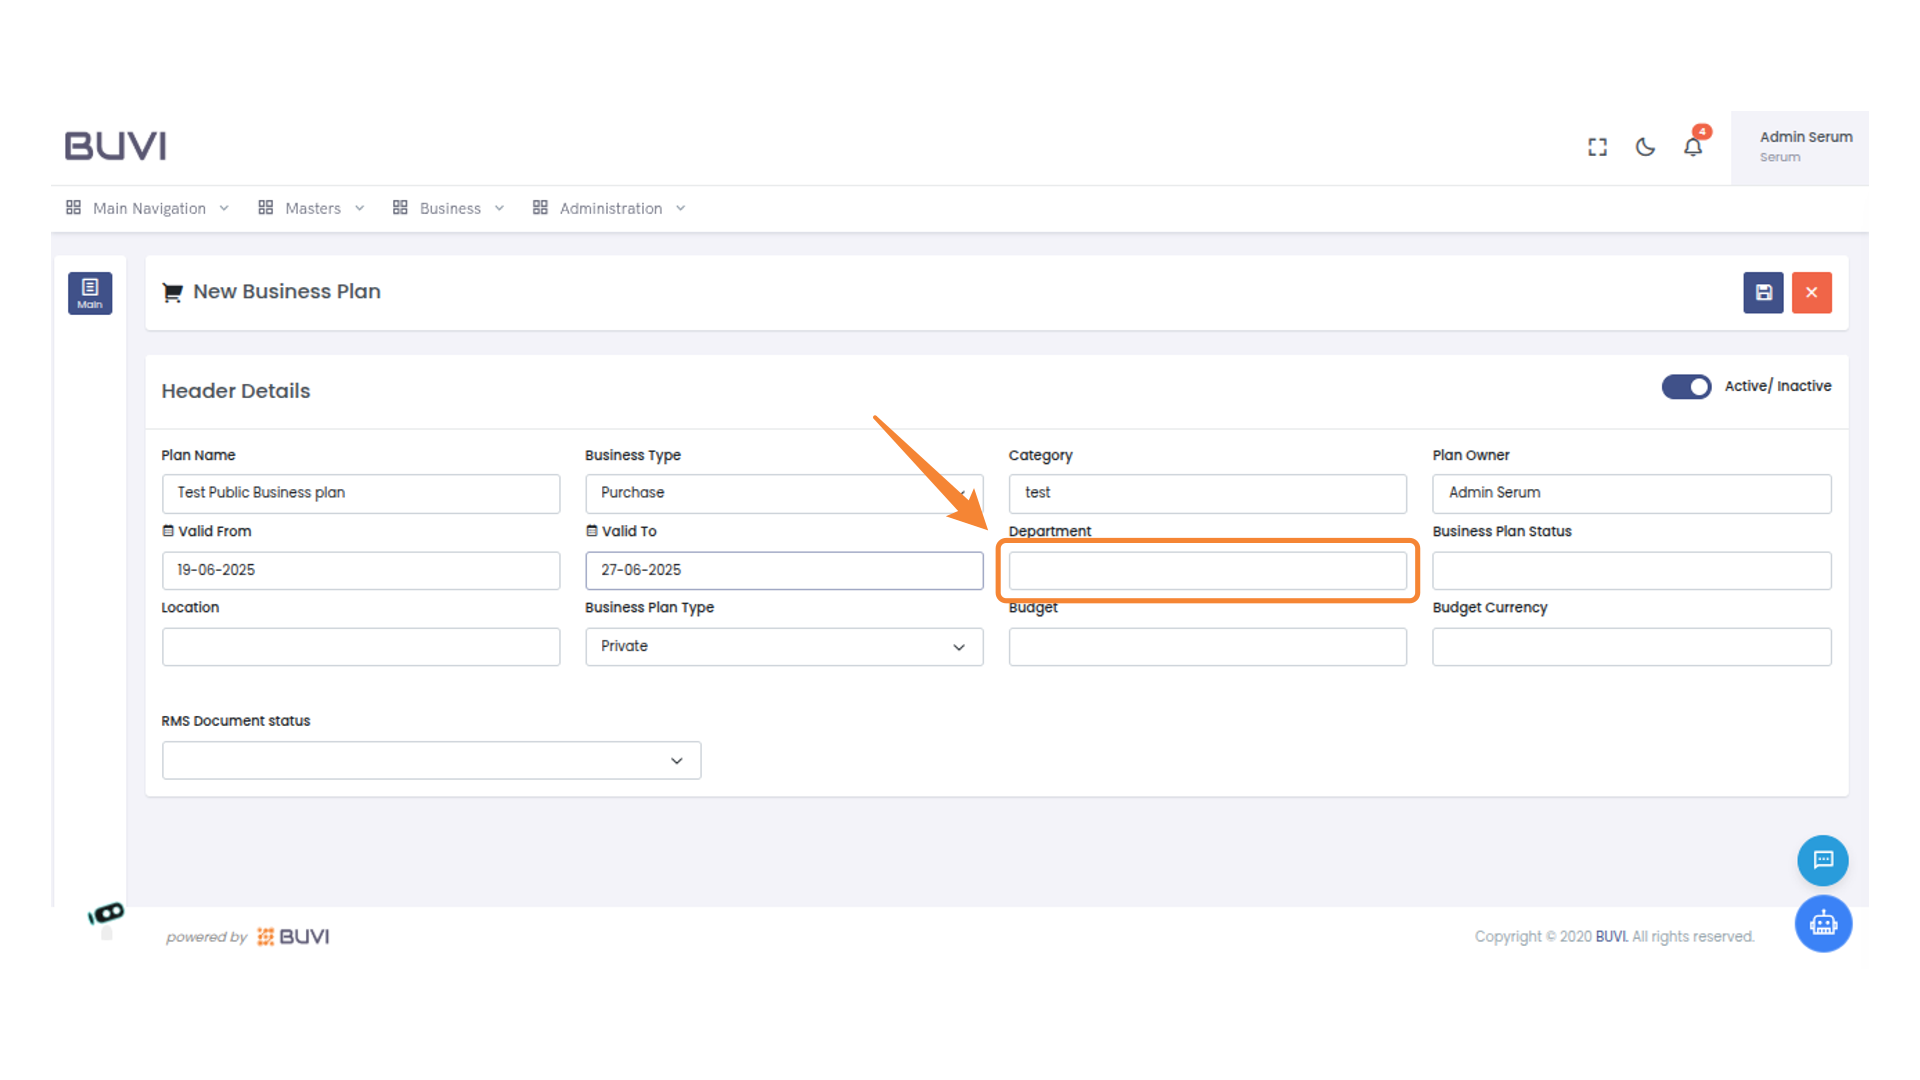
12. Enter Department Information
Input the department name in the designated field to categorize the business plan effectively.
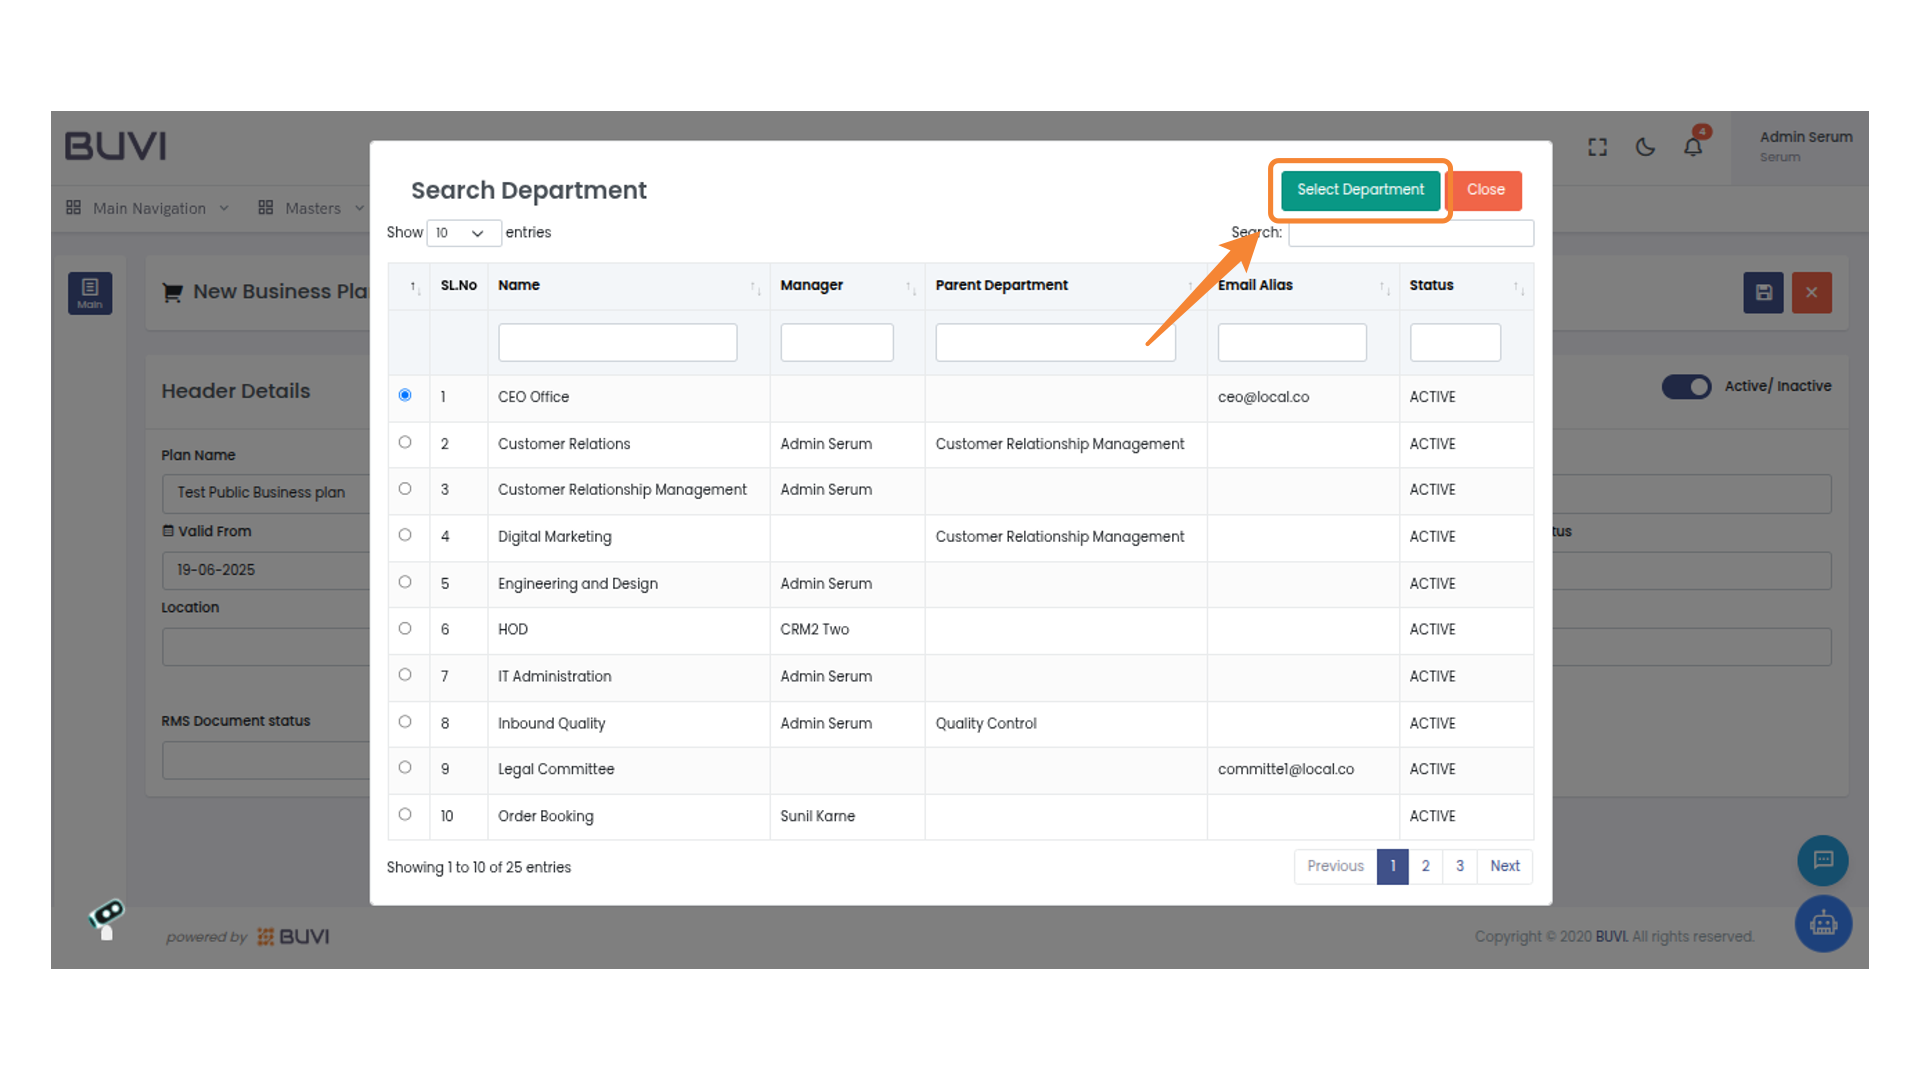
13. Select Department Action
Click the 'Select Department' button to choose a department from the list.
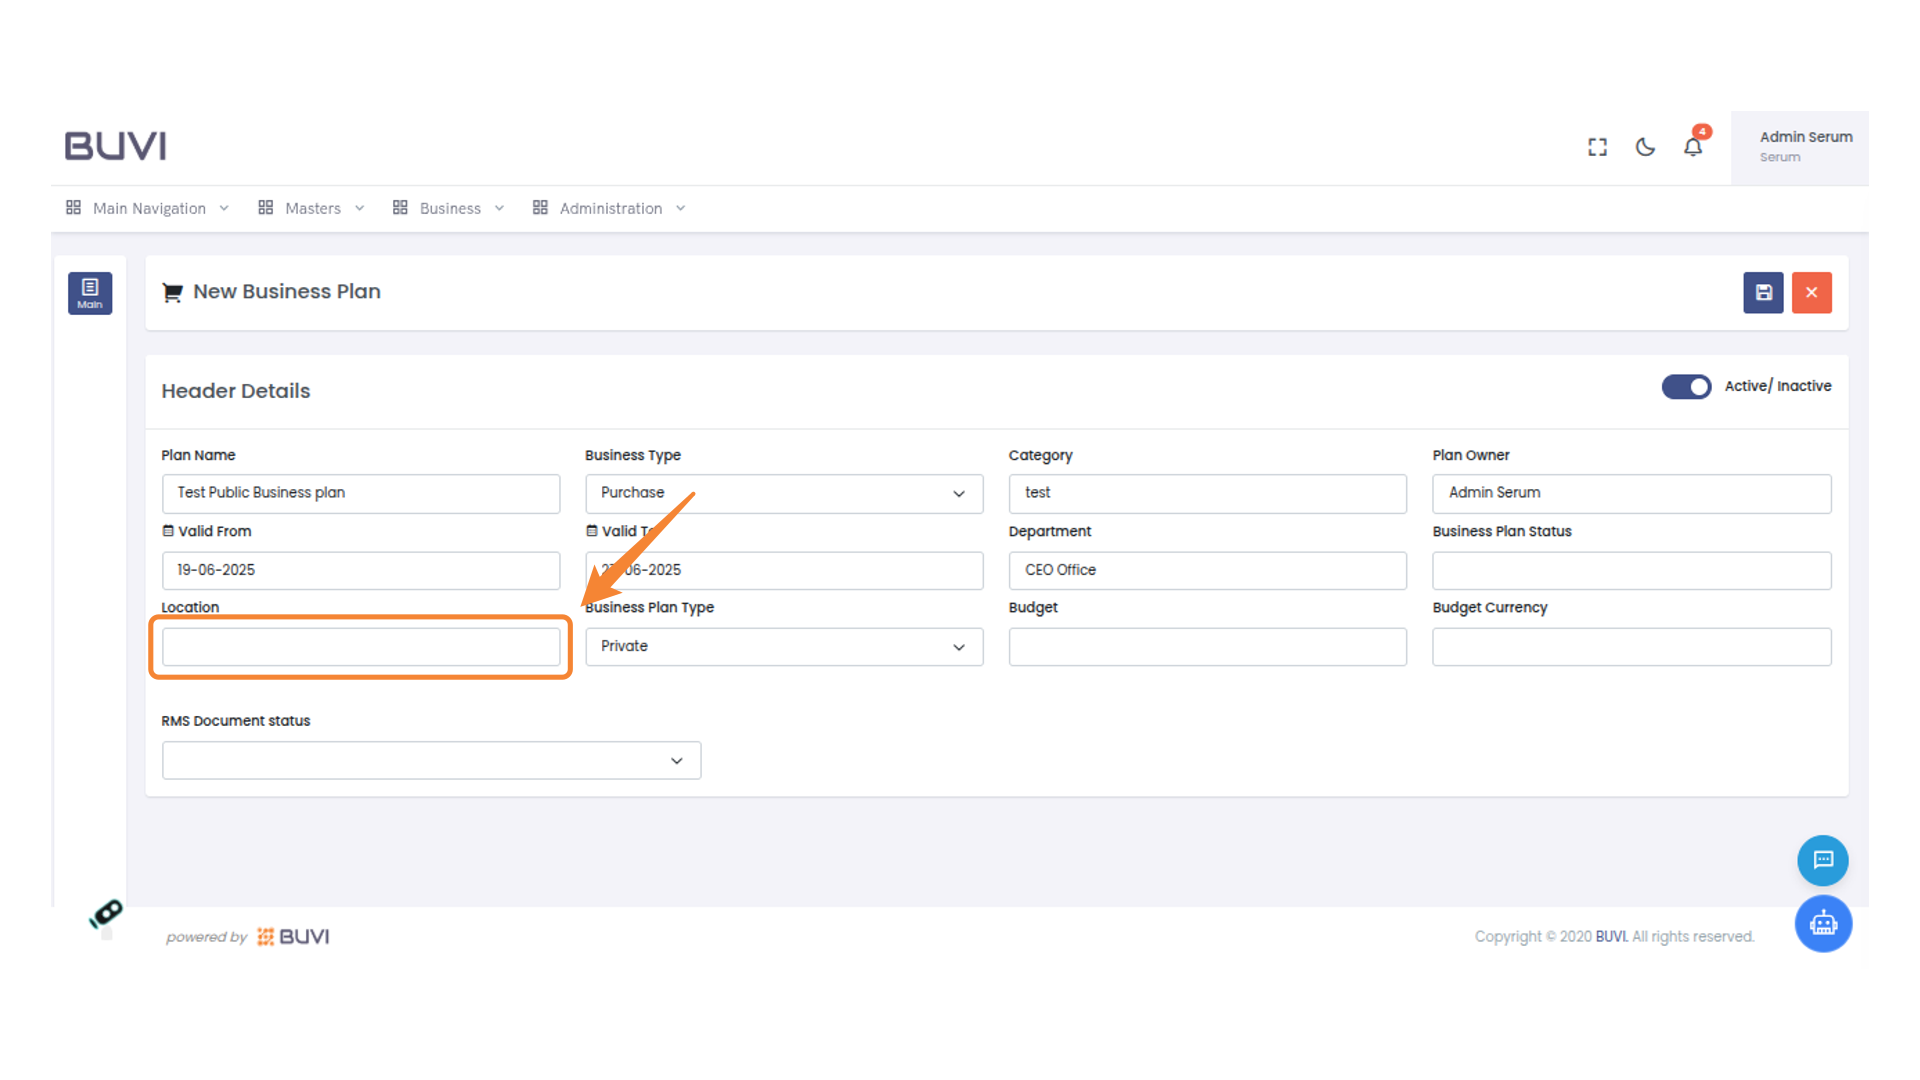
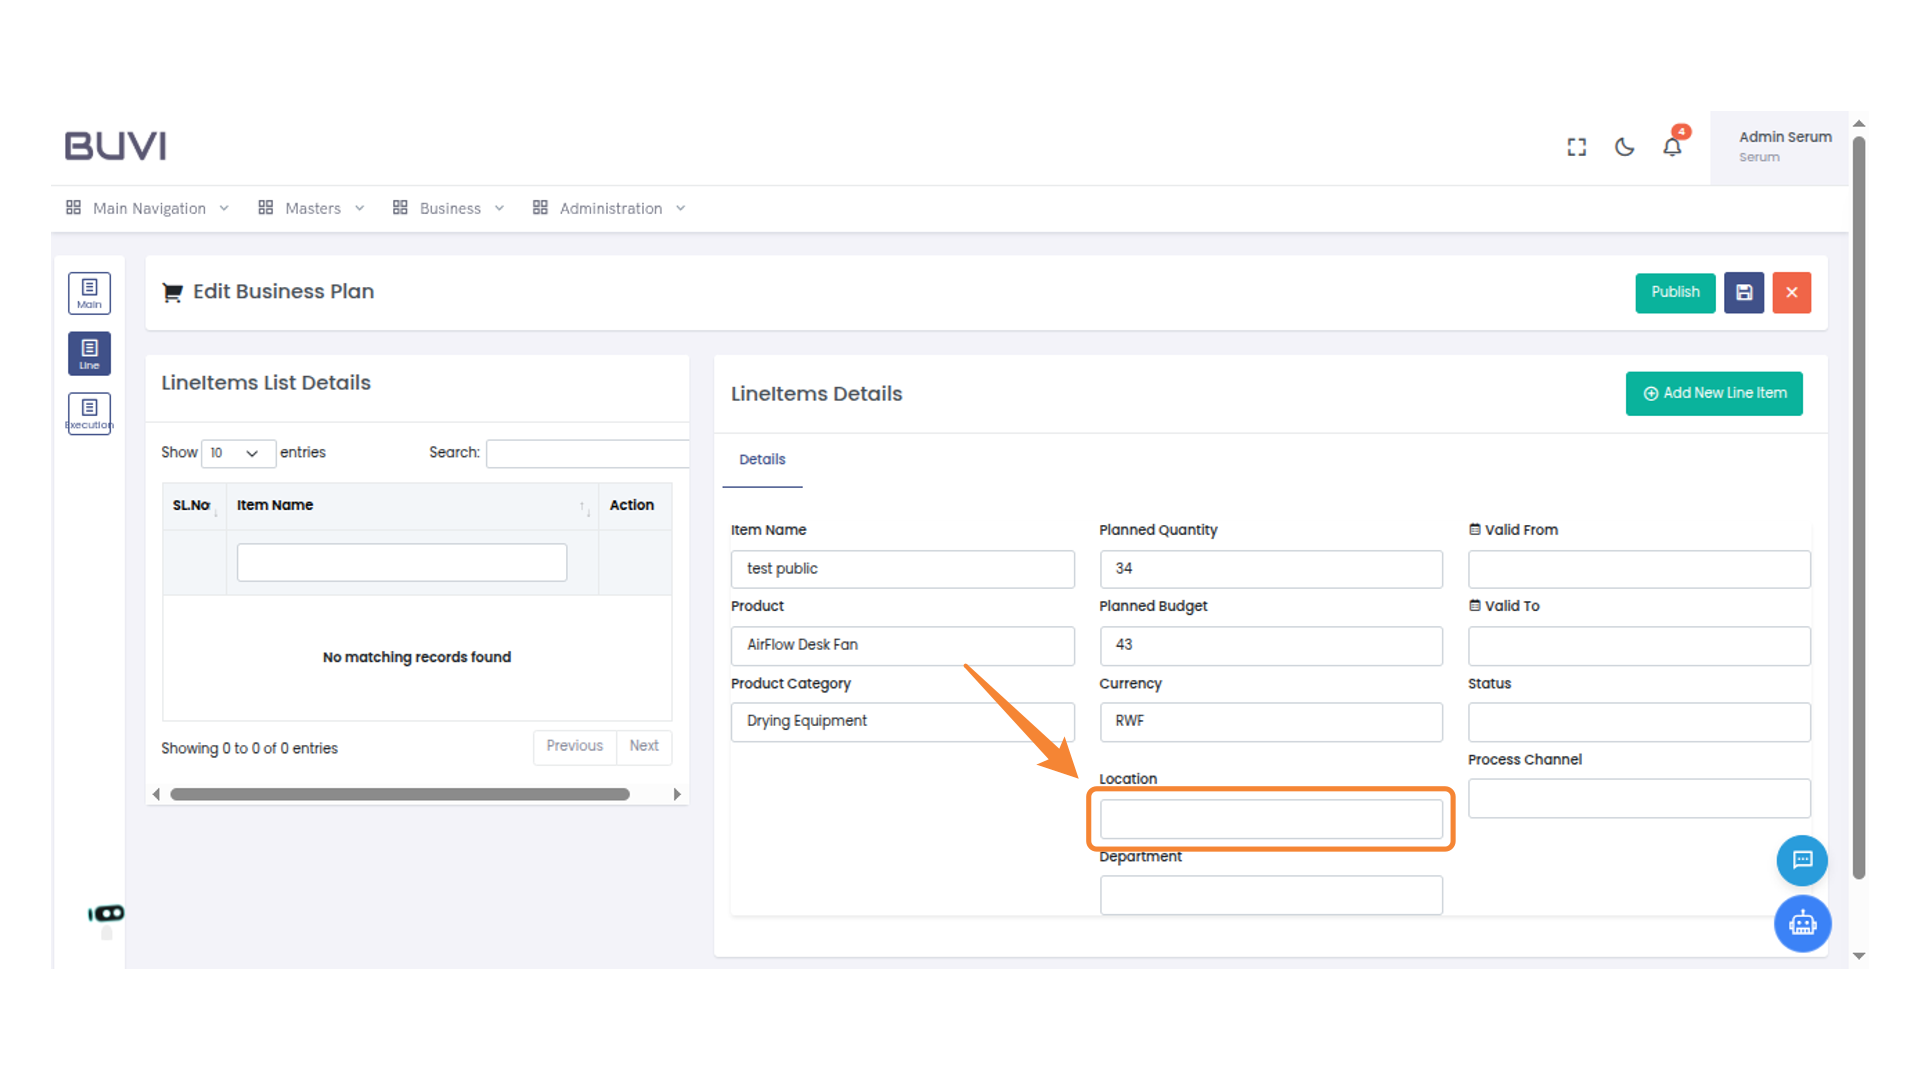
14. Enter Location
Provide the location for the business plan in this field.
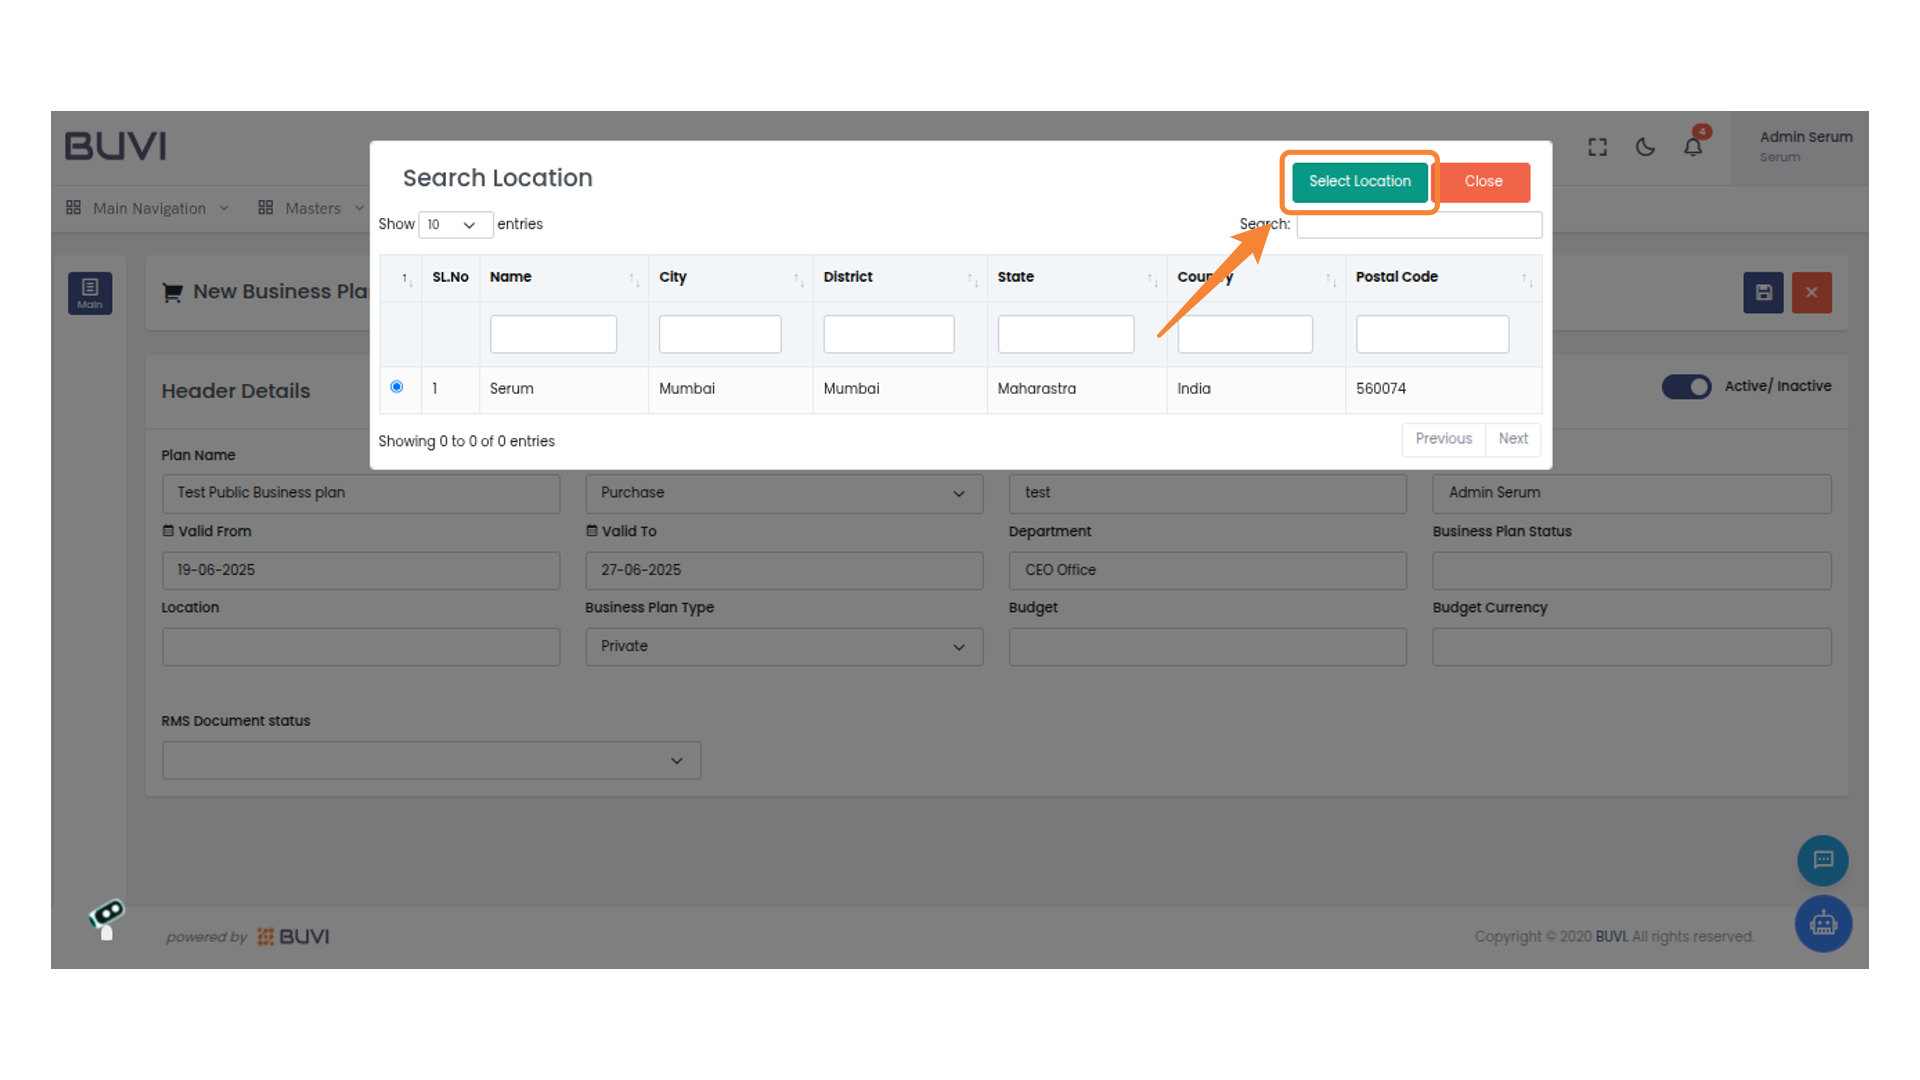
15. Select a Location
Press the "Select Location" button to confirm your choice.
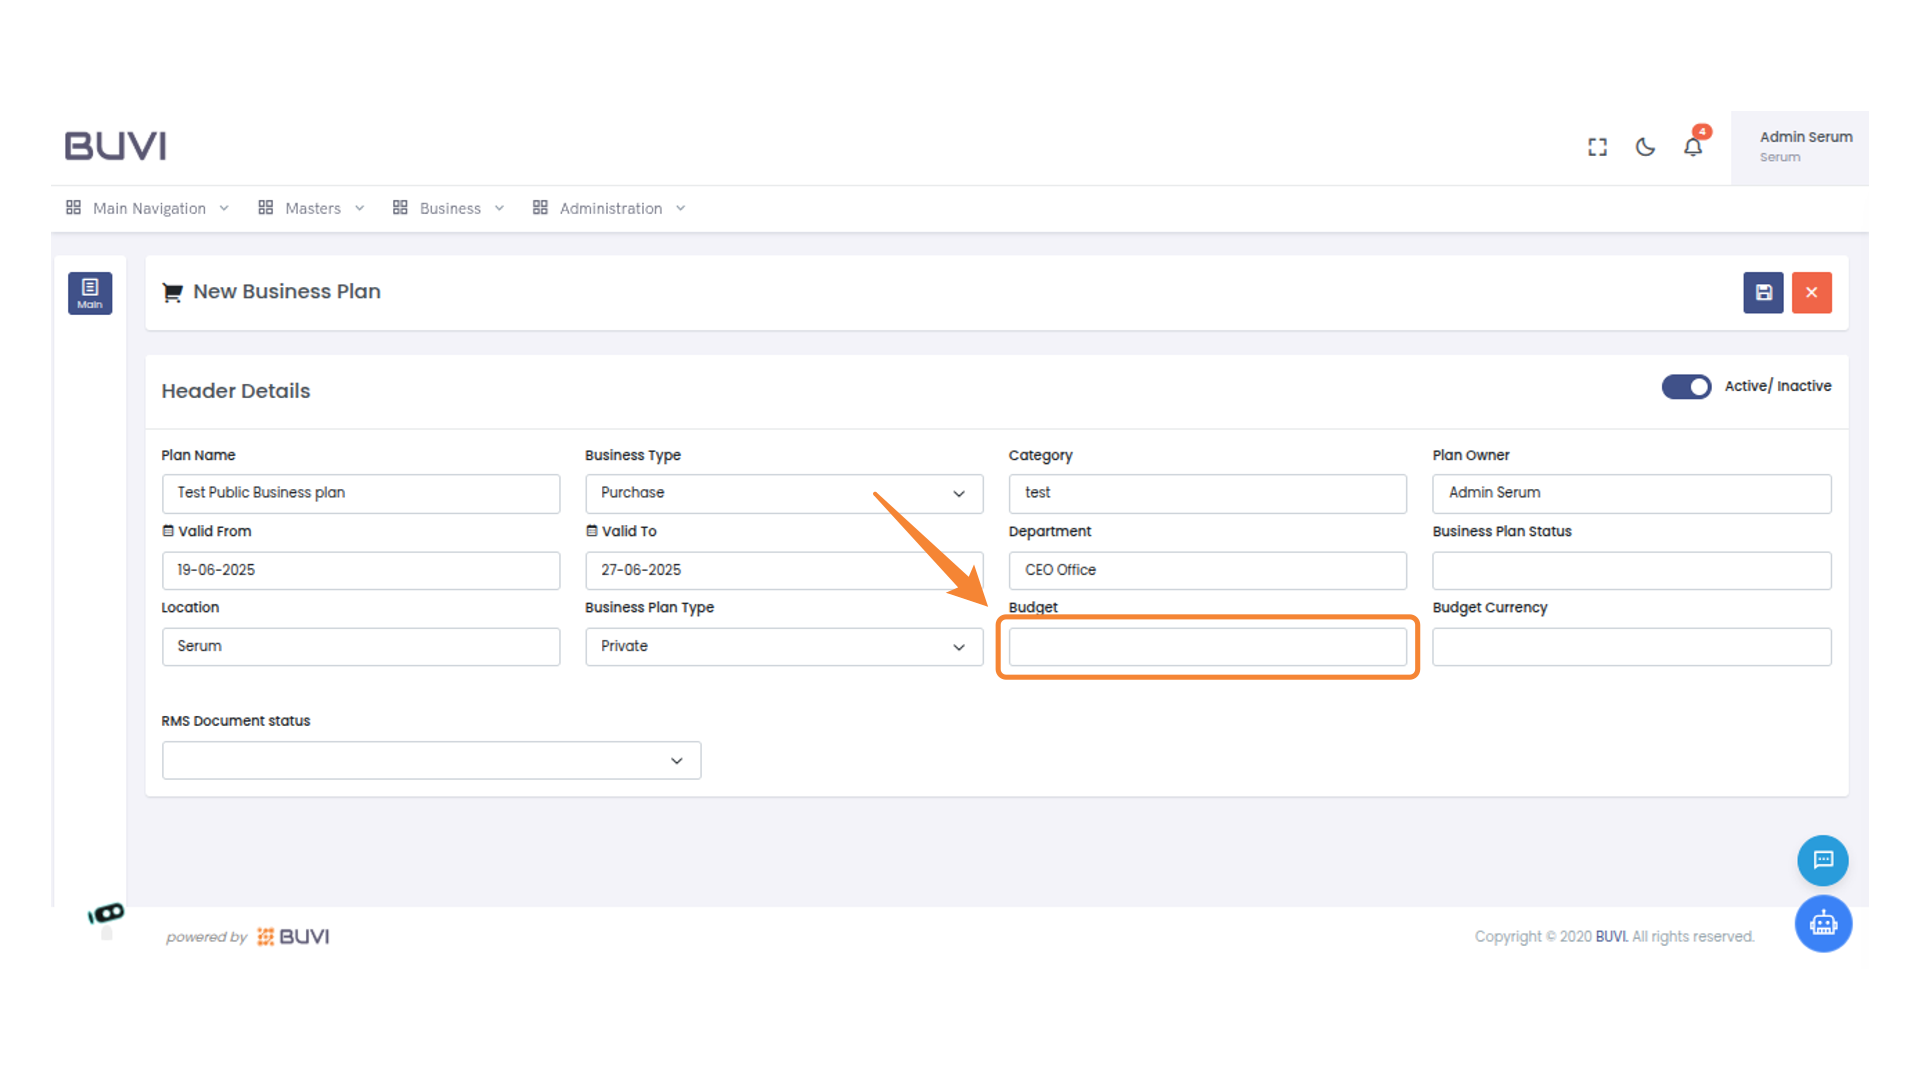
16. Enter the Budget Amount
Enter the budget amount in the provided field.
17. Enter Budget Currency
Input the budget currency in the provided field.

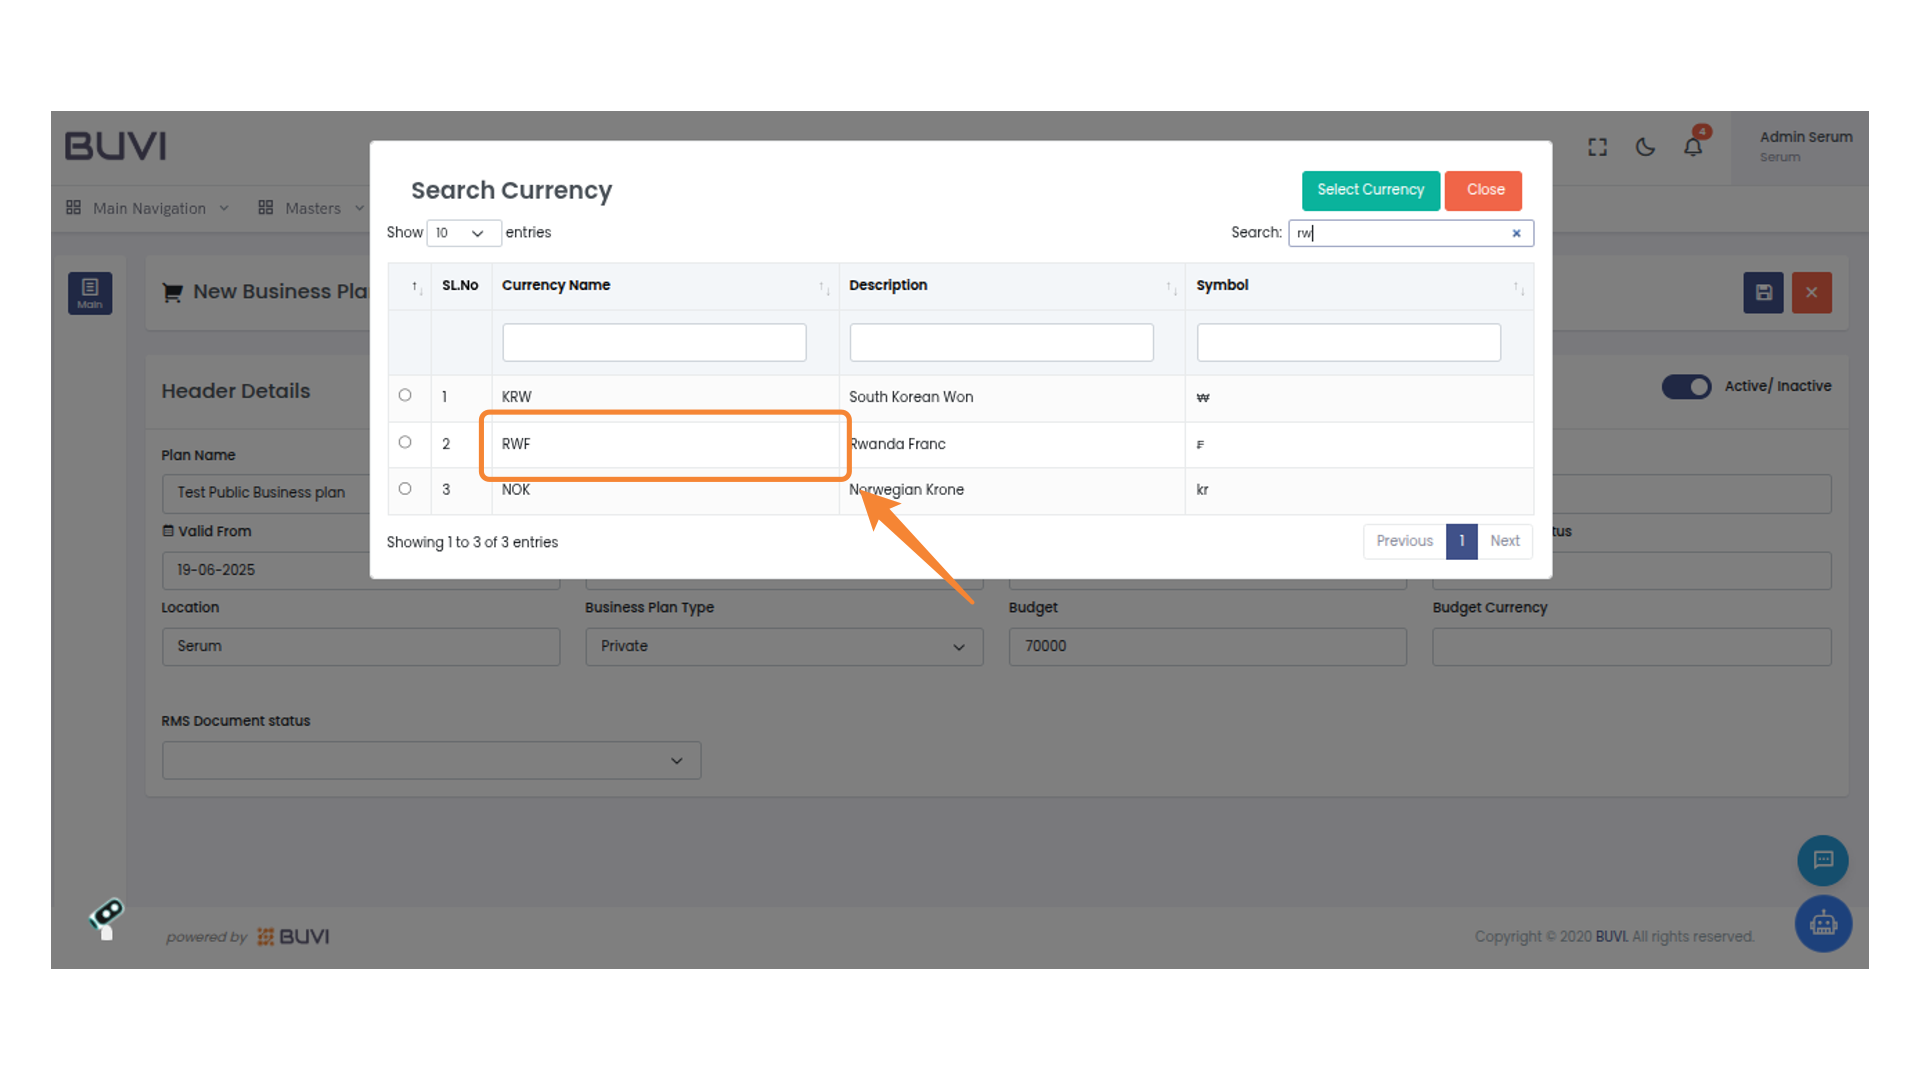
18. Search for Currency
Enter a currency name or abbreviation to filter the list.

19. Select Currency
select required currency
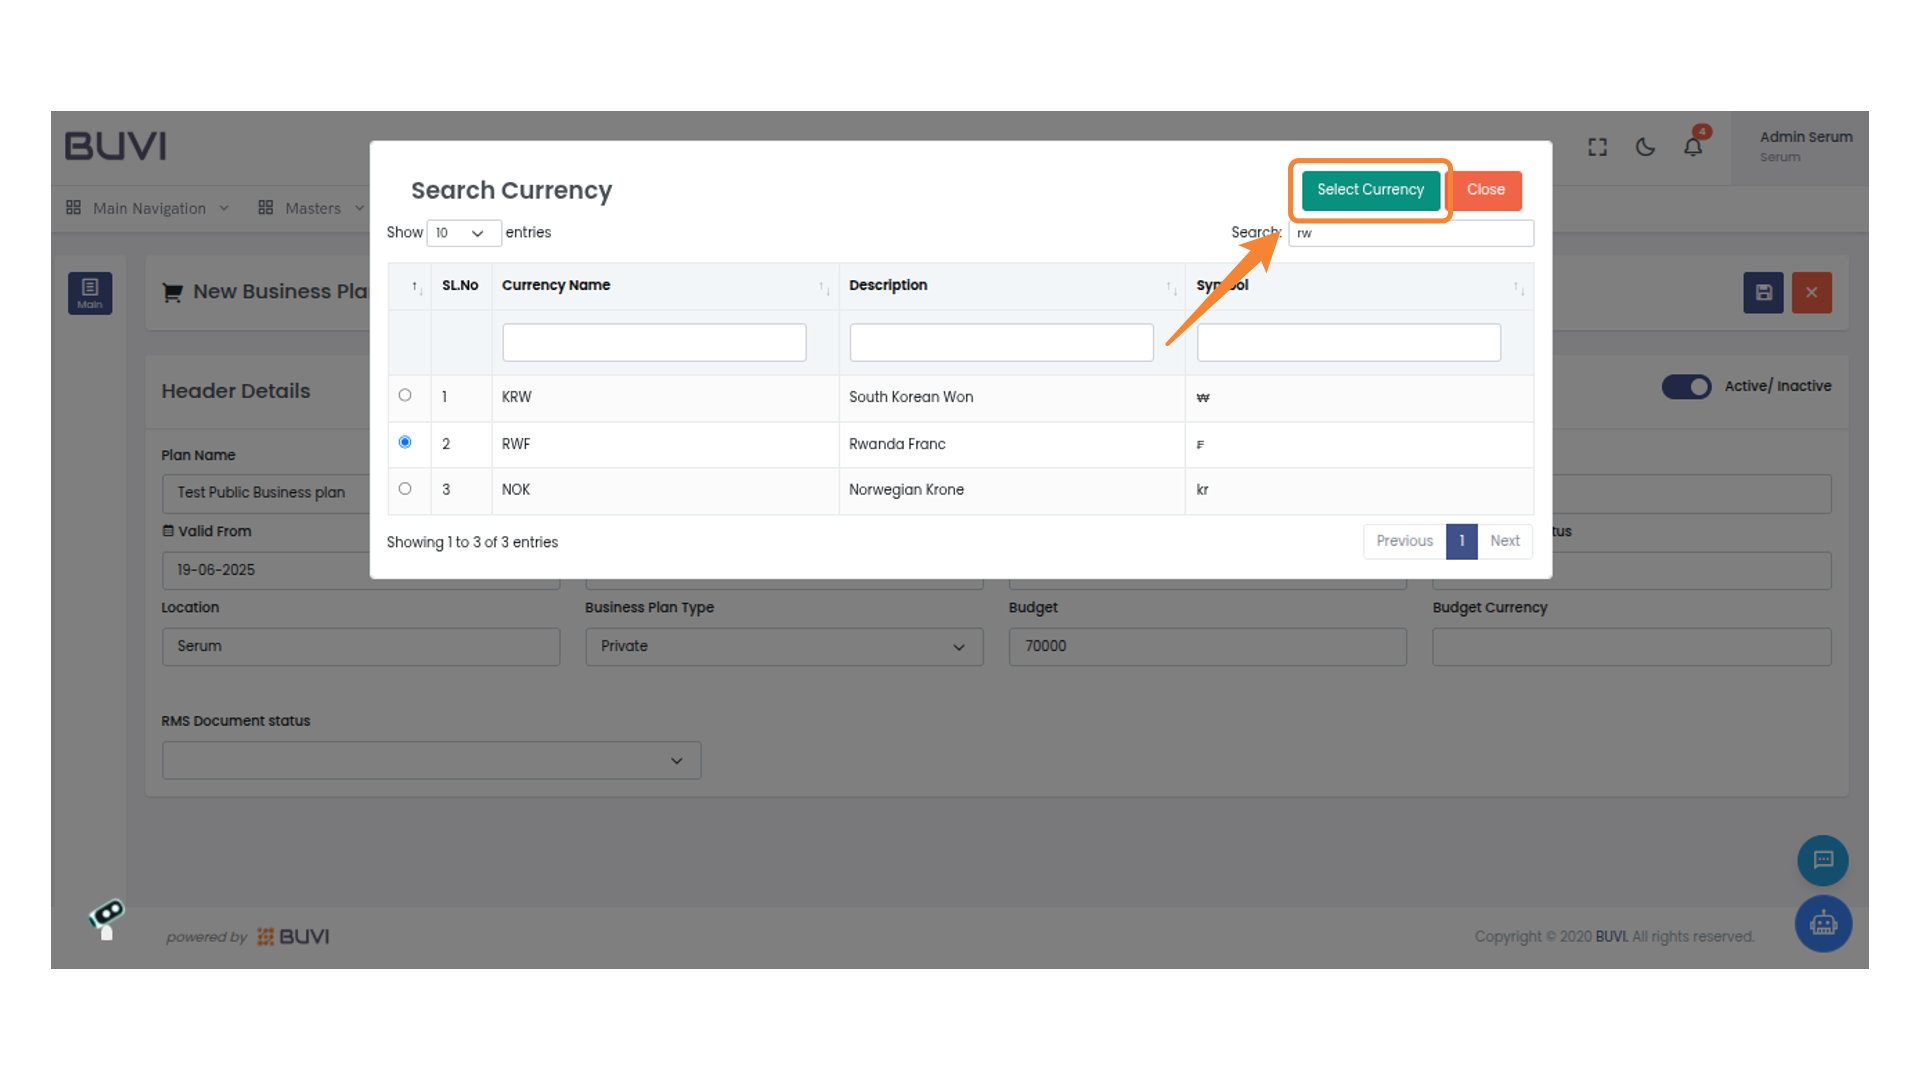
20. Confirm Currency Selection
Click 'Select Currency' to confirm your choice.
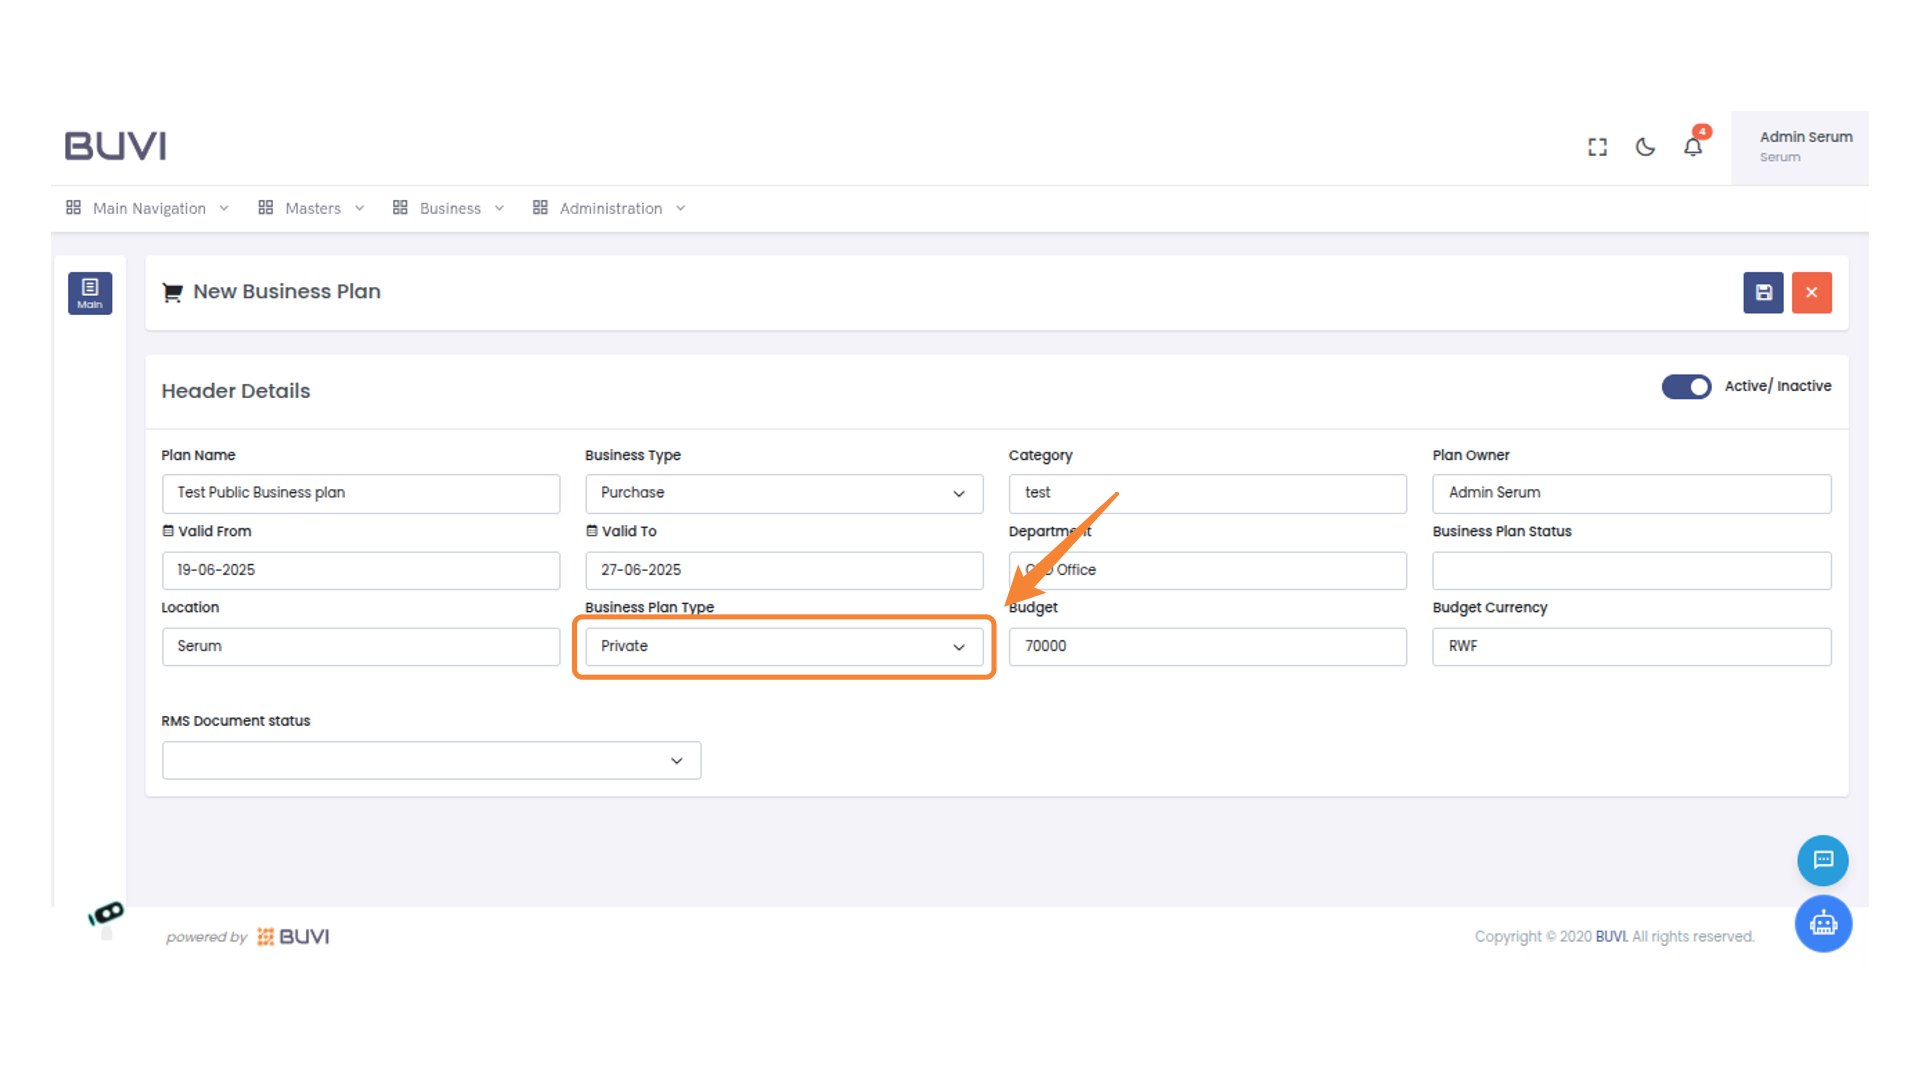
21. Select Business Plan Type
Select Business Plan Type as Public
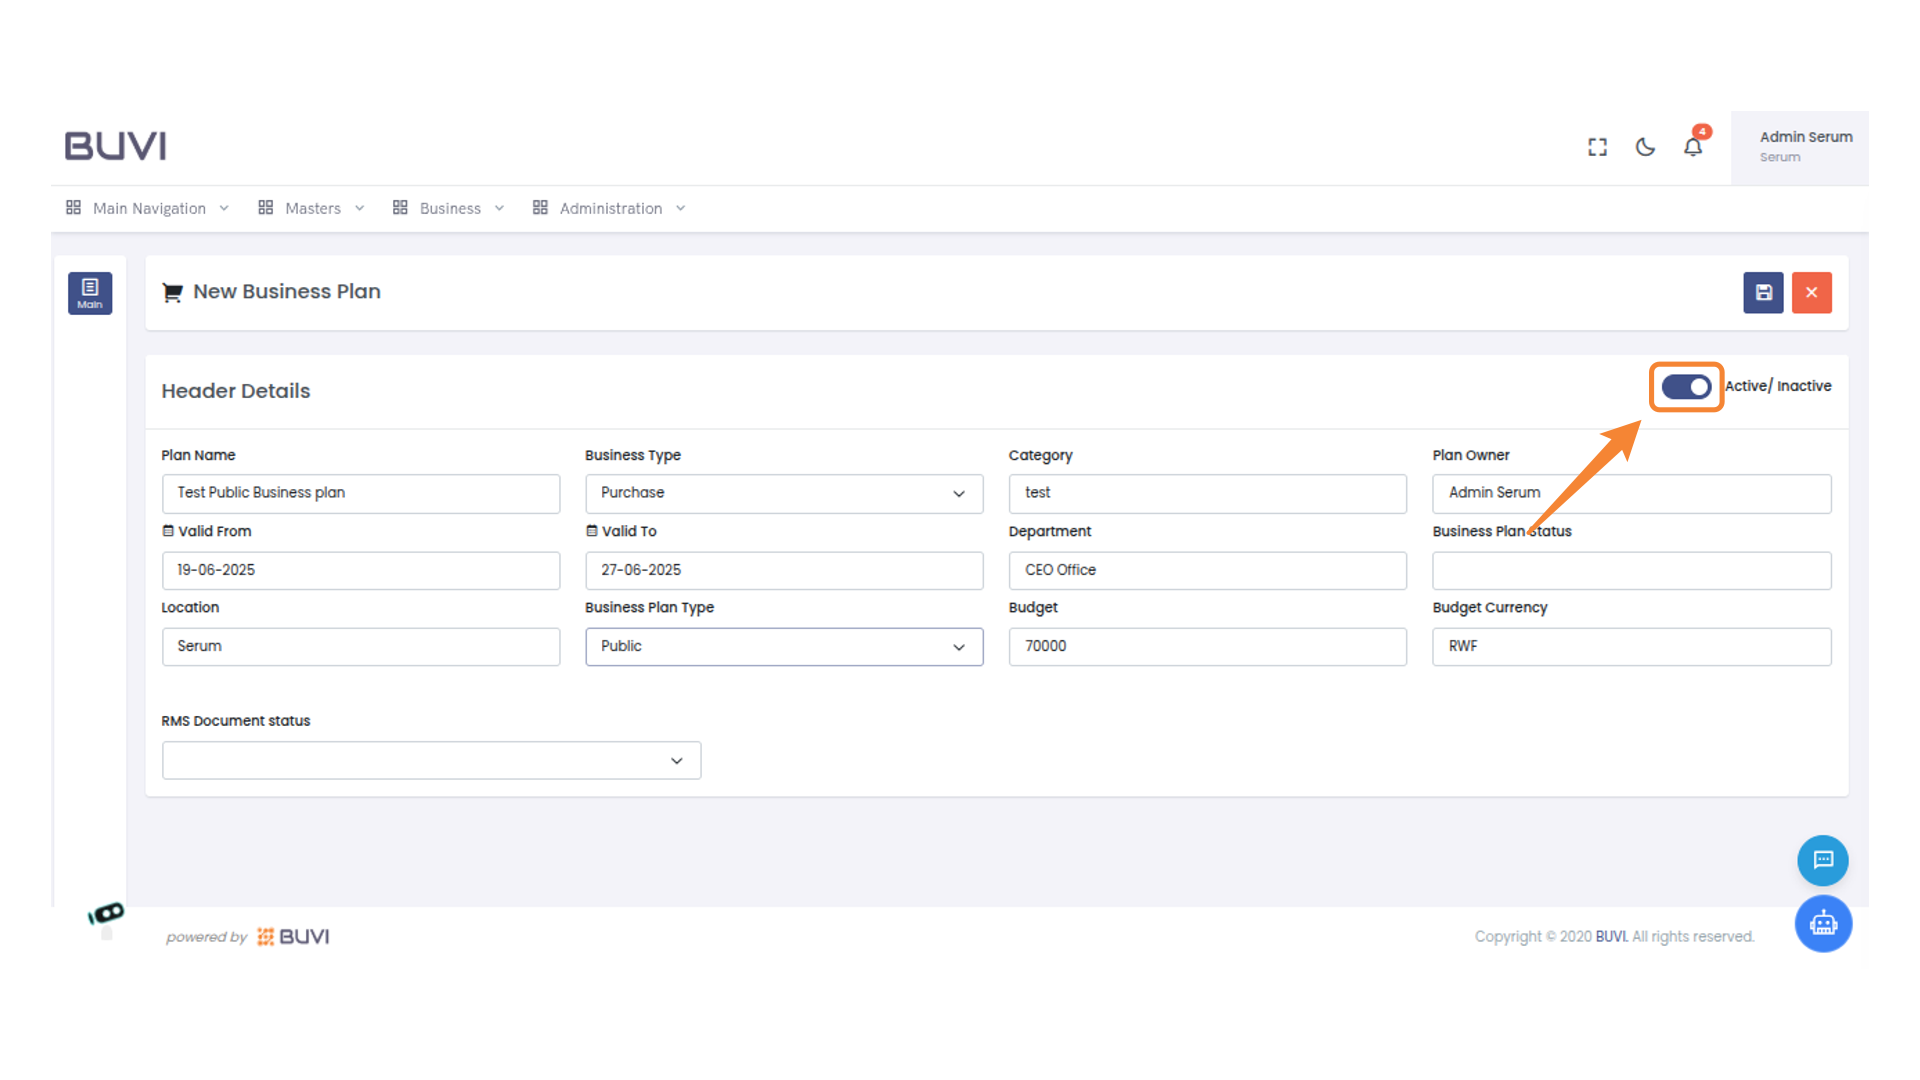
22. Toggle Plan Status
Switch the toggle to set the business plan status to Active or Inactive.
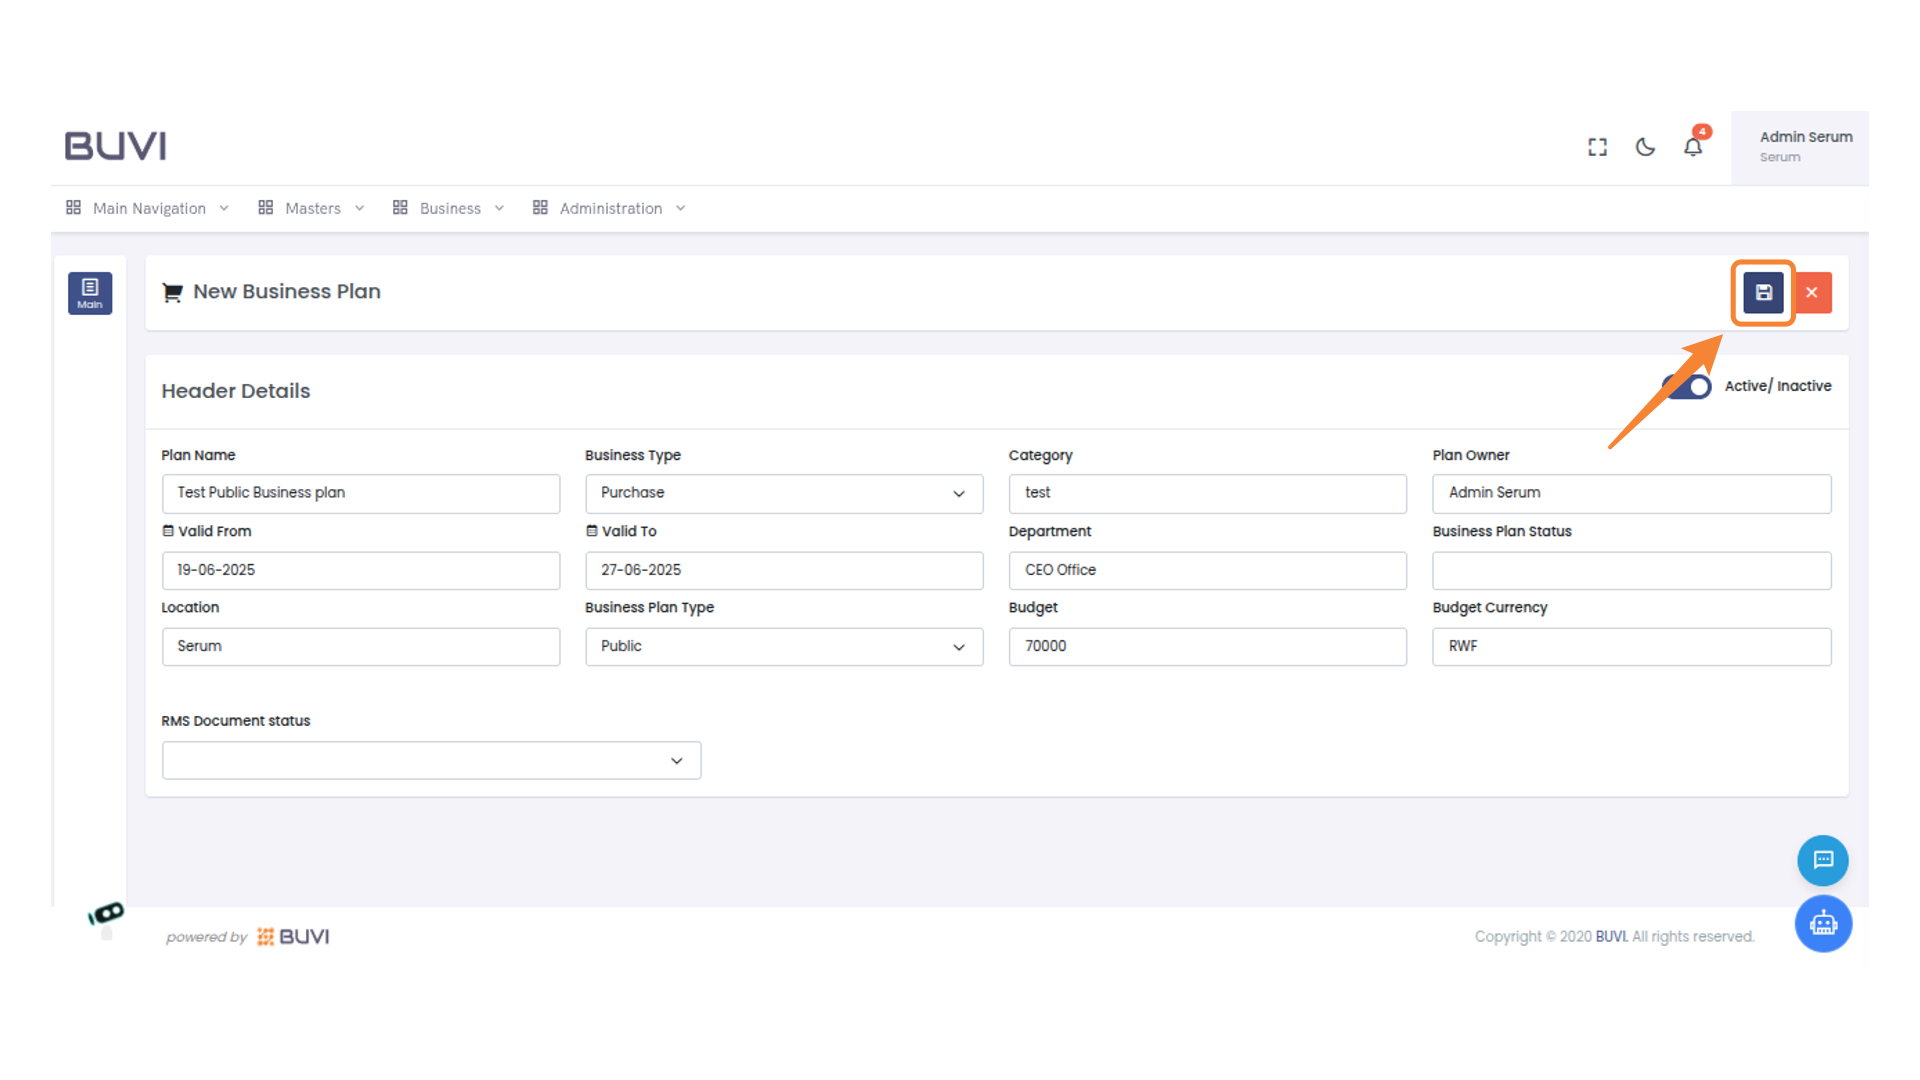
23. Save the Business Plan
Click the save icon to store the current business plan details.
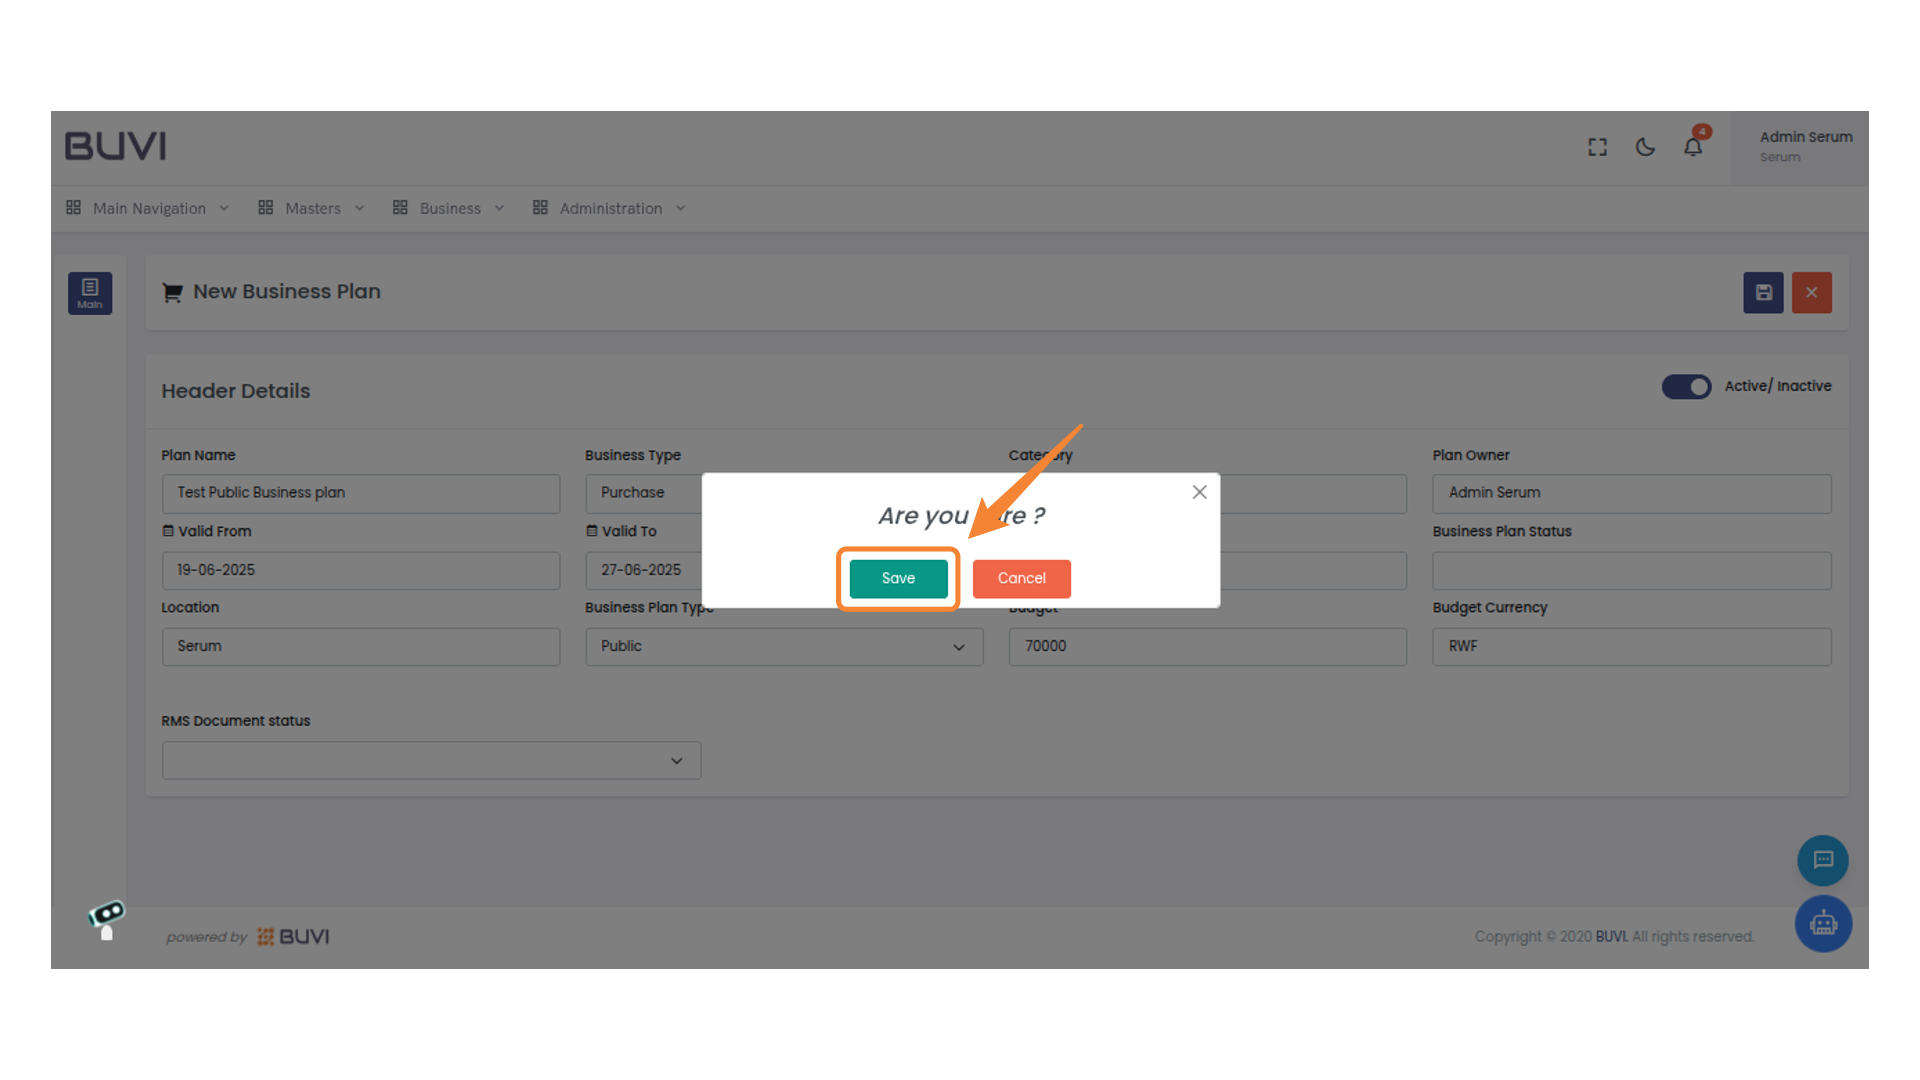
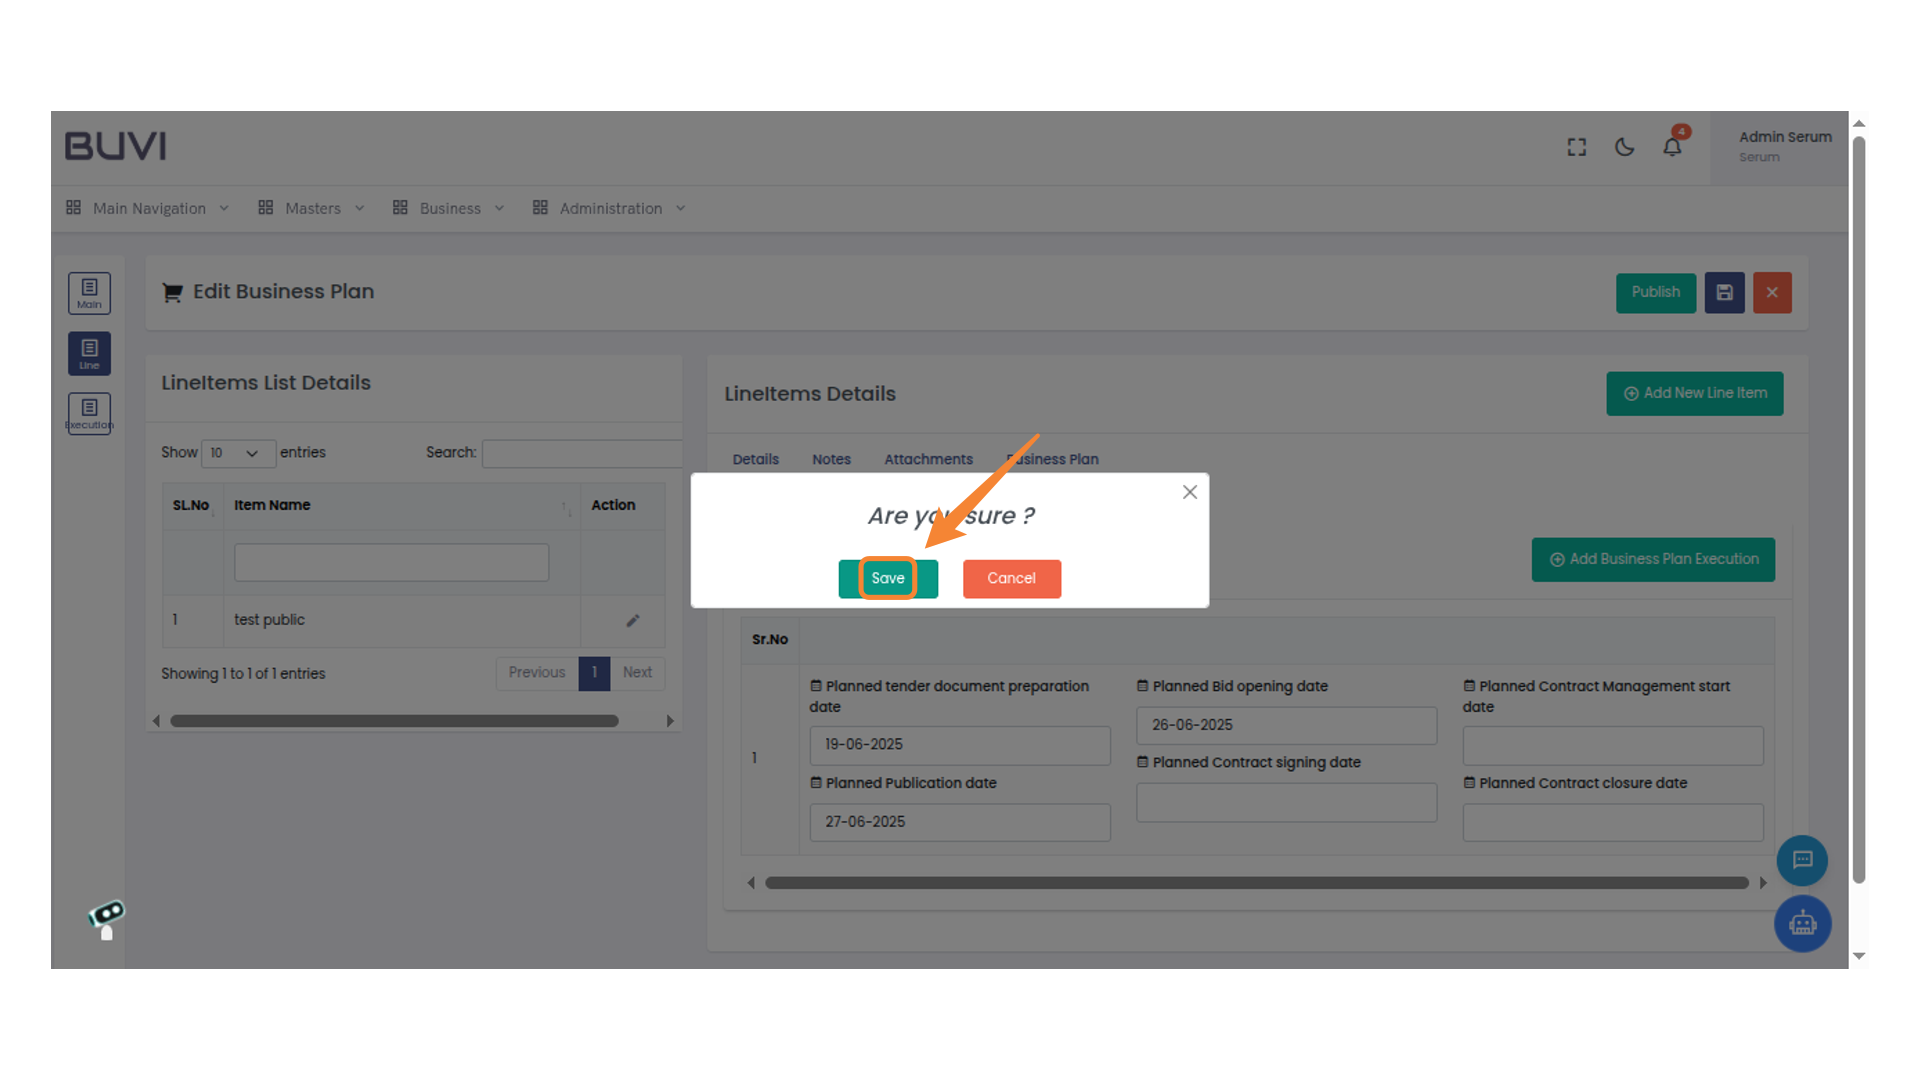
24. Confirm Save Action
Select 'Save' to confirm your action.
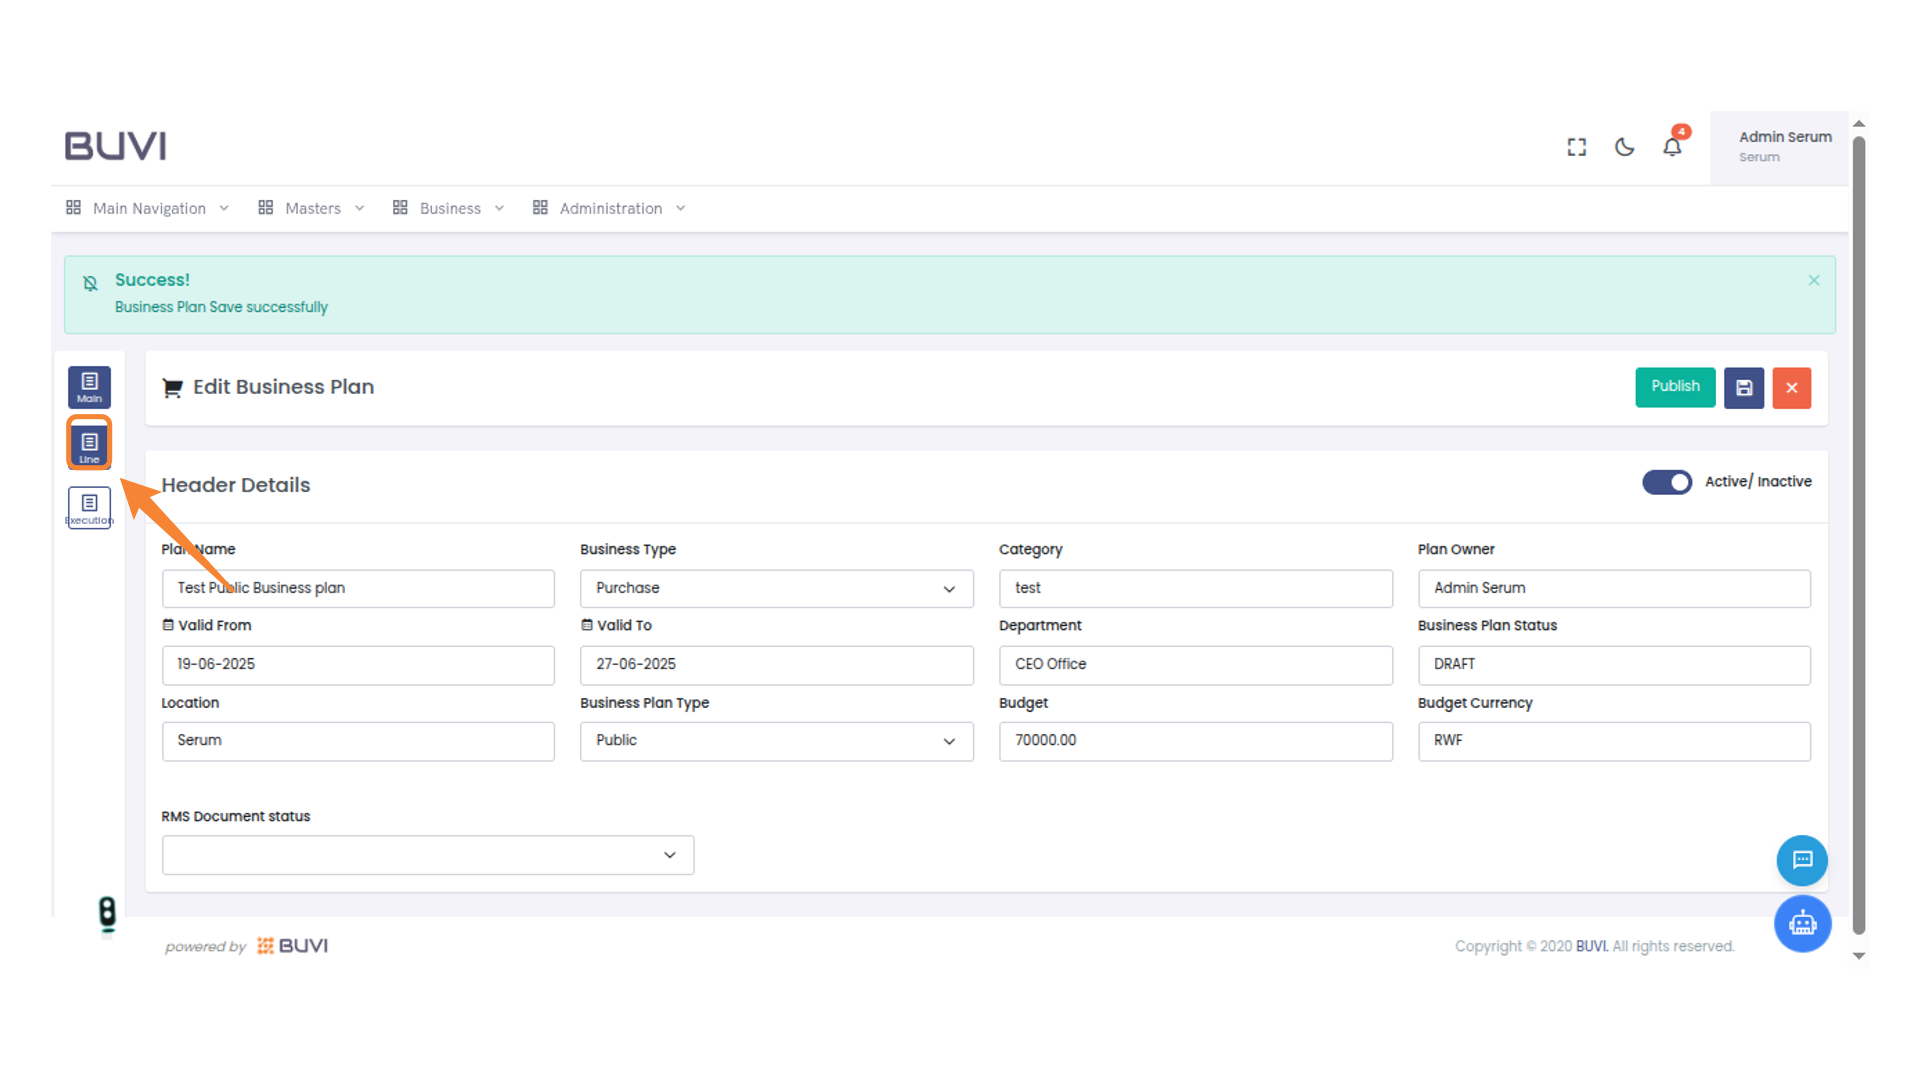
25. Click on the element
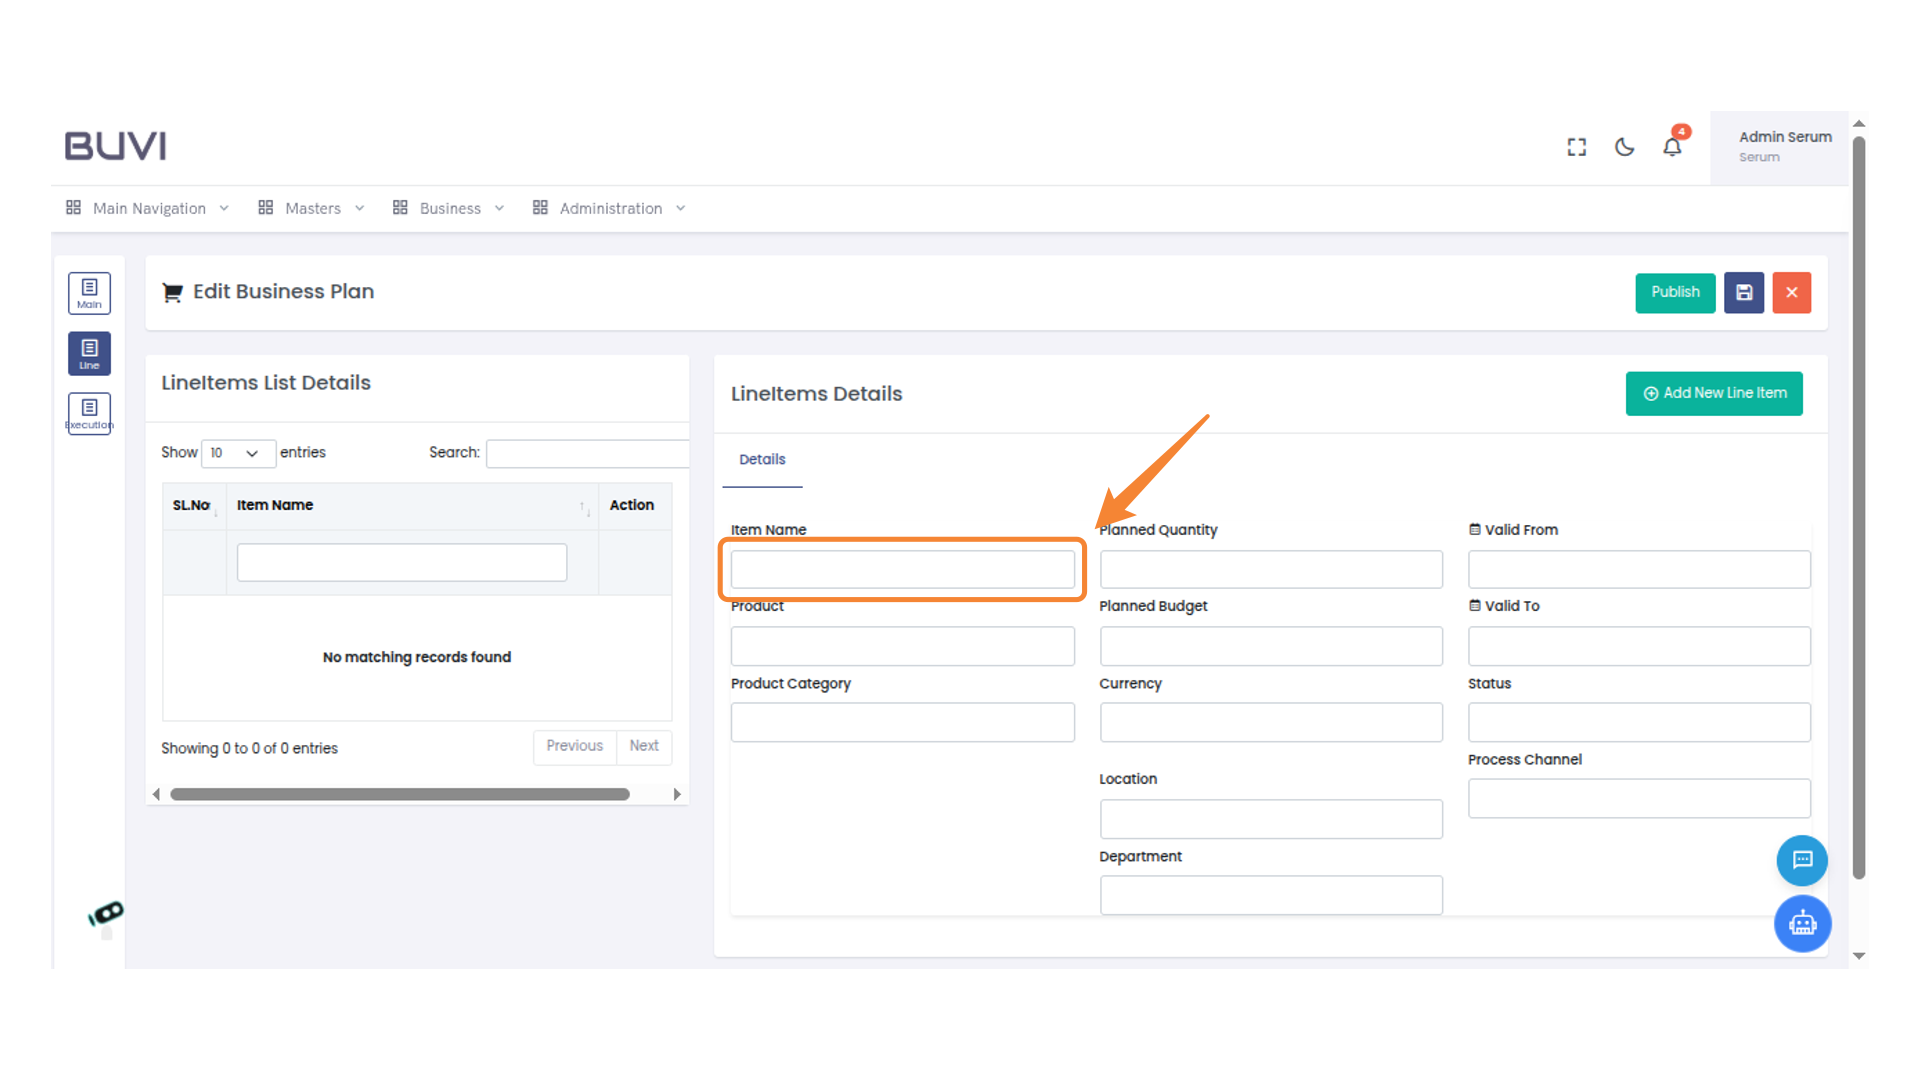
26. Add a New Line Item
Click 'Add New Line Item' to create a new entry in the list.

27. Enter Item Name
Input the item name in the provided field.
28. Enter Product Name
Input the product name in the designated field to proceed.
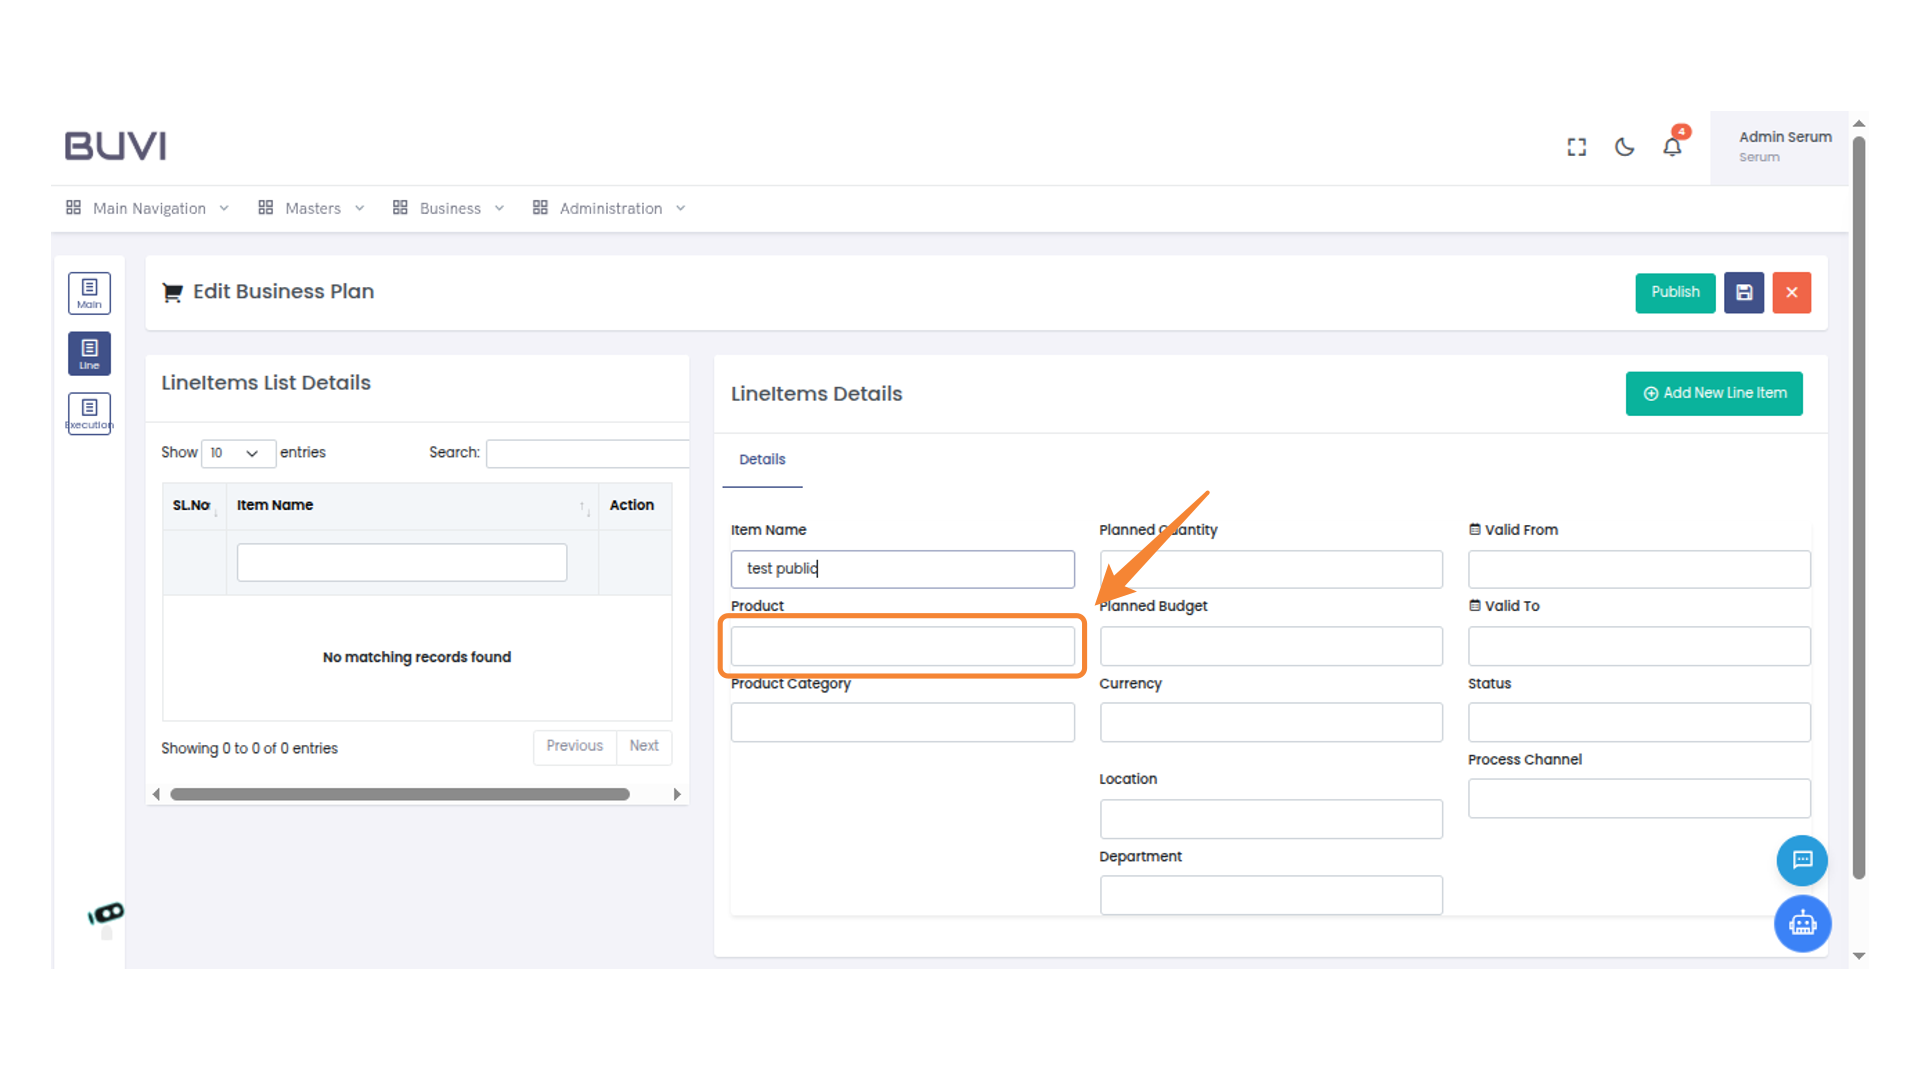
29. Product Selection
Select product
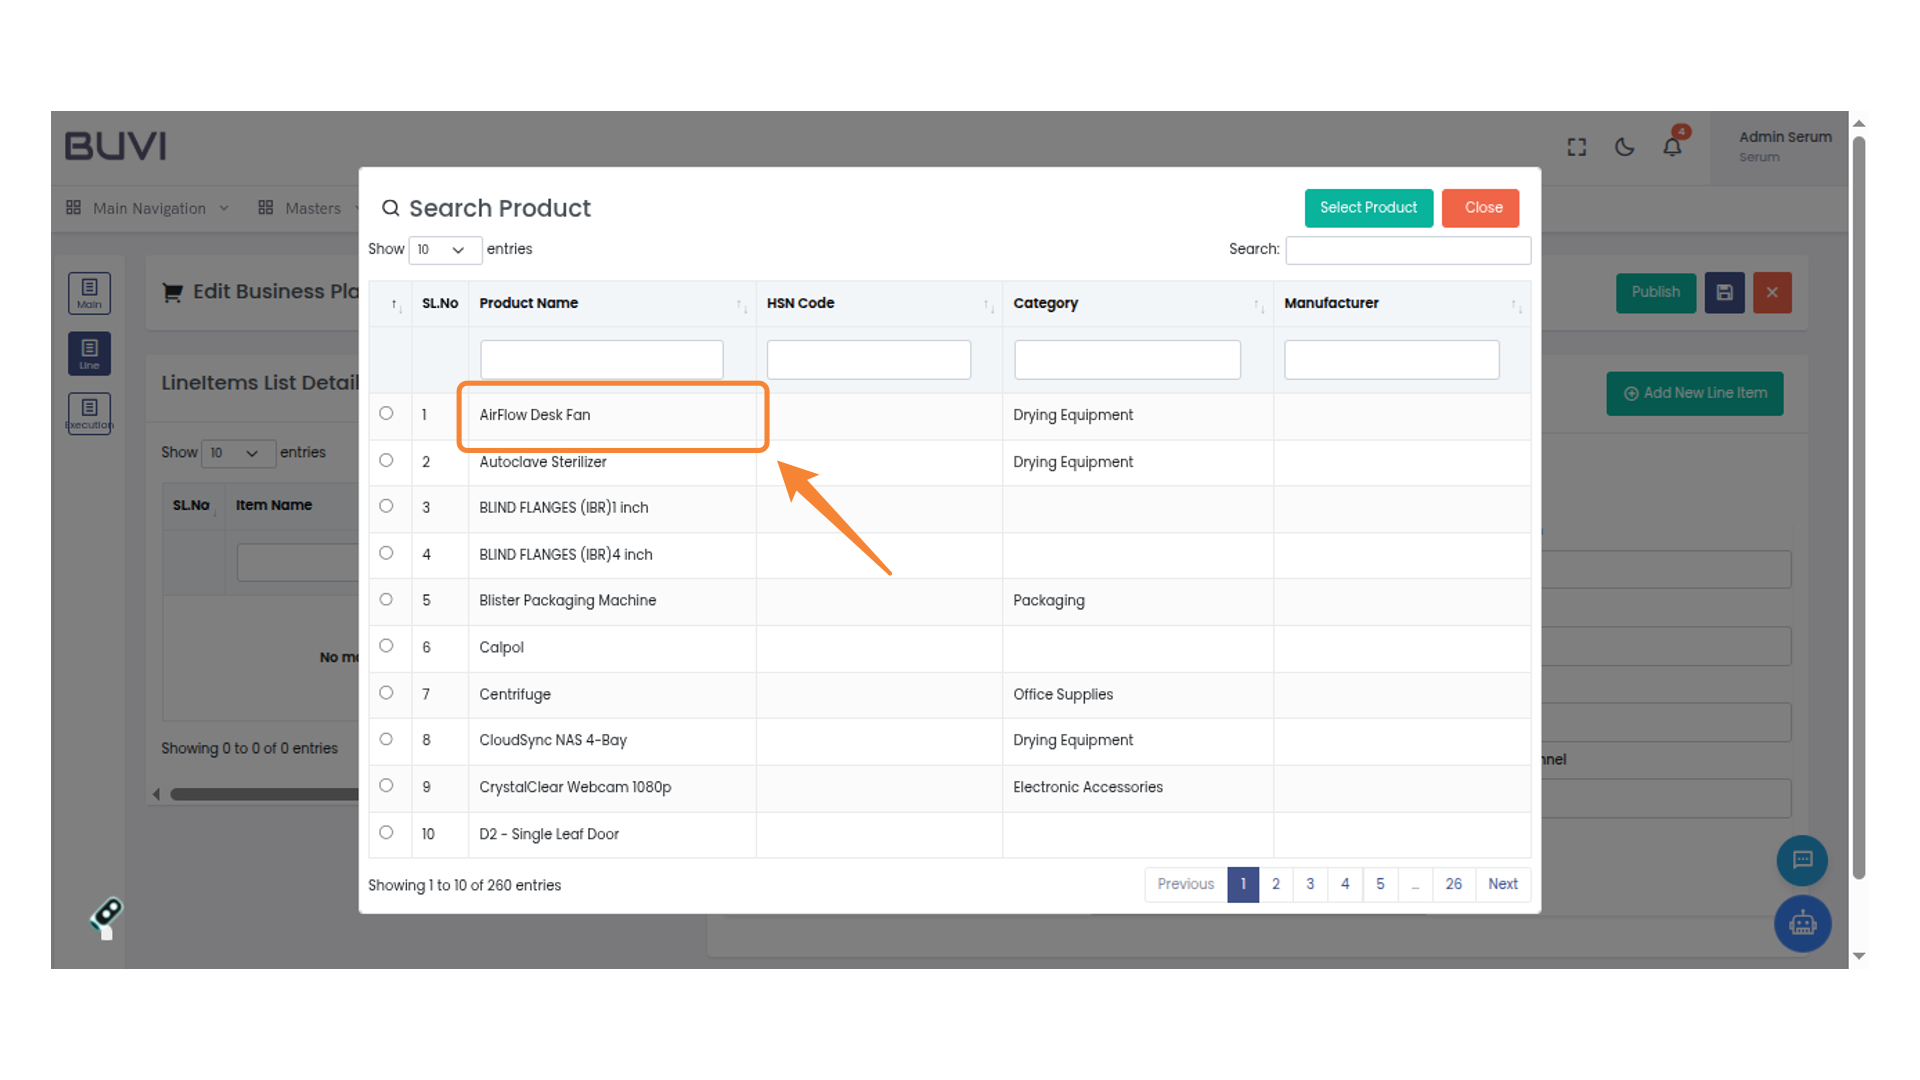
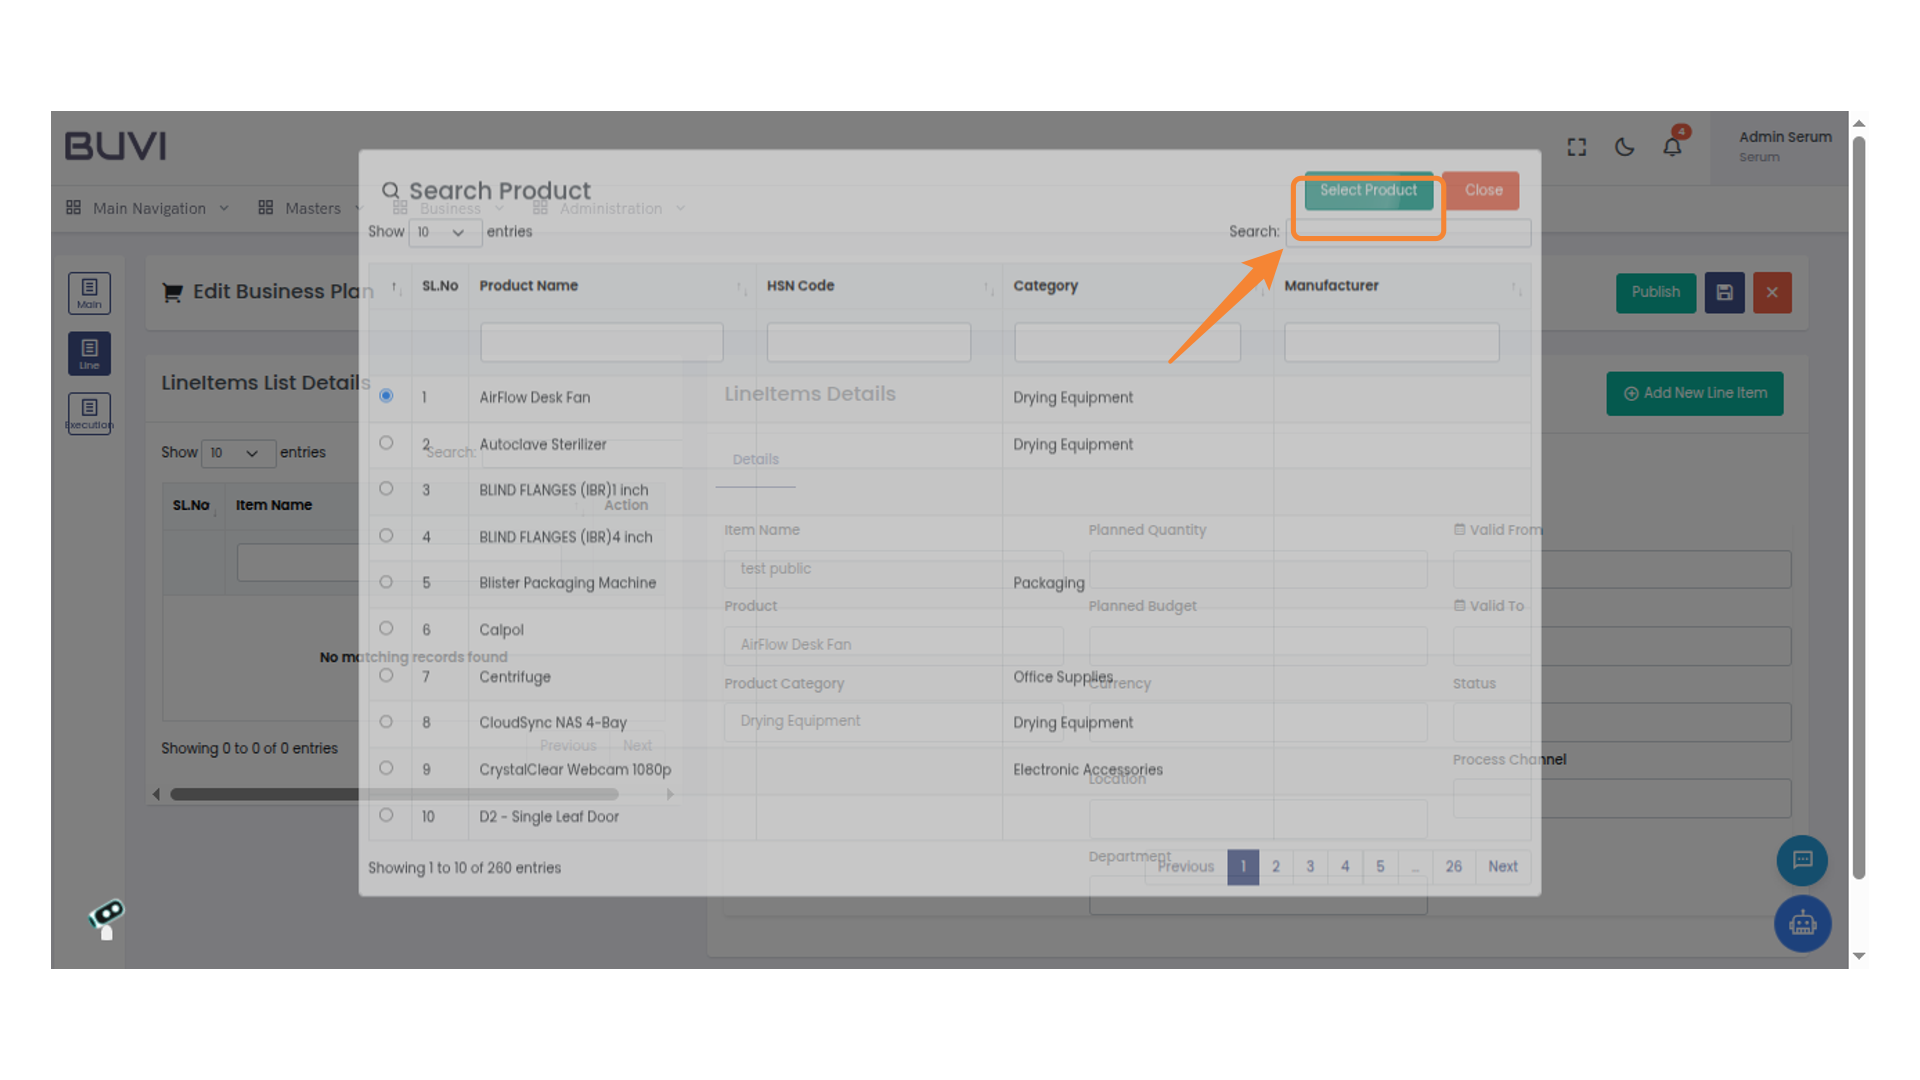
30. Select a Product
Click the 'Select Product' button to proceed with your product choice in the search menu.
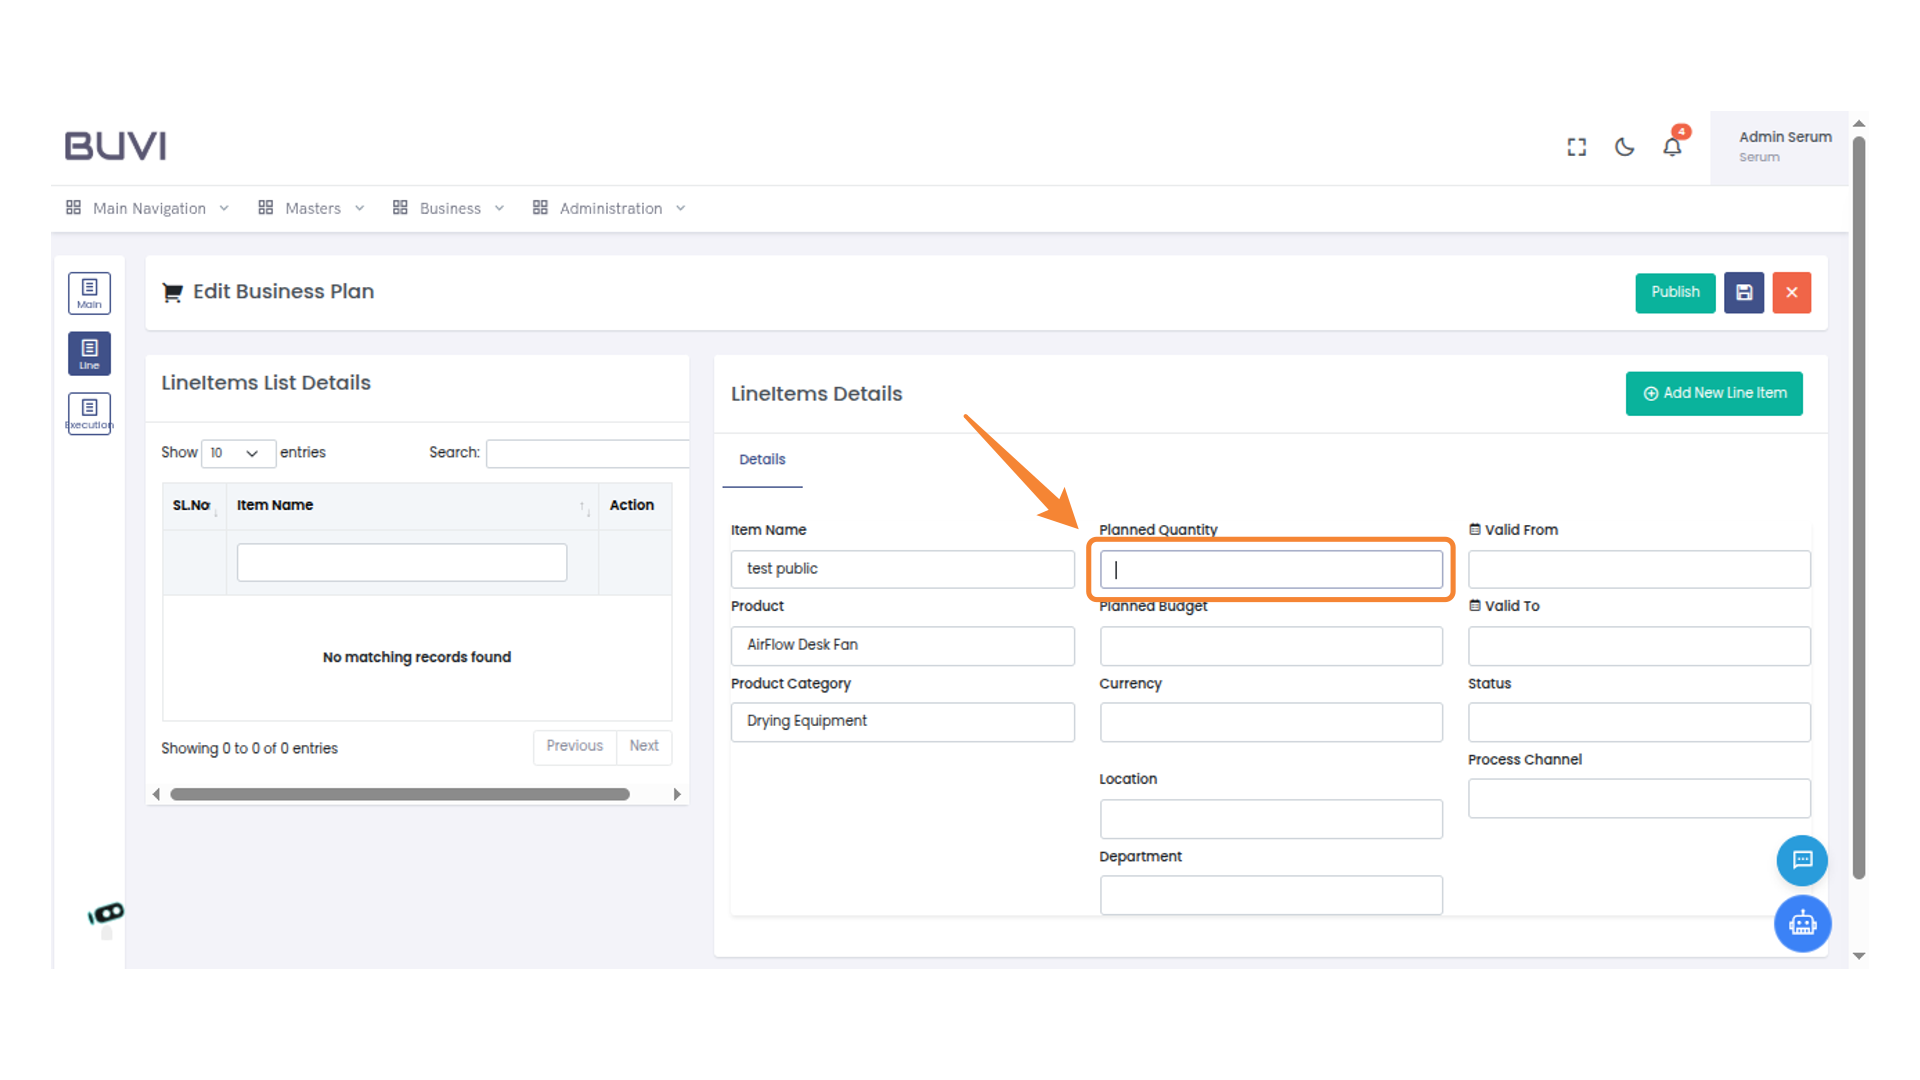
31. Specify Quantity
Enter the planned quantity for the selected item.
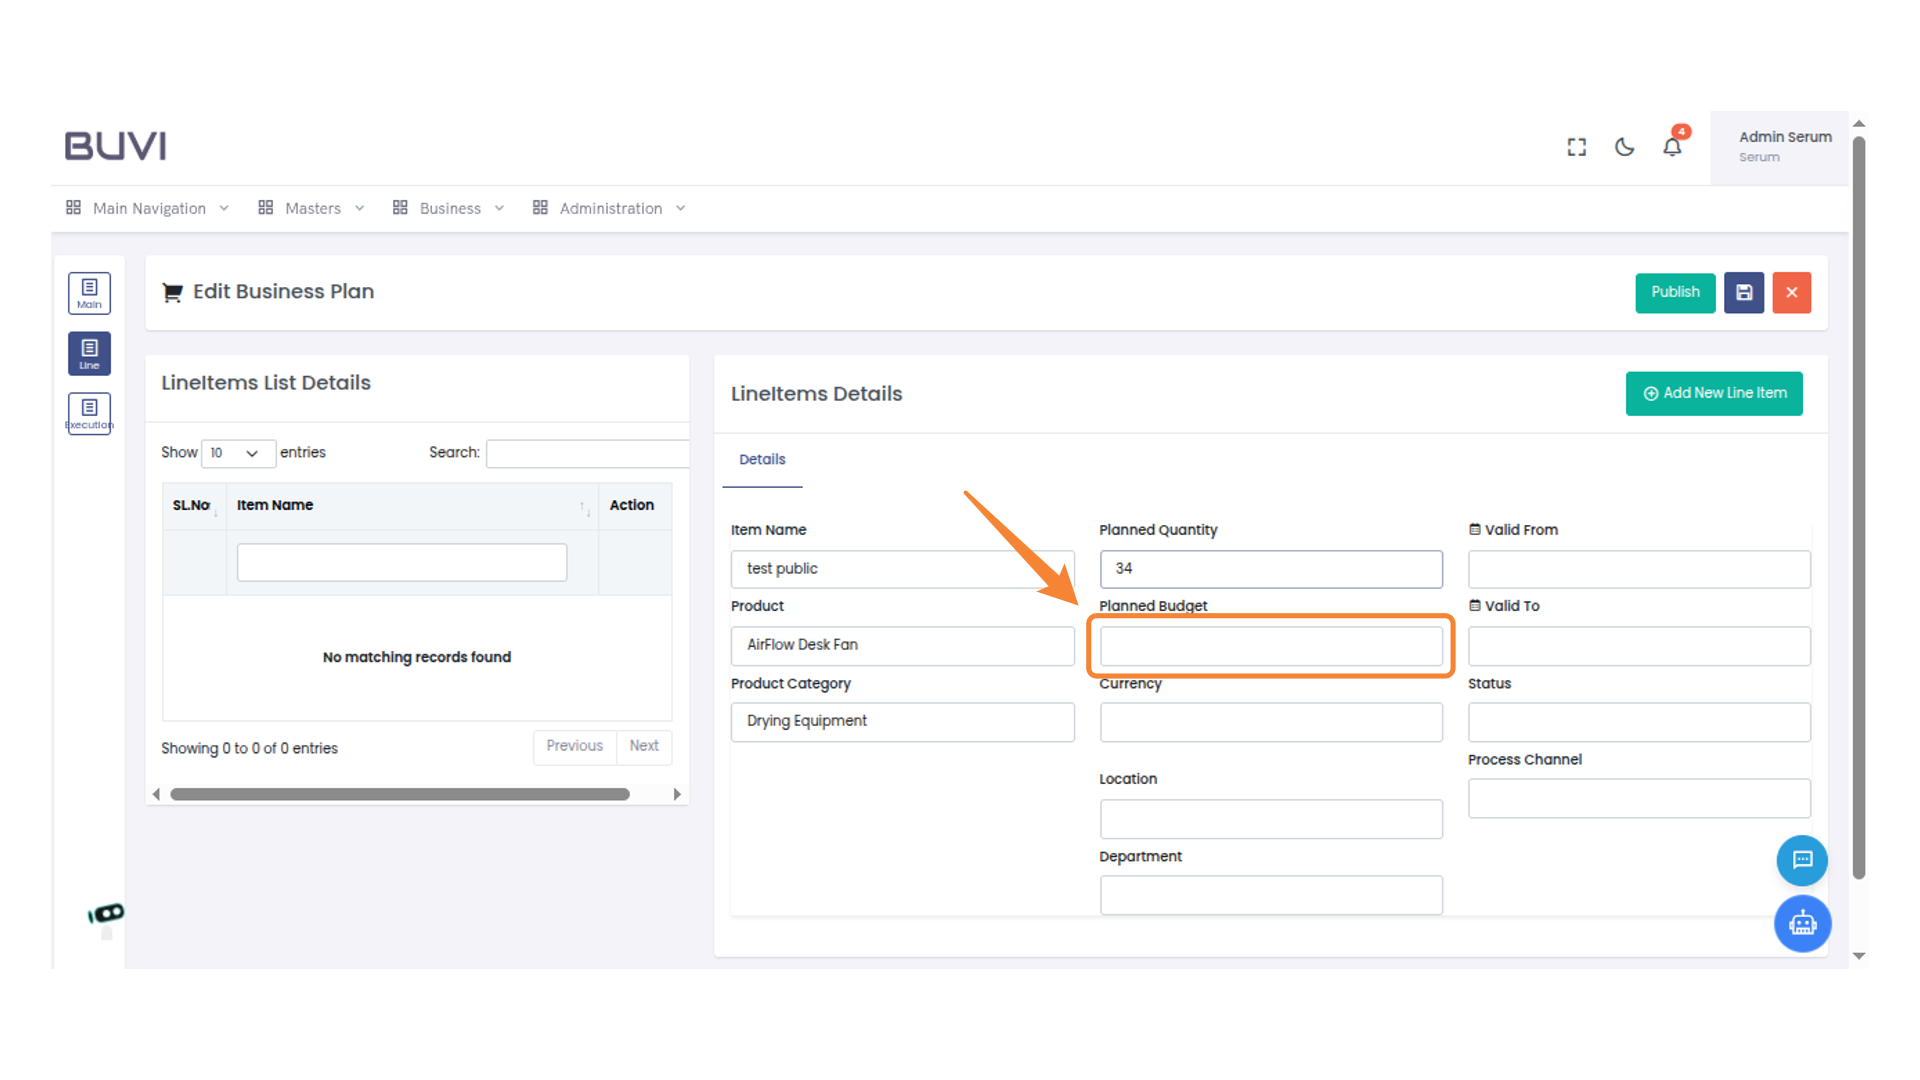
32. Enter Planned Budget
Enter the planned budget for the product under 'Planned Budget'.
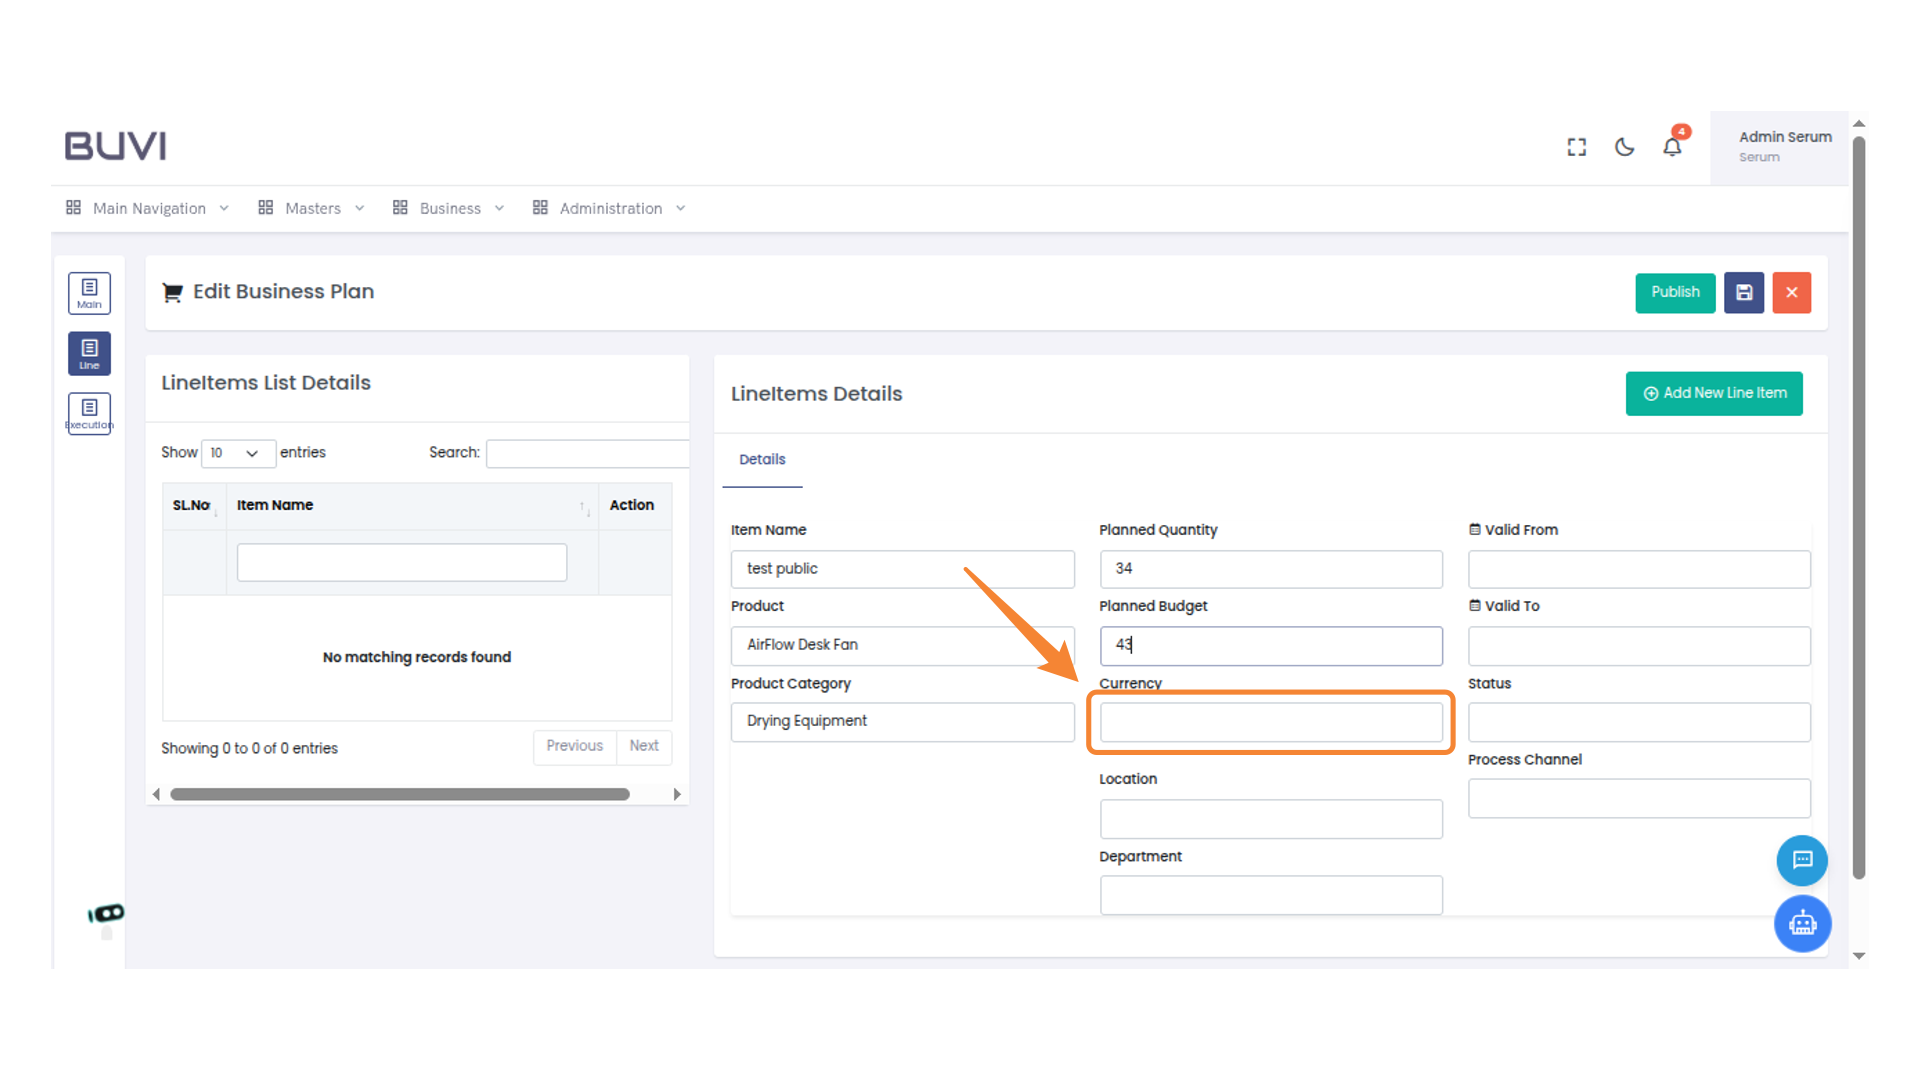
33. Specify Currency for Budget
Enter the currency type for the planned budget amount.
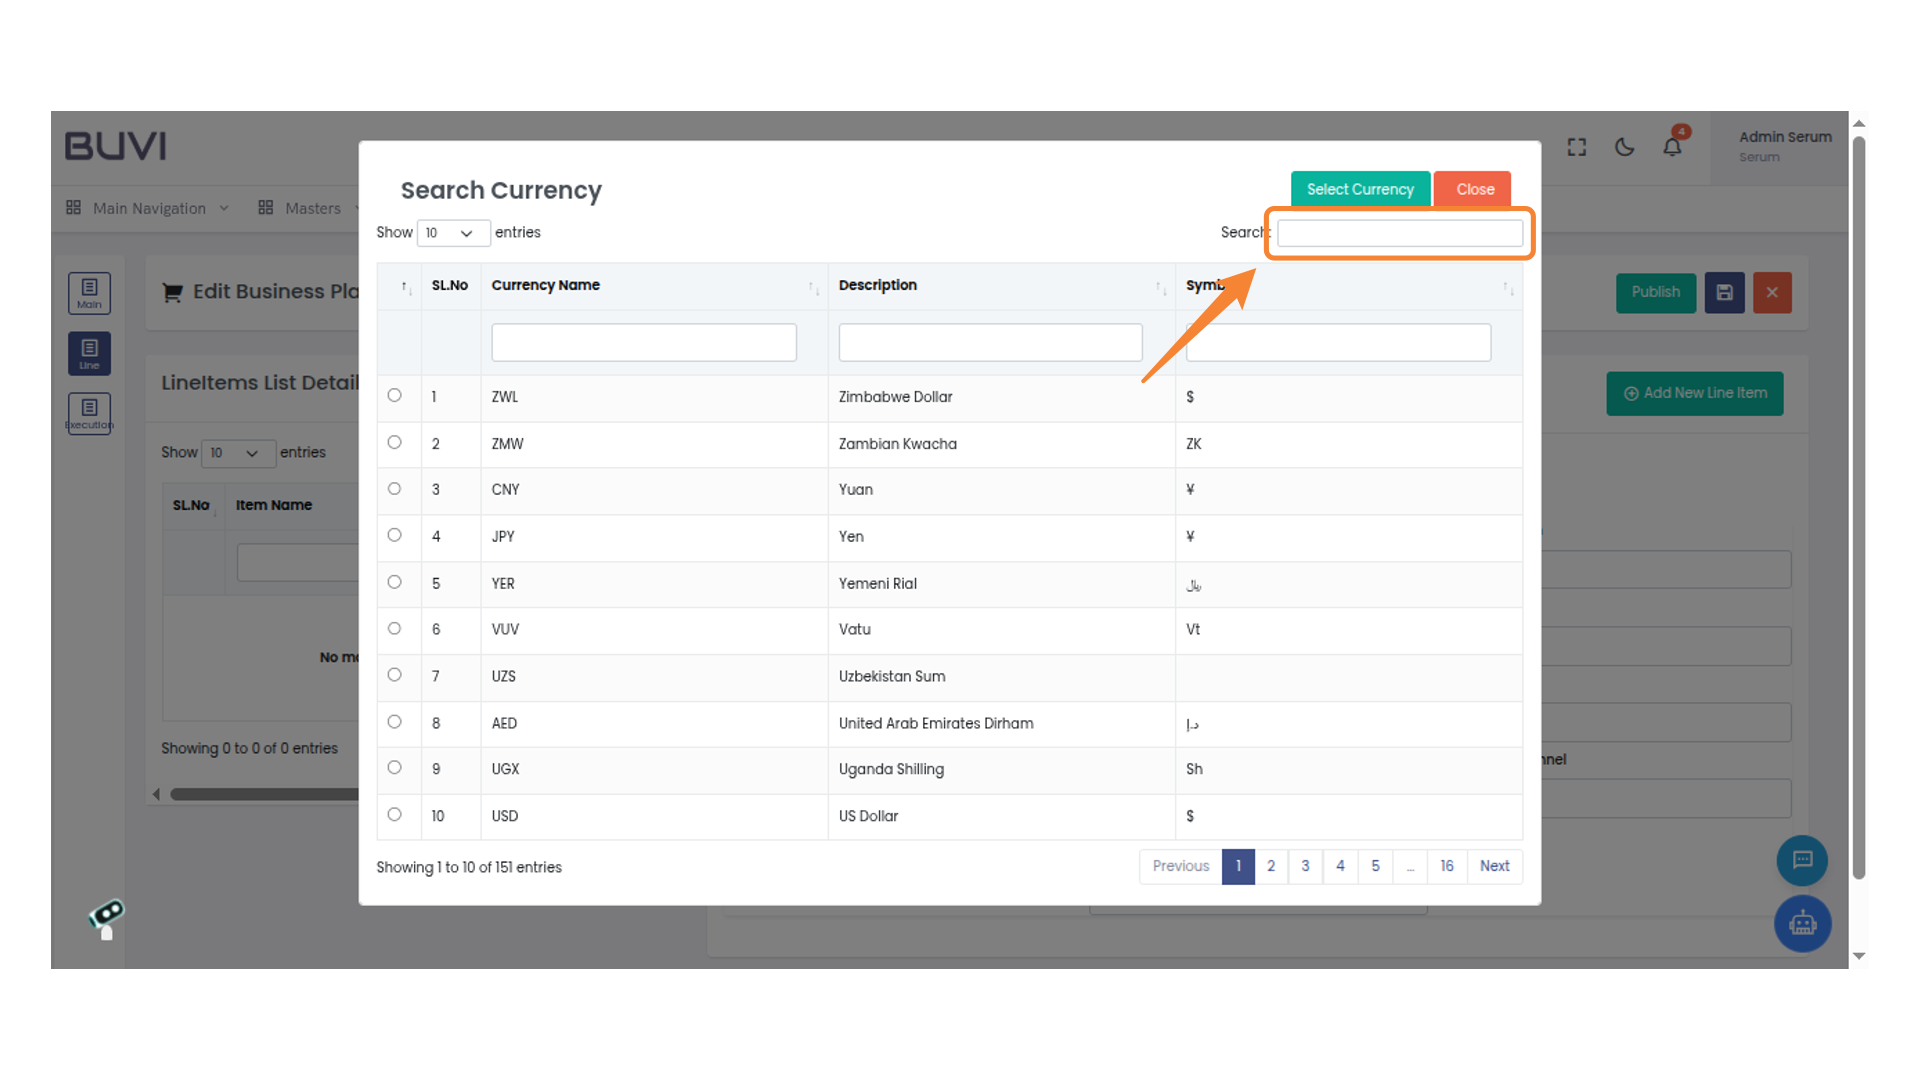
34. Search for a Currency
Search for the currency
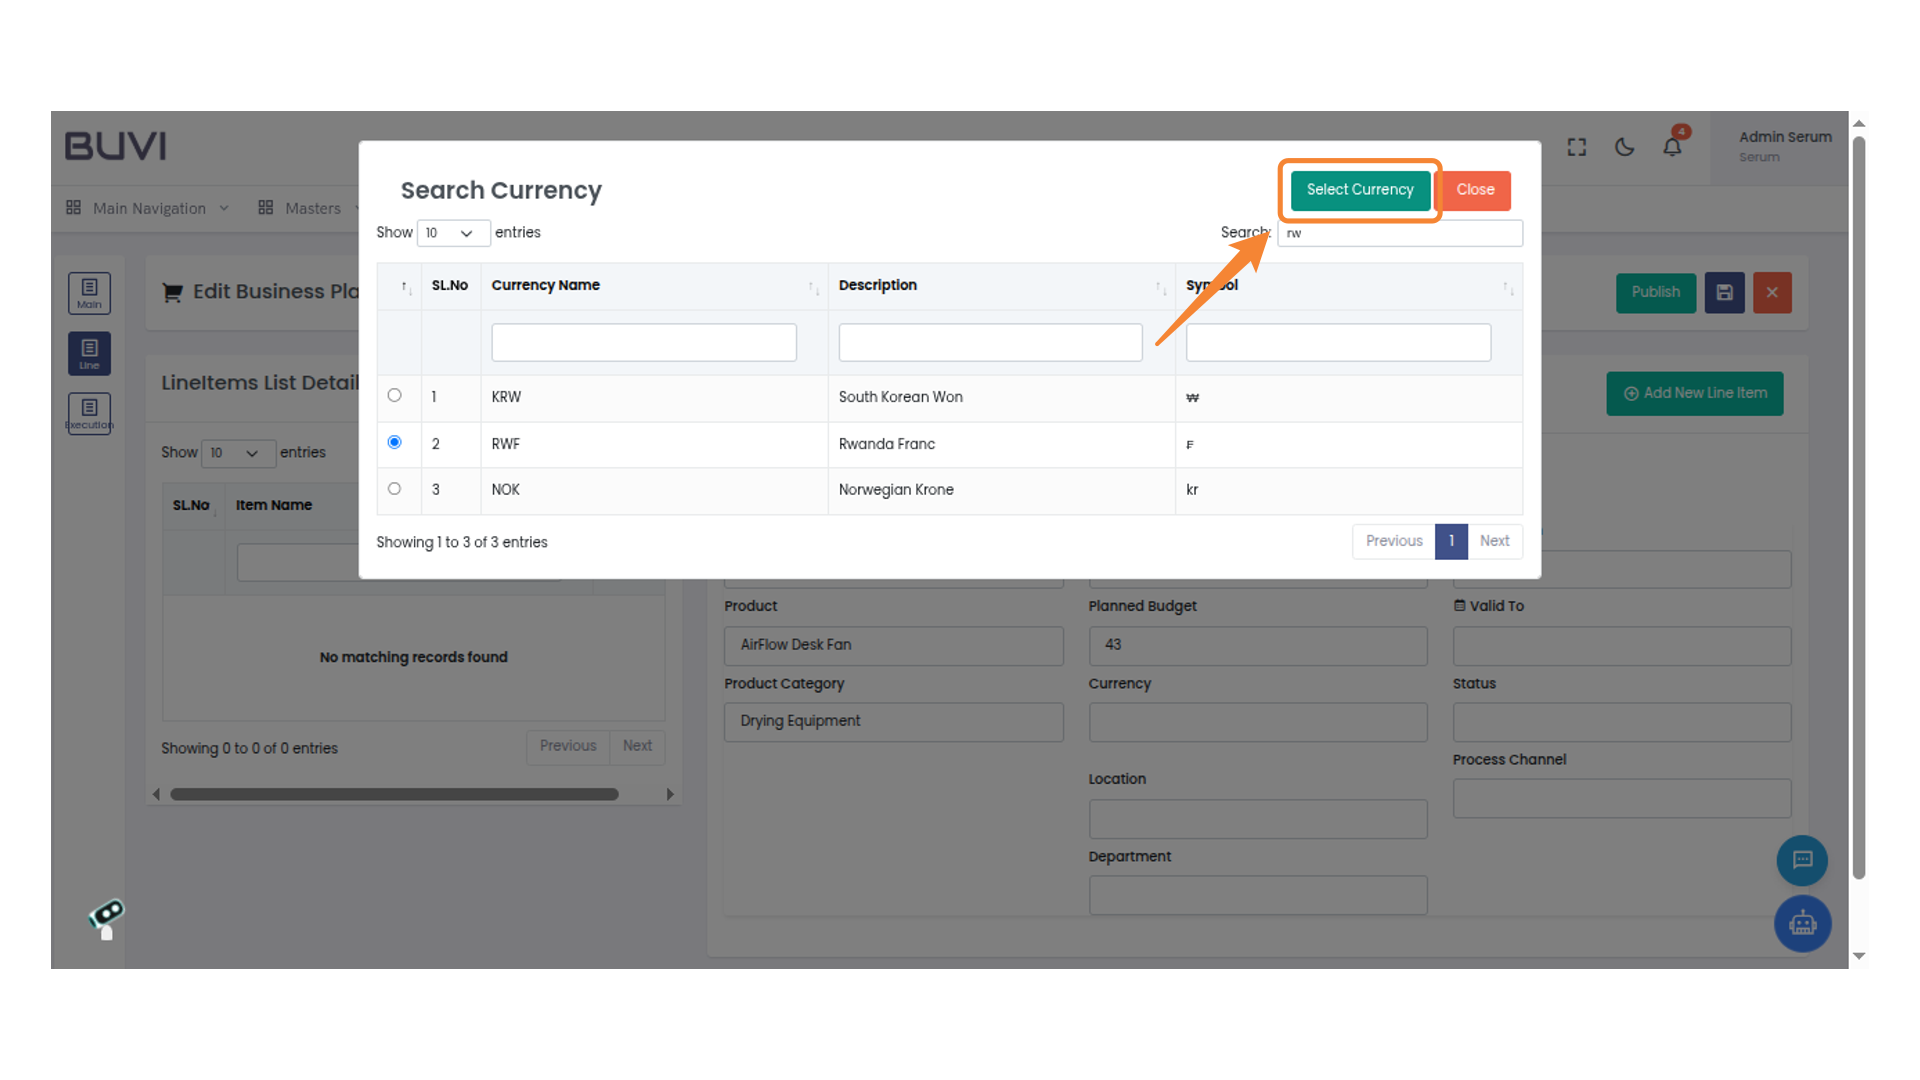
35. Select Currency Confirmation
Click the 'Select Currency' button to confirm your choice.
36. Specify Location
Enter the location details in the provided field.
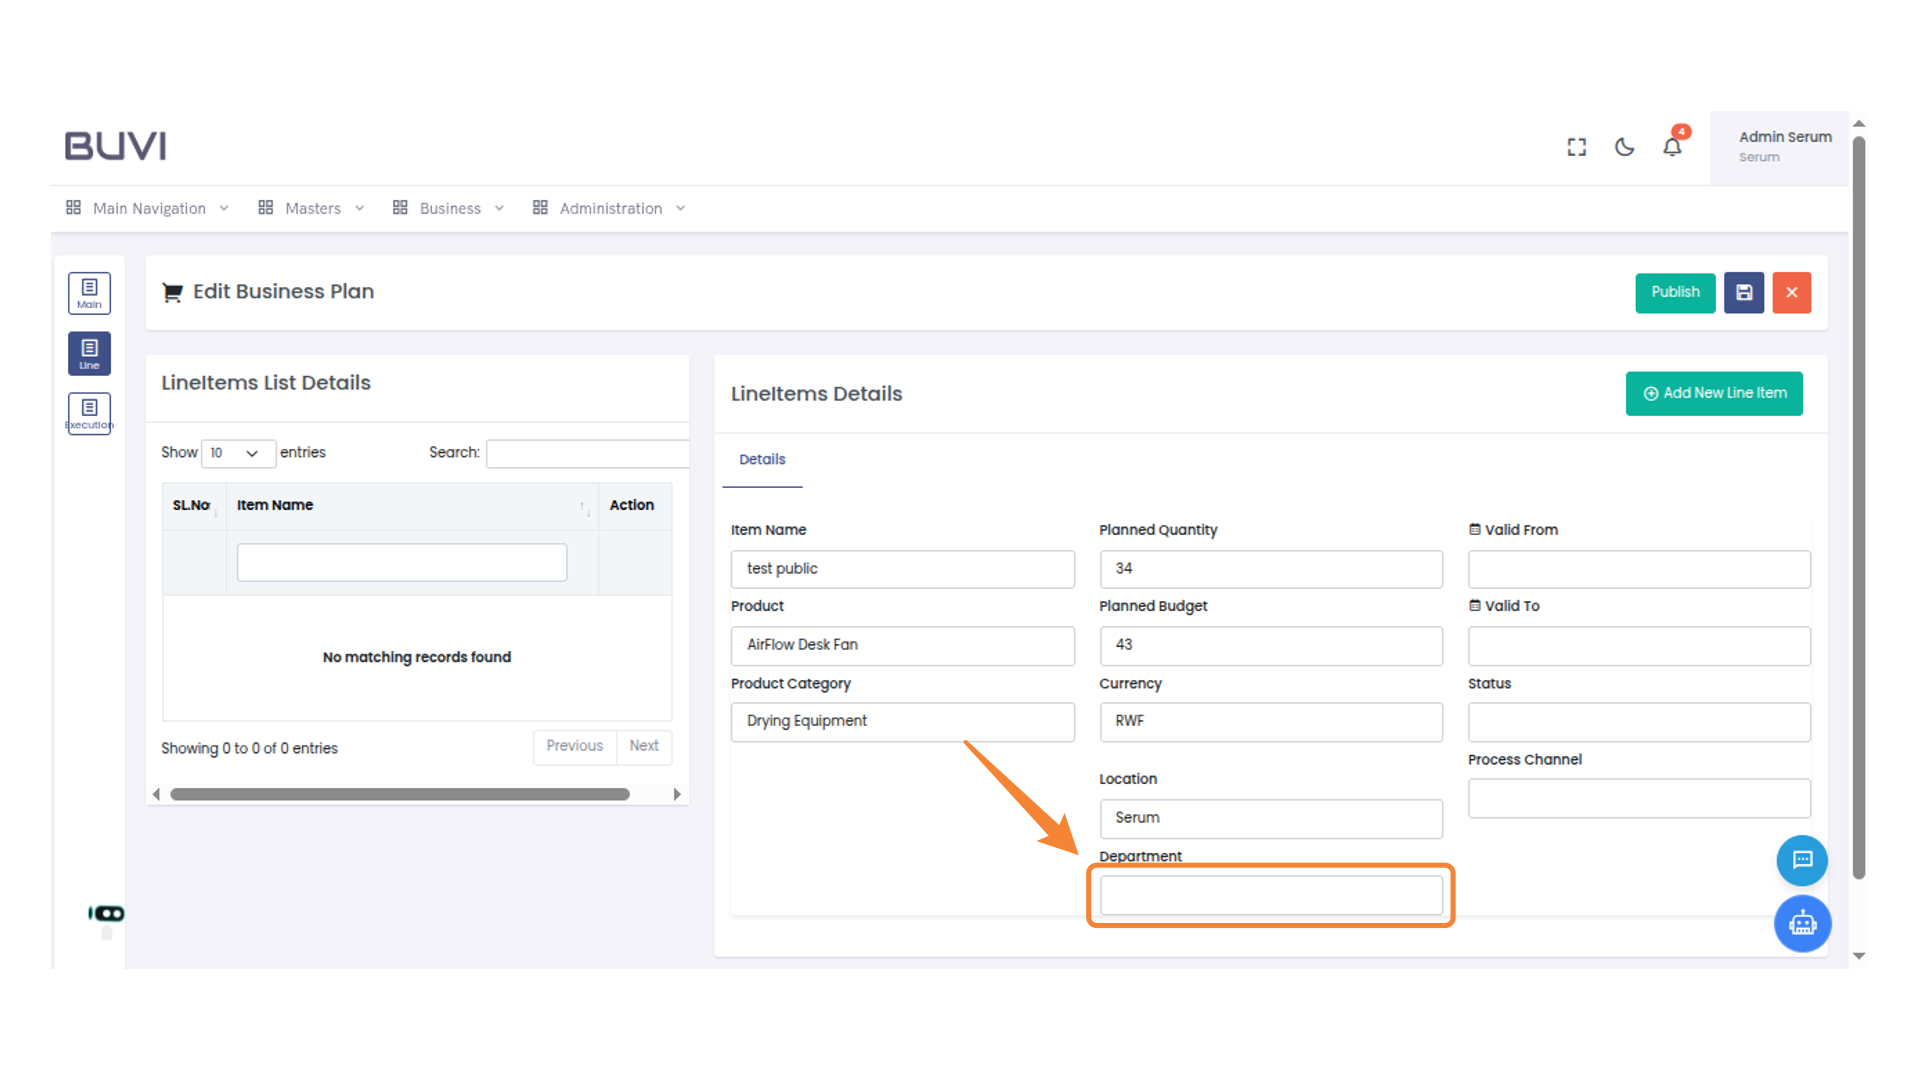
37. Input Department Name
Enter the department name in the provided field to categorize the line item accordingly.
38. Select Department
Select Department
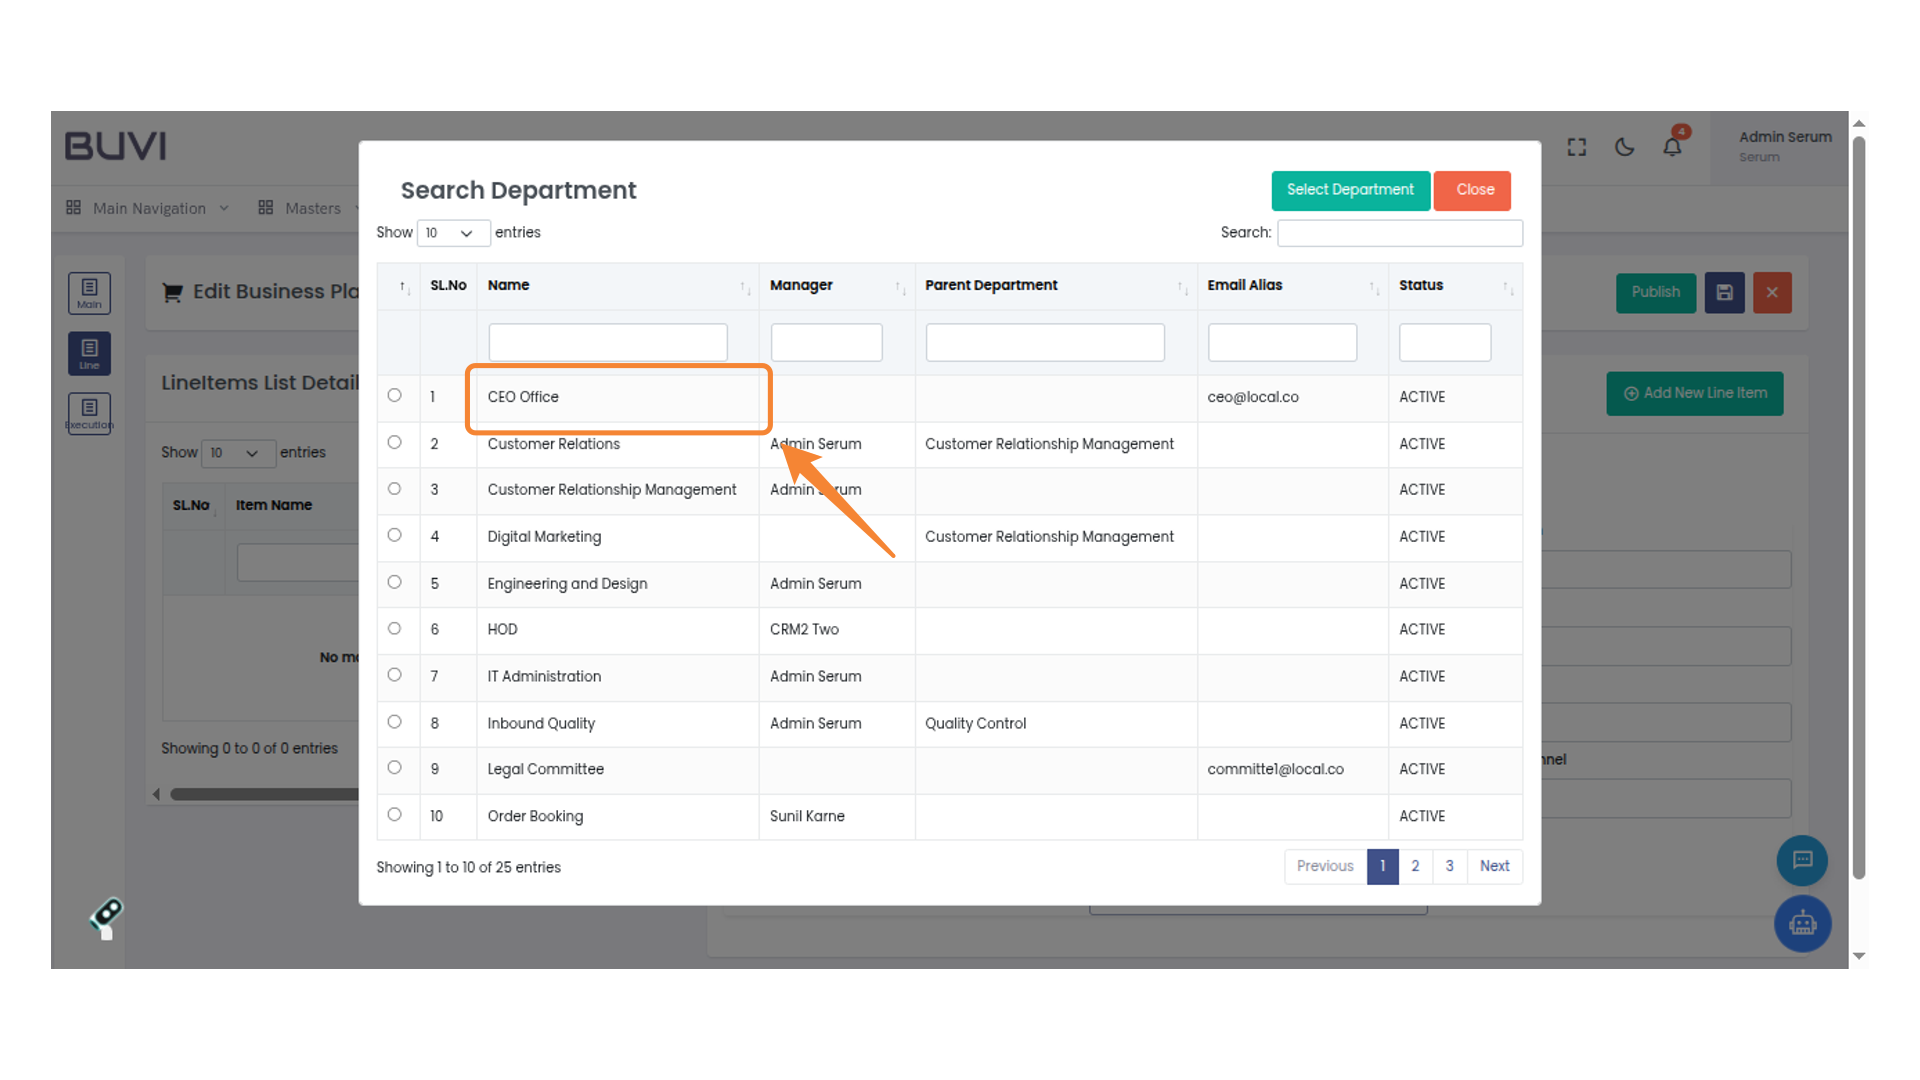
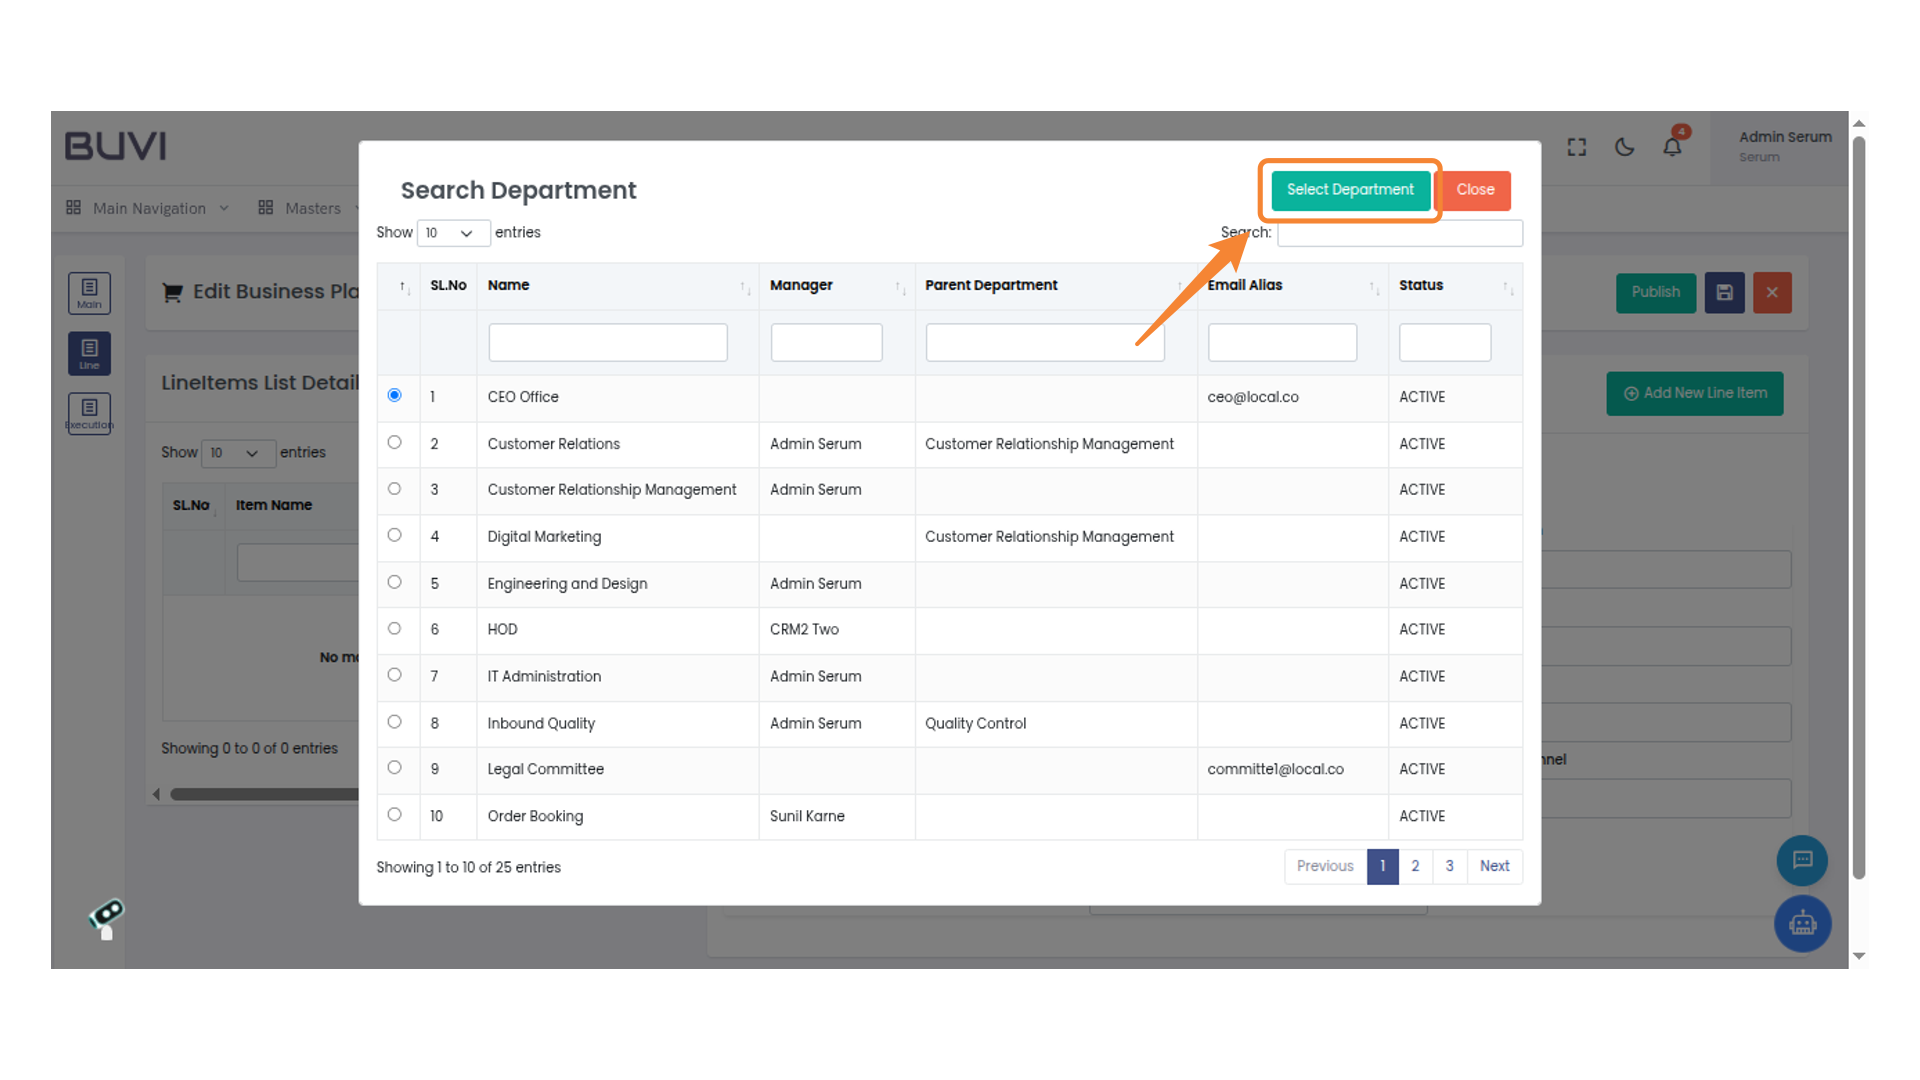
39. Select a Department
Click 'Select Department' to choose a specific department from the list.
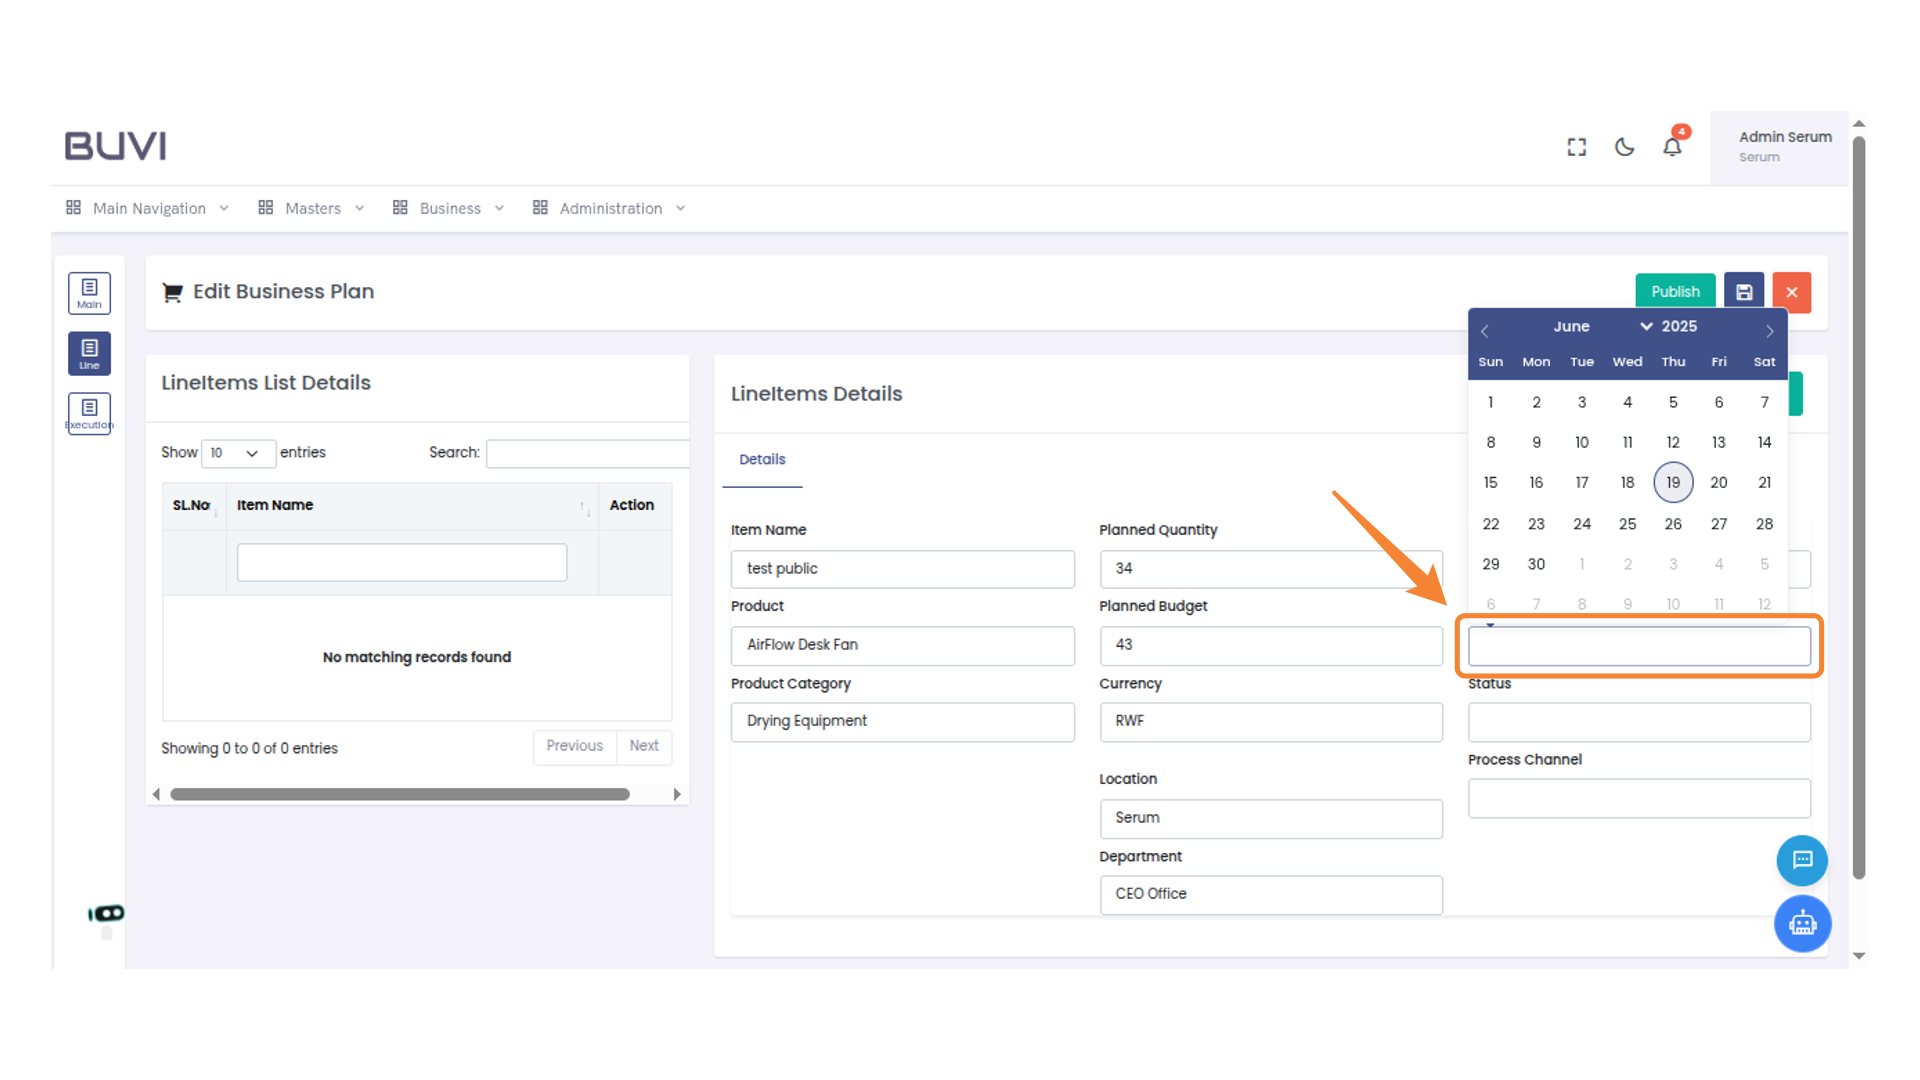
40. Select Date for Line Item
Choose the start date from the calendar for the 'Valid From' field

41. Select a Date for Status Update
Choose a date from the calendar to update the status.
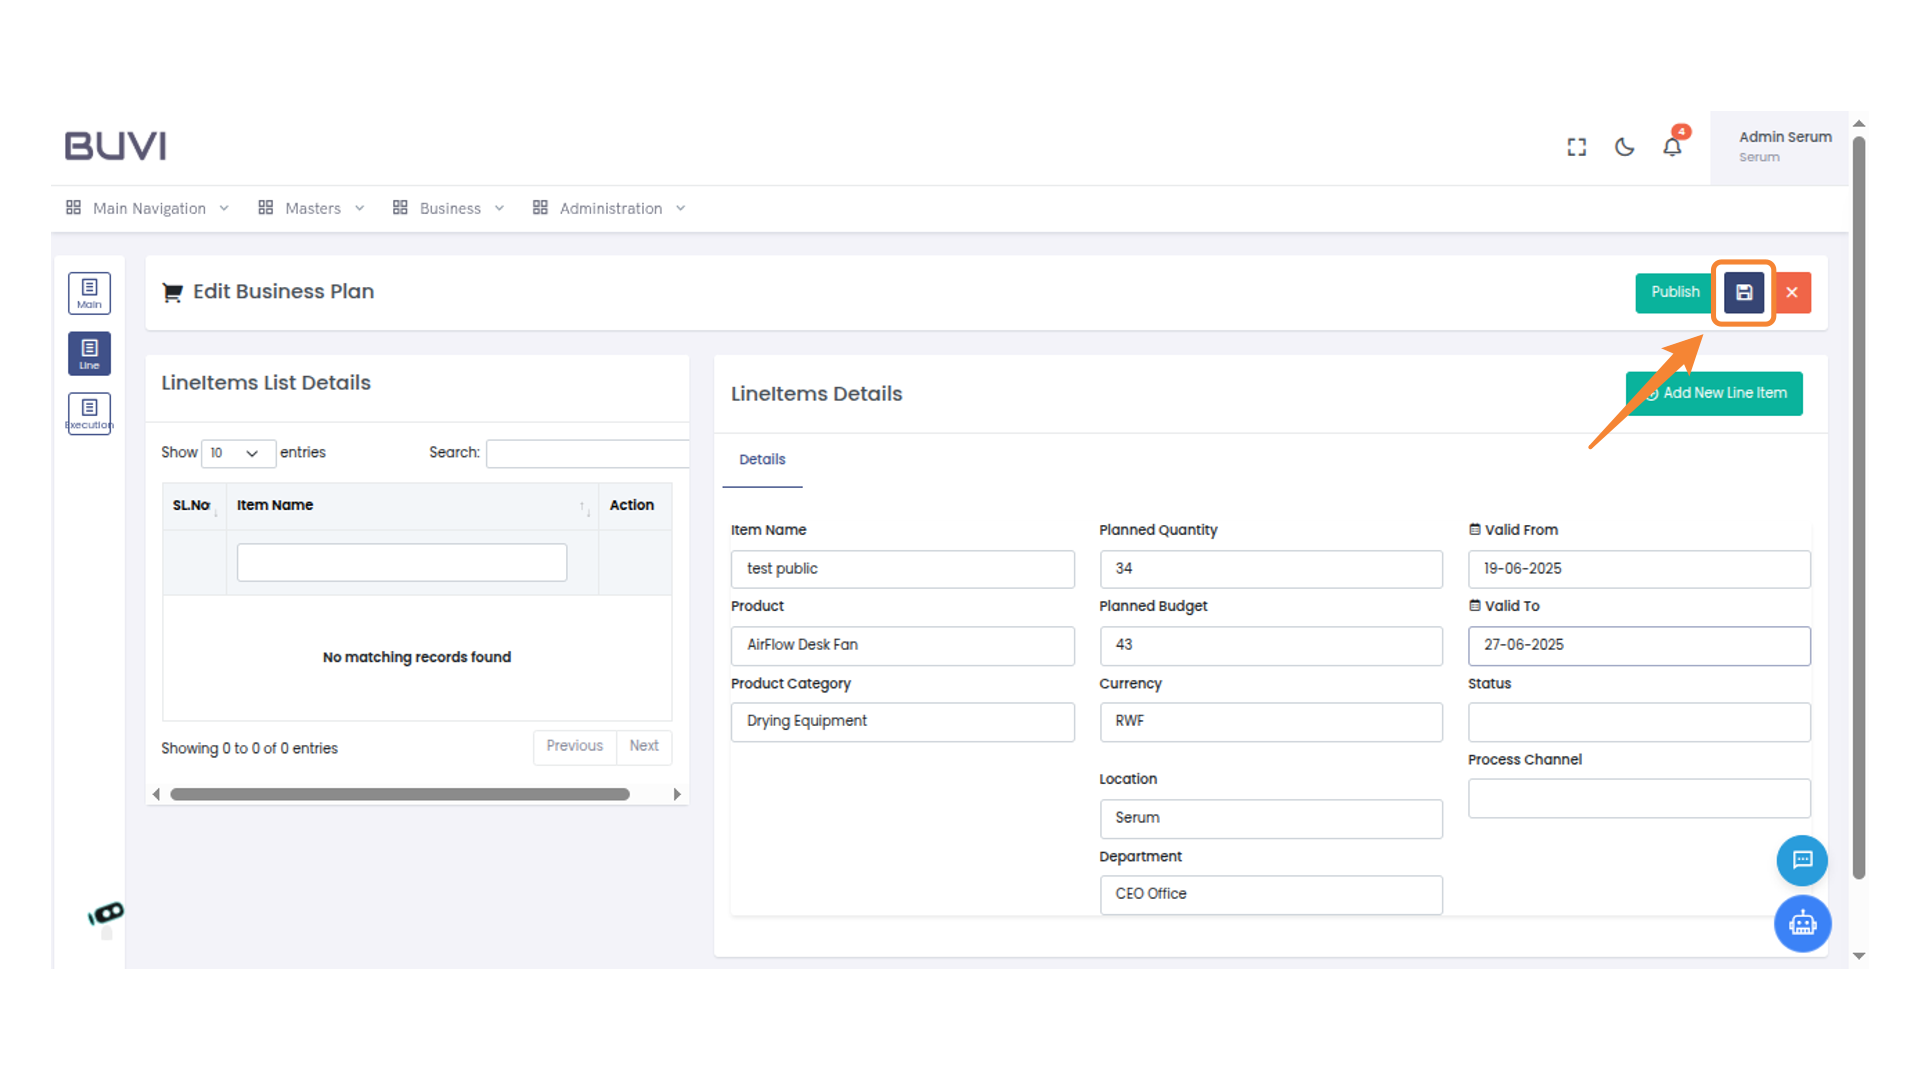
42. Save Changes
Click to save the current business plan edits.
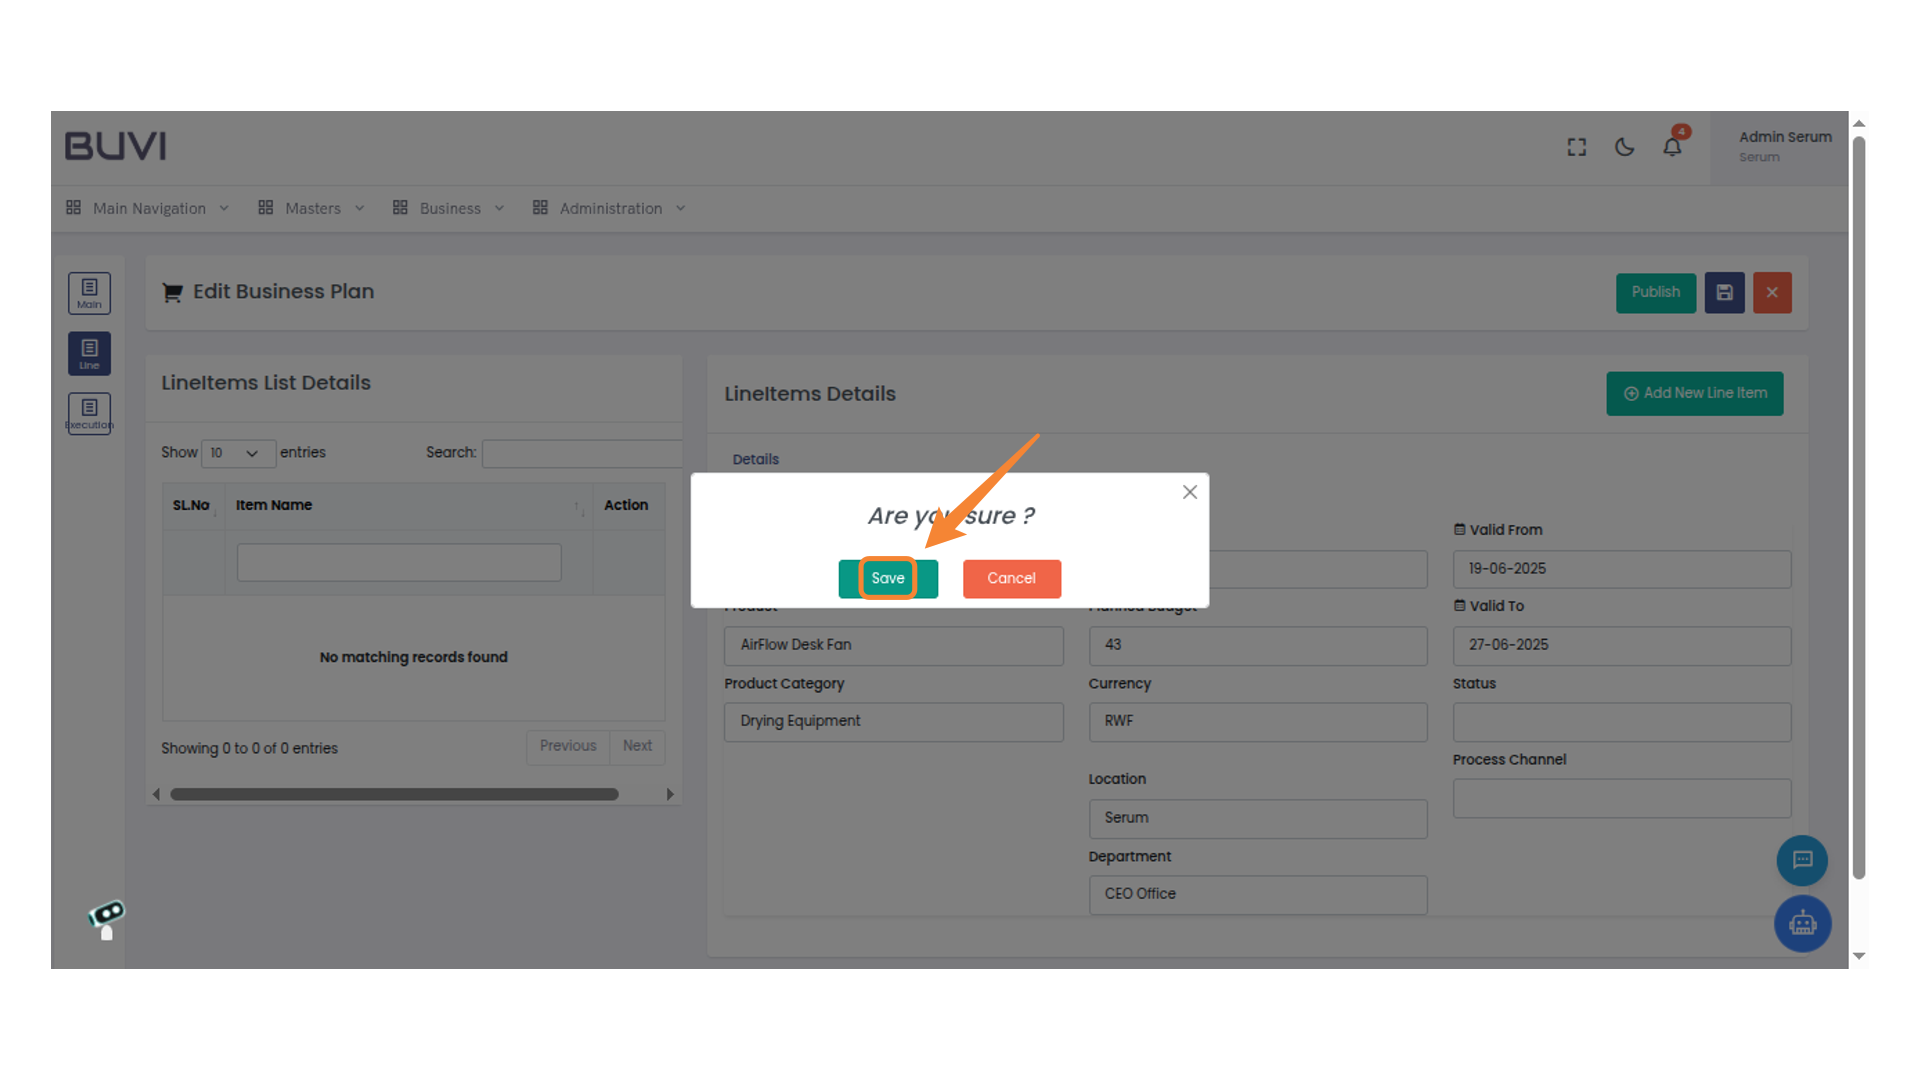
43. Confirm Save Action
Click 'Save' to confirm your action.
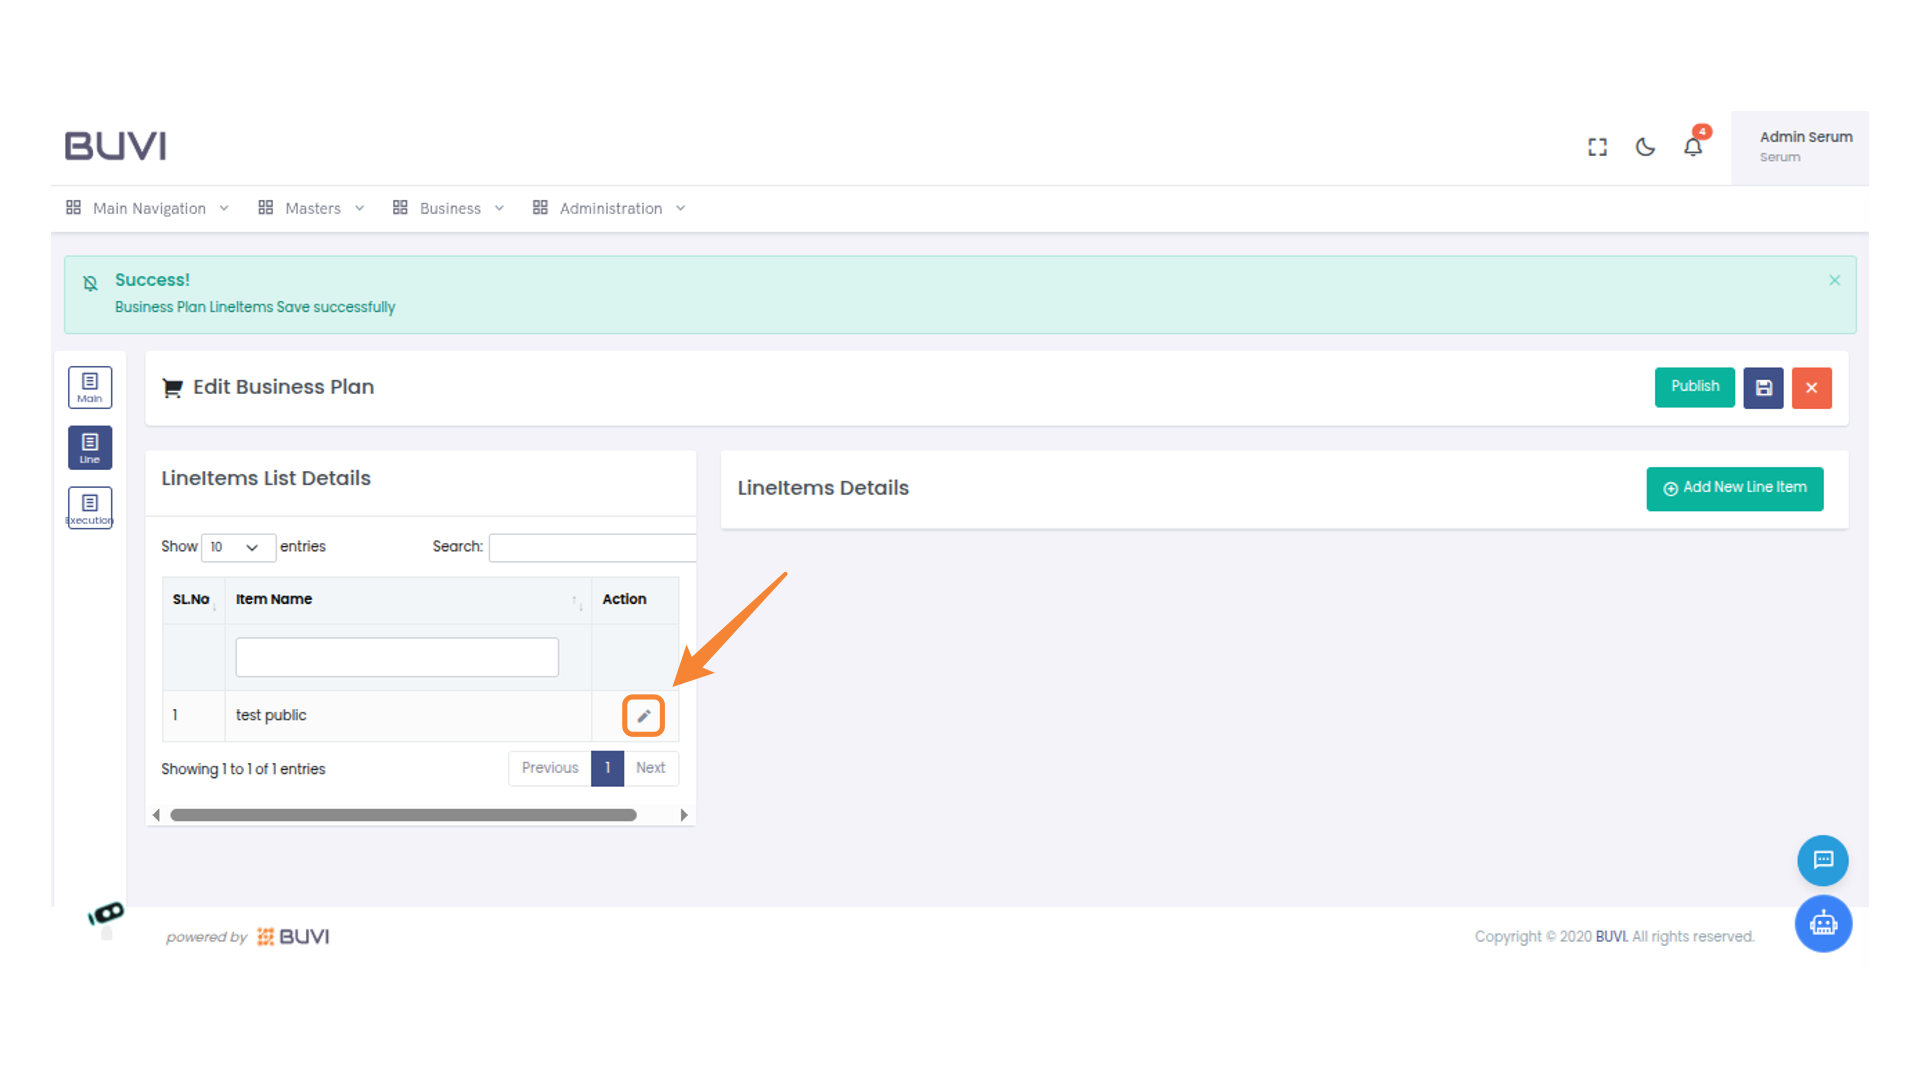
44. Edit Line Item
Click the pencil icon to edit the current line item.
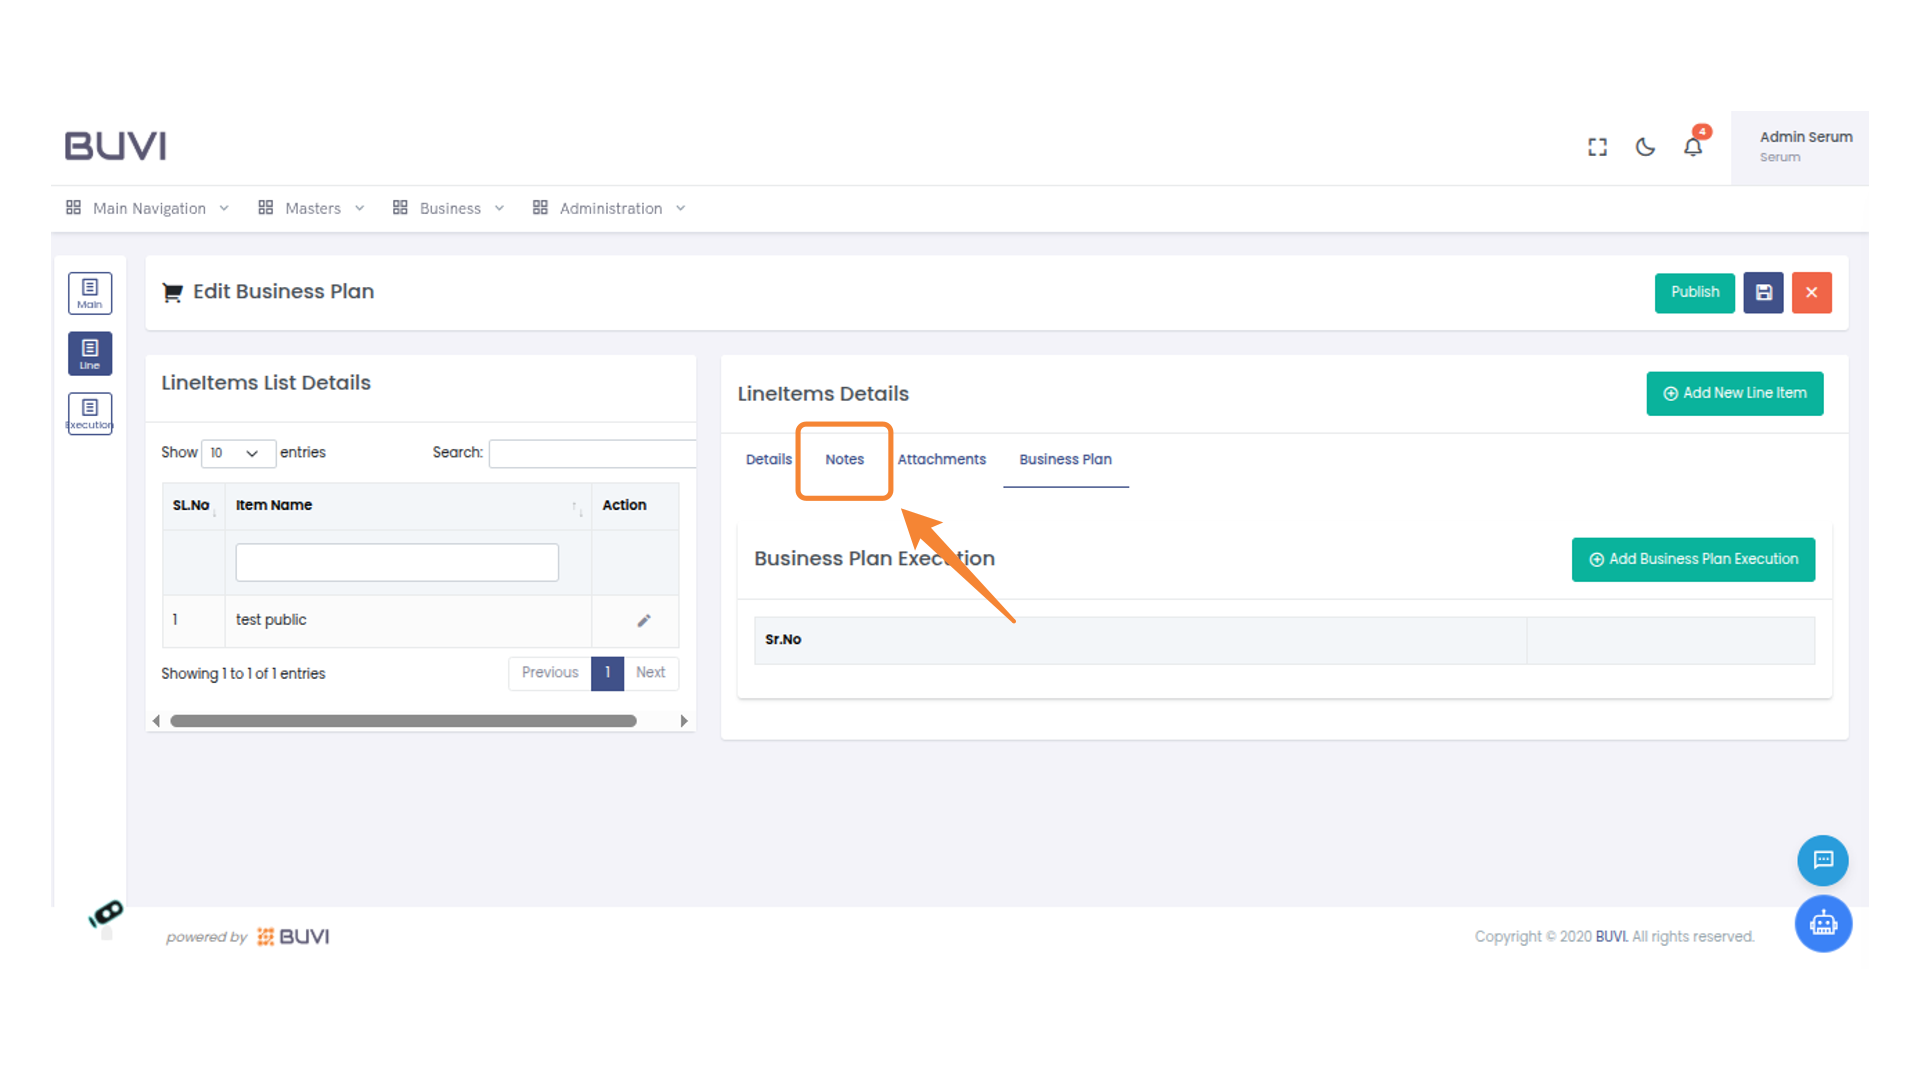
45. Access Notes Tab
Select the 'Notes' tab to view or add additional information related to line items.
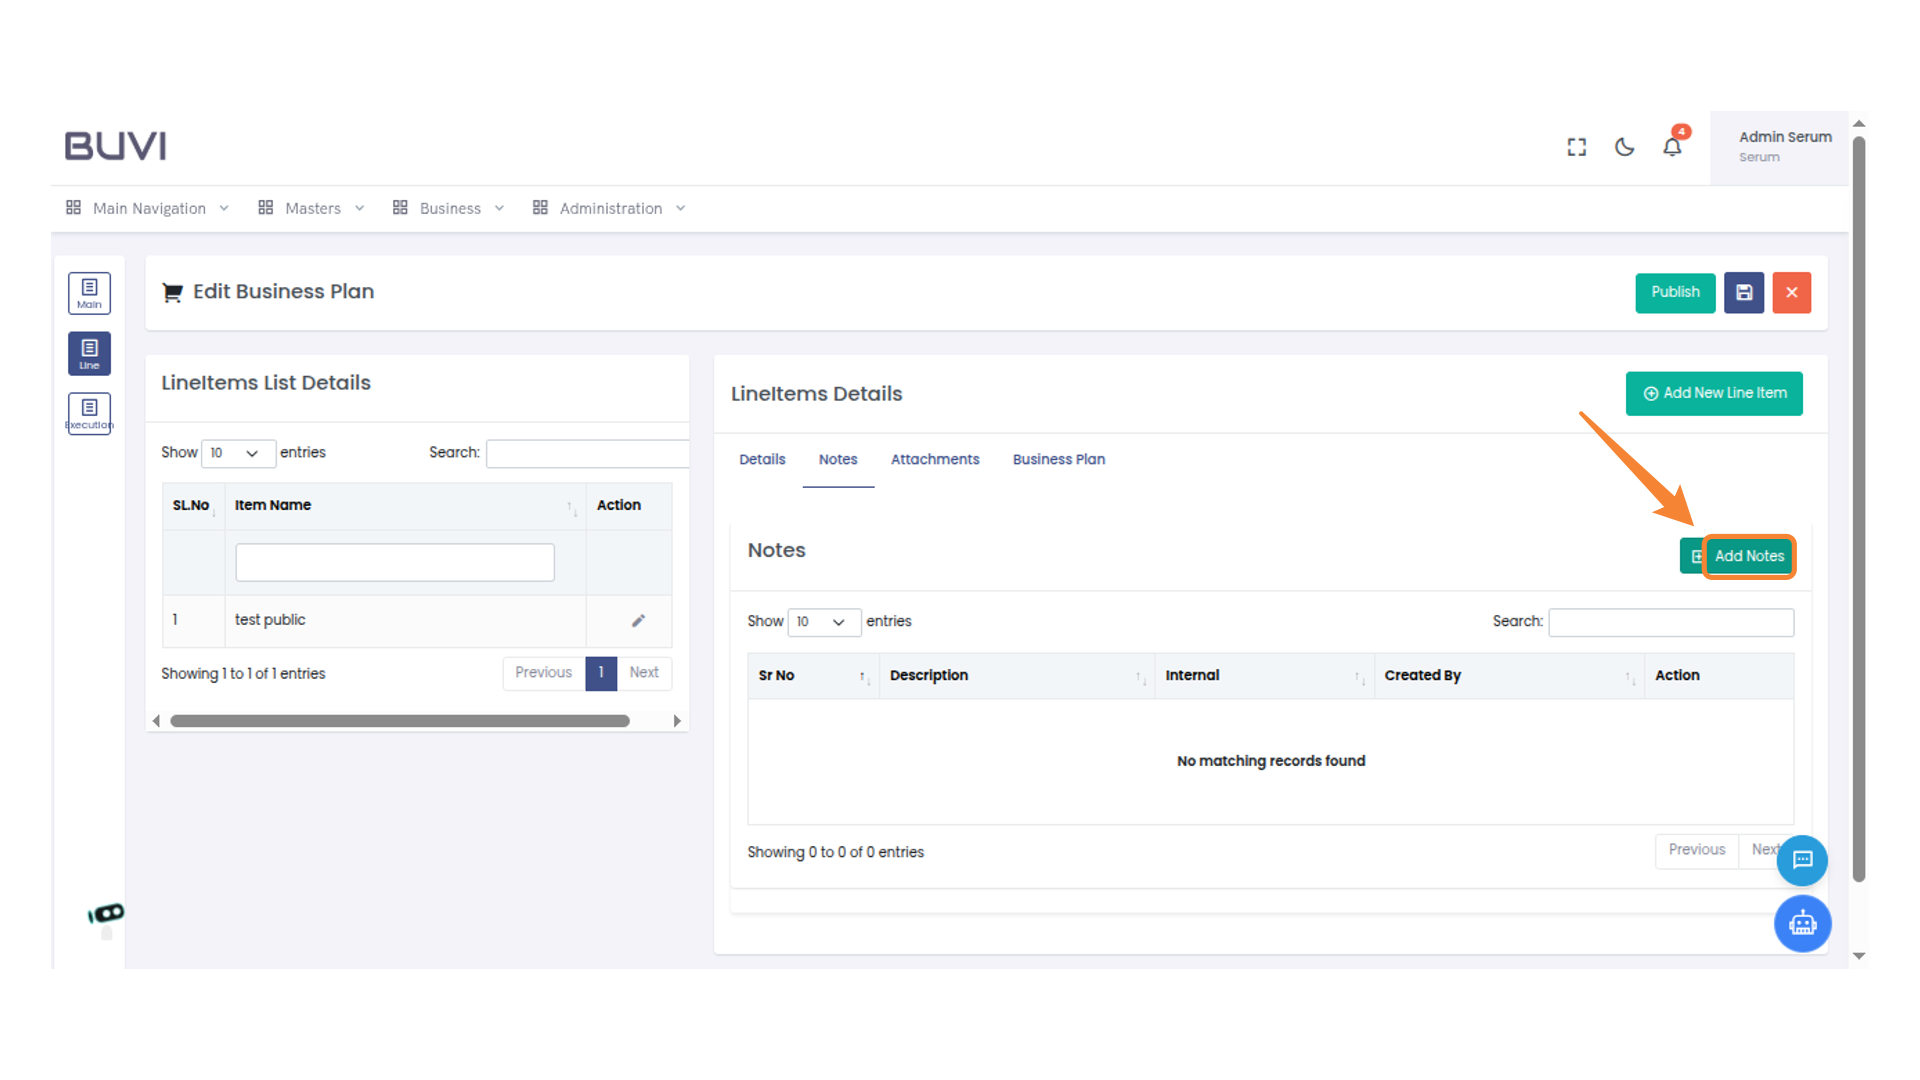
46. Add Notes to Line Items
Add Notes
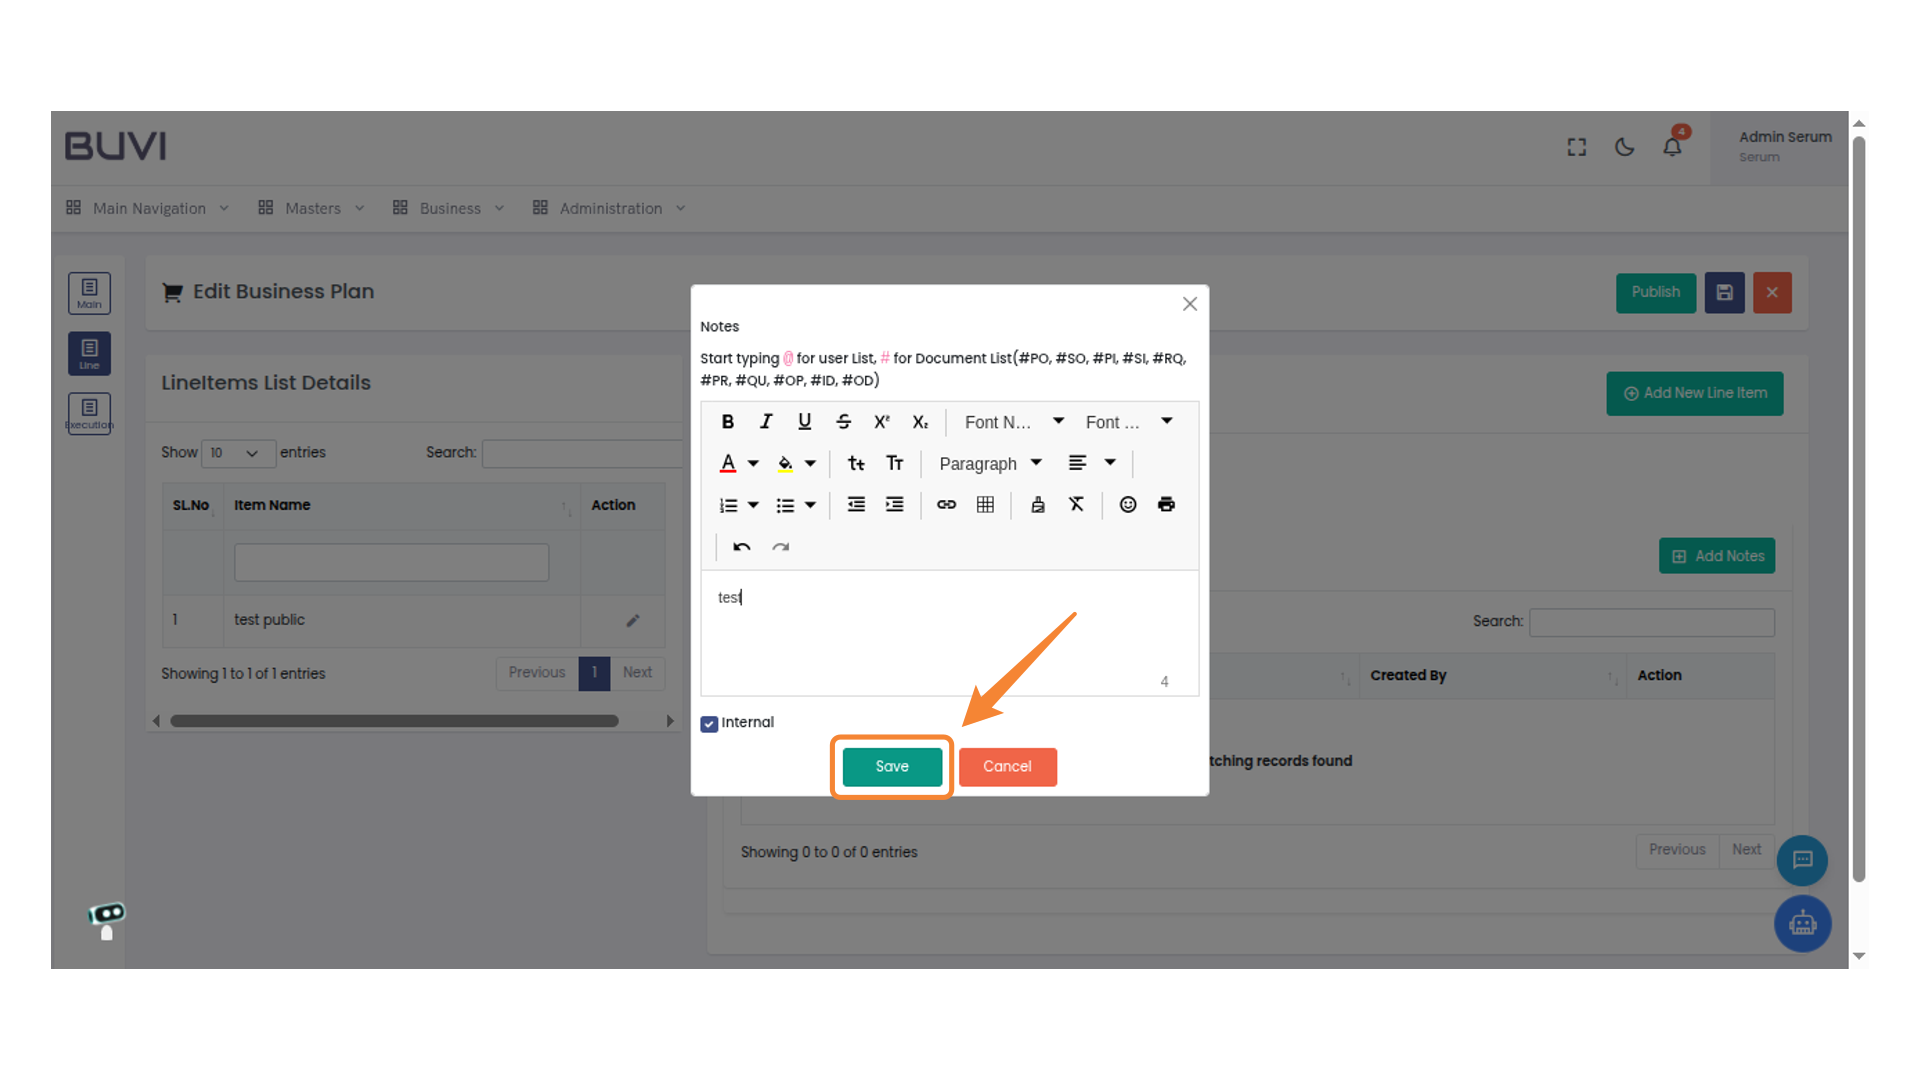
47. Add Line Item Note
Enter details

48. Save Notes
Click 'Save' to store your notes after editing.
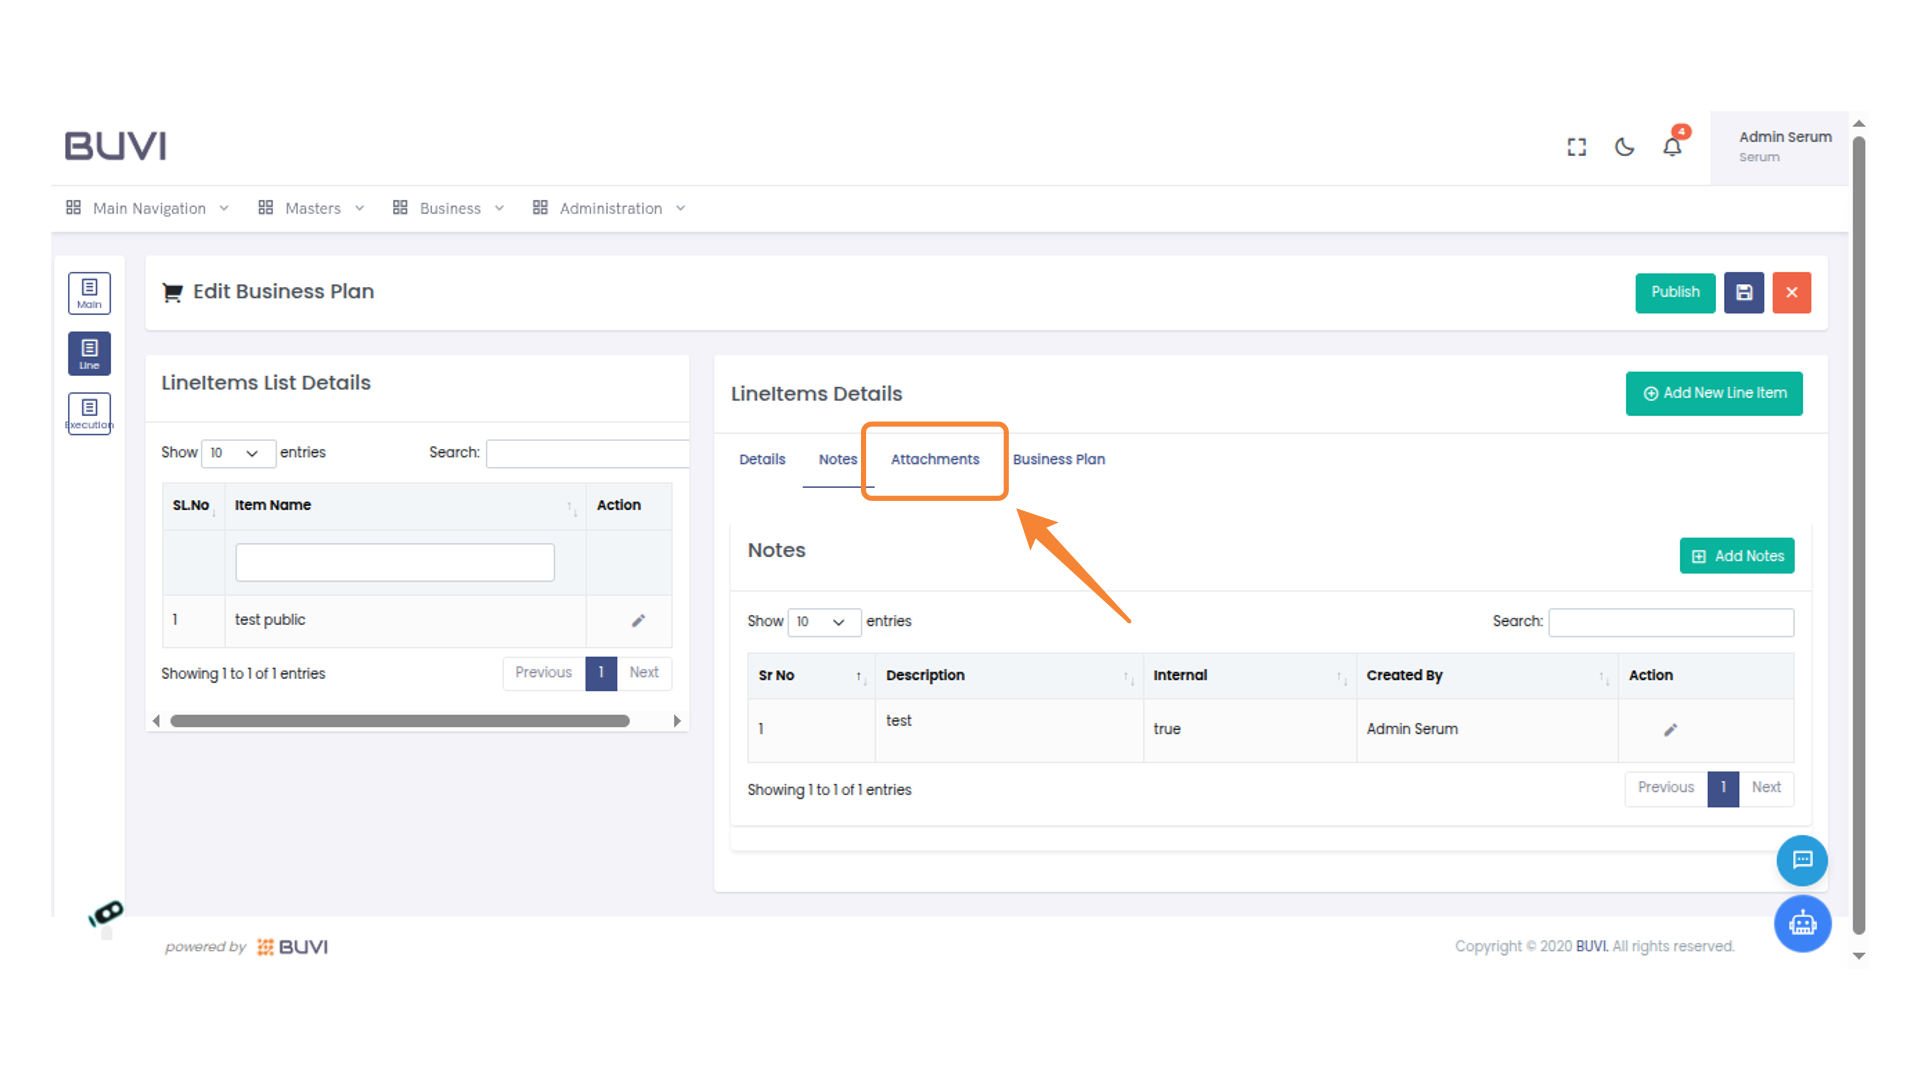
49. Access Attachments
Select the 'Attachments' tab to view or manage file attachments related to the line item details.
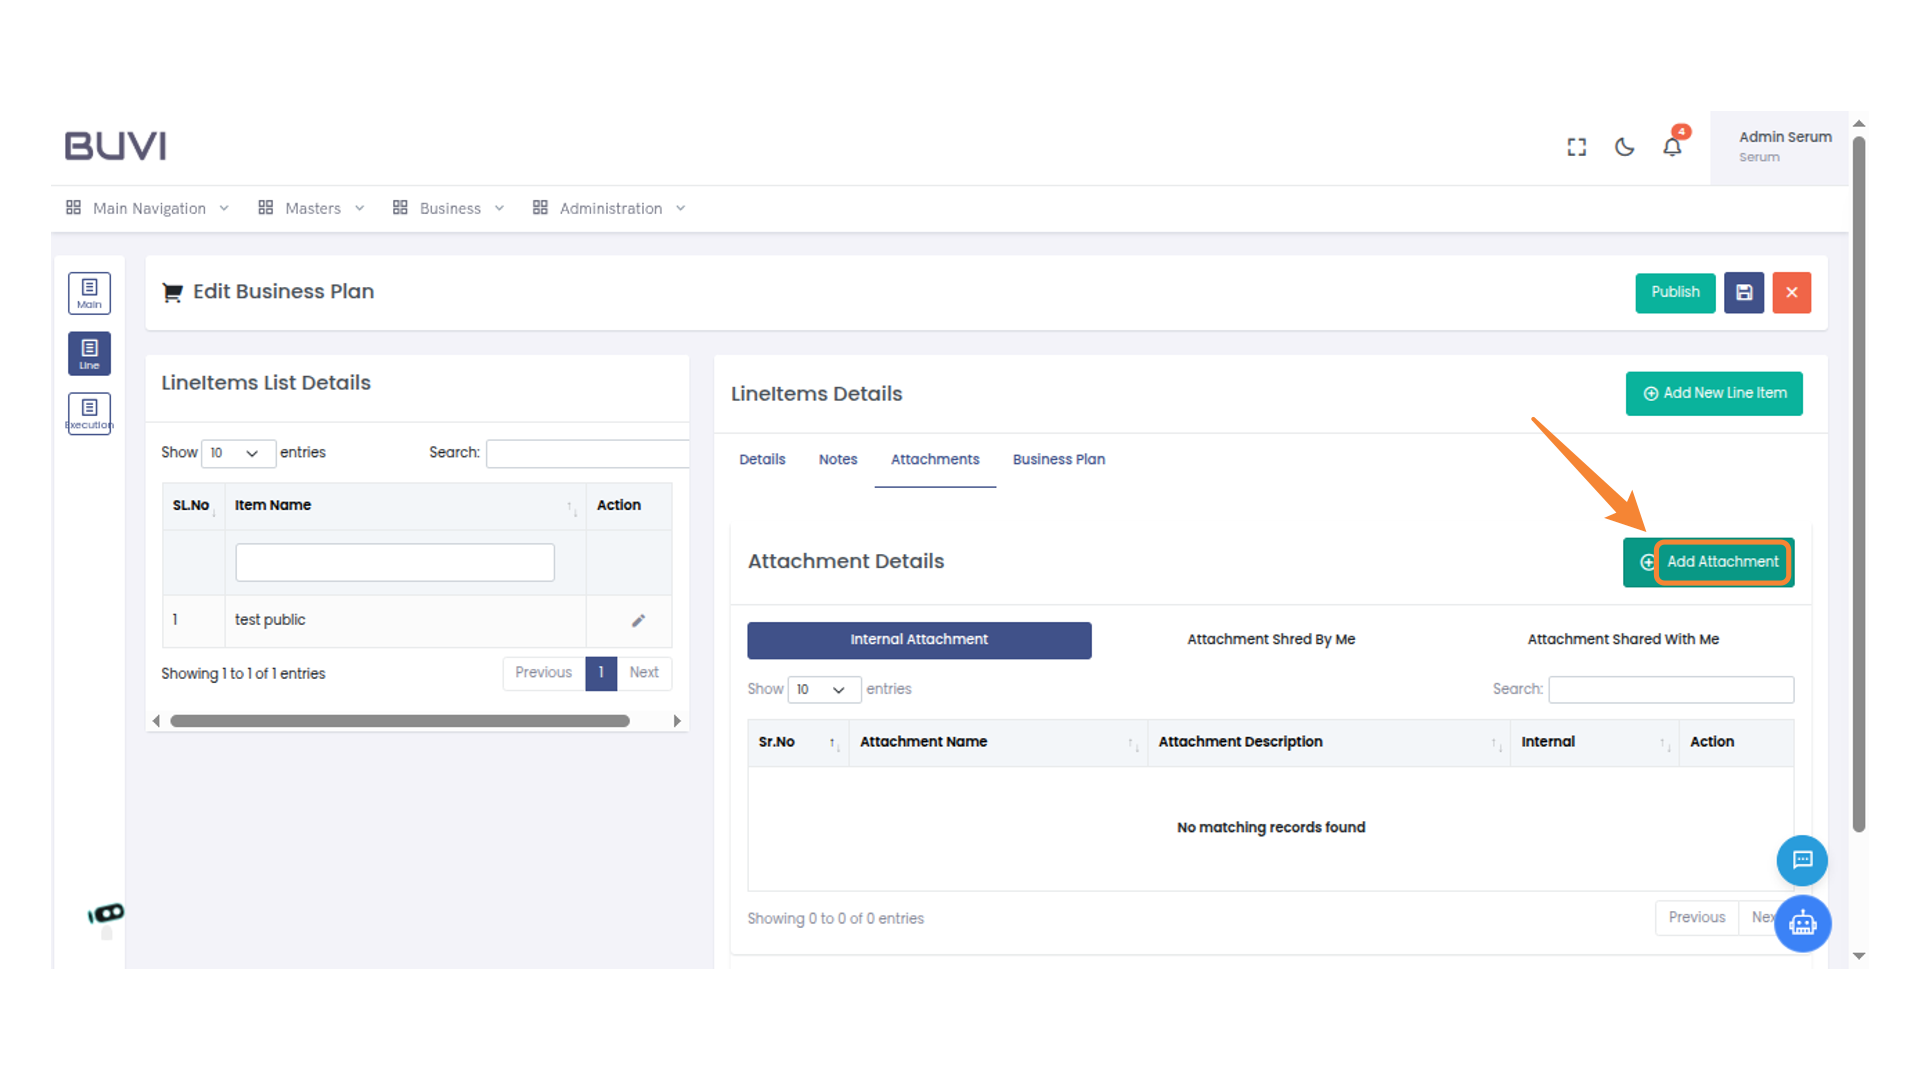
50. Add an Attachment
Click the 'Add Attachment' button to include a new file.
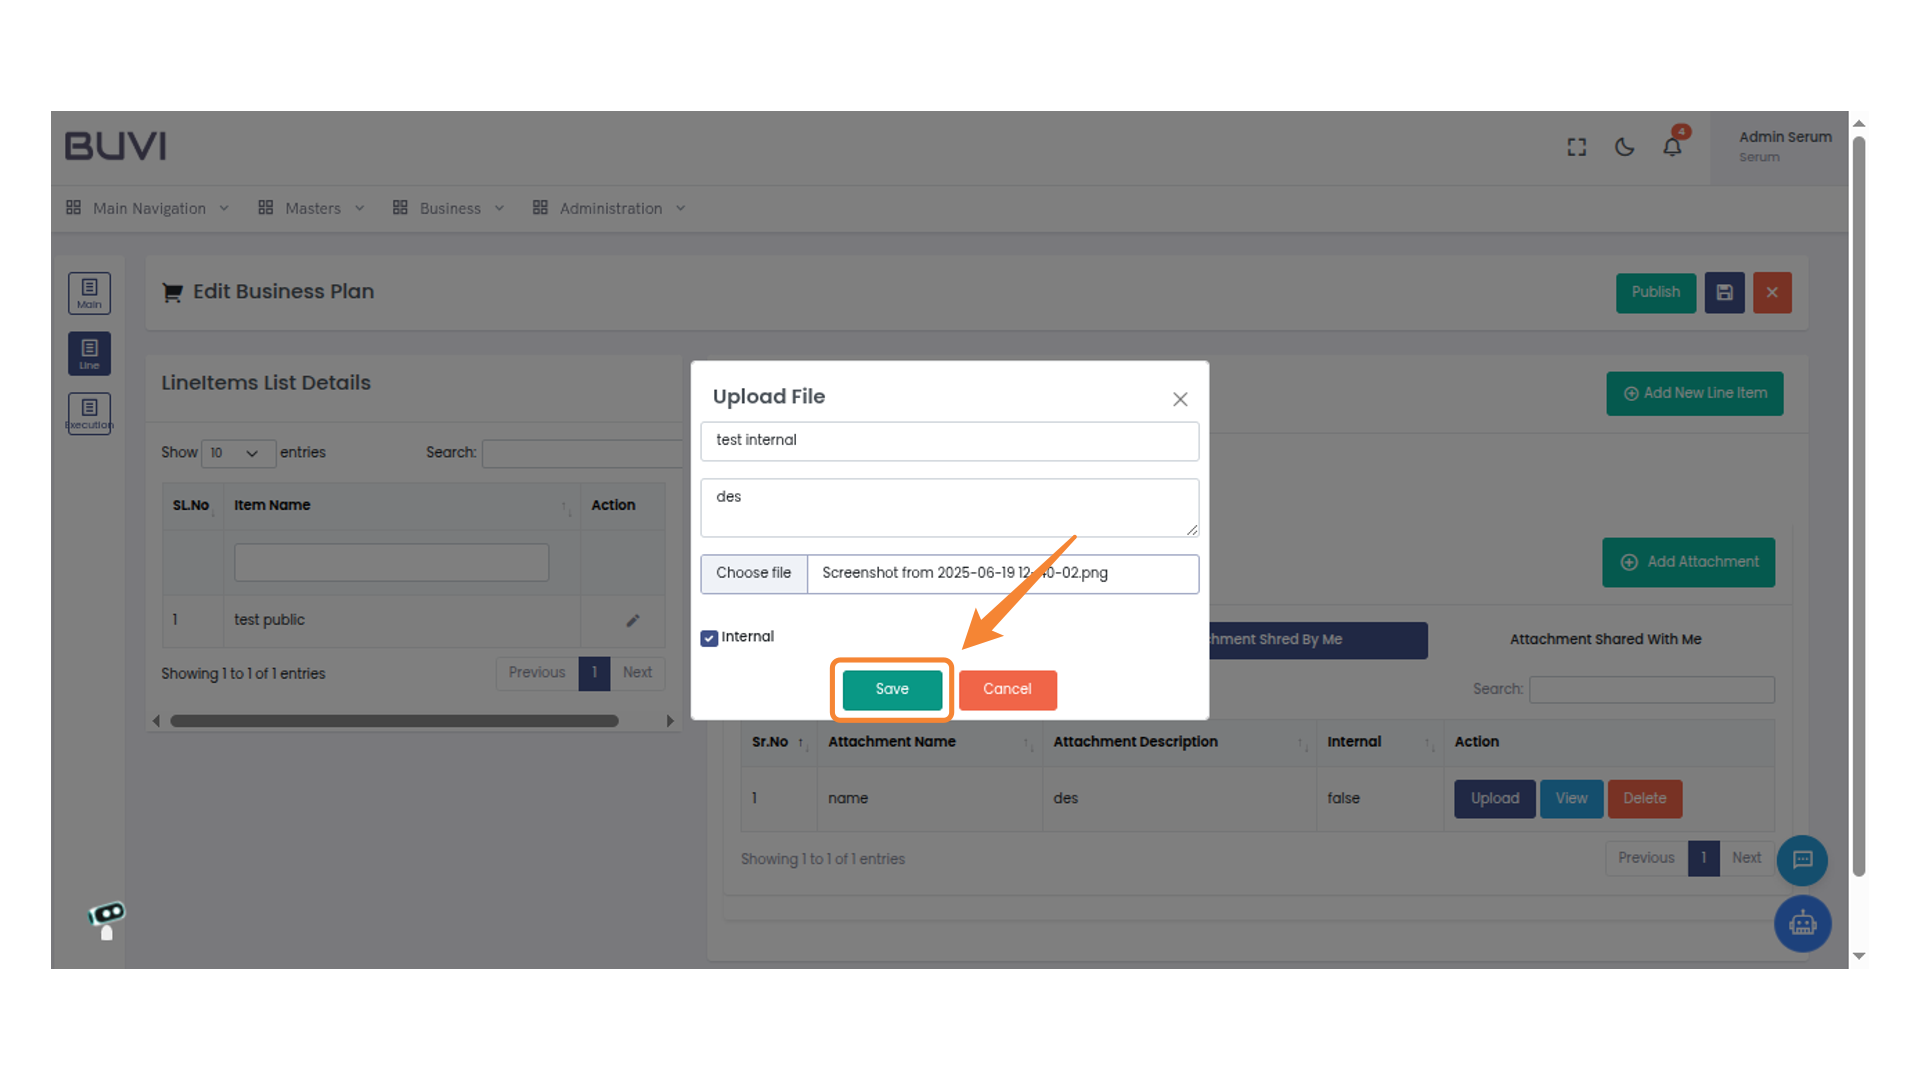
51. Enter Attachment Name
Input the attachment name as required for uploading the file.
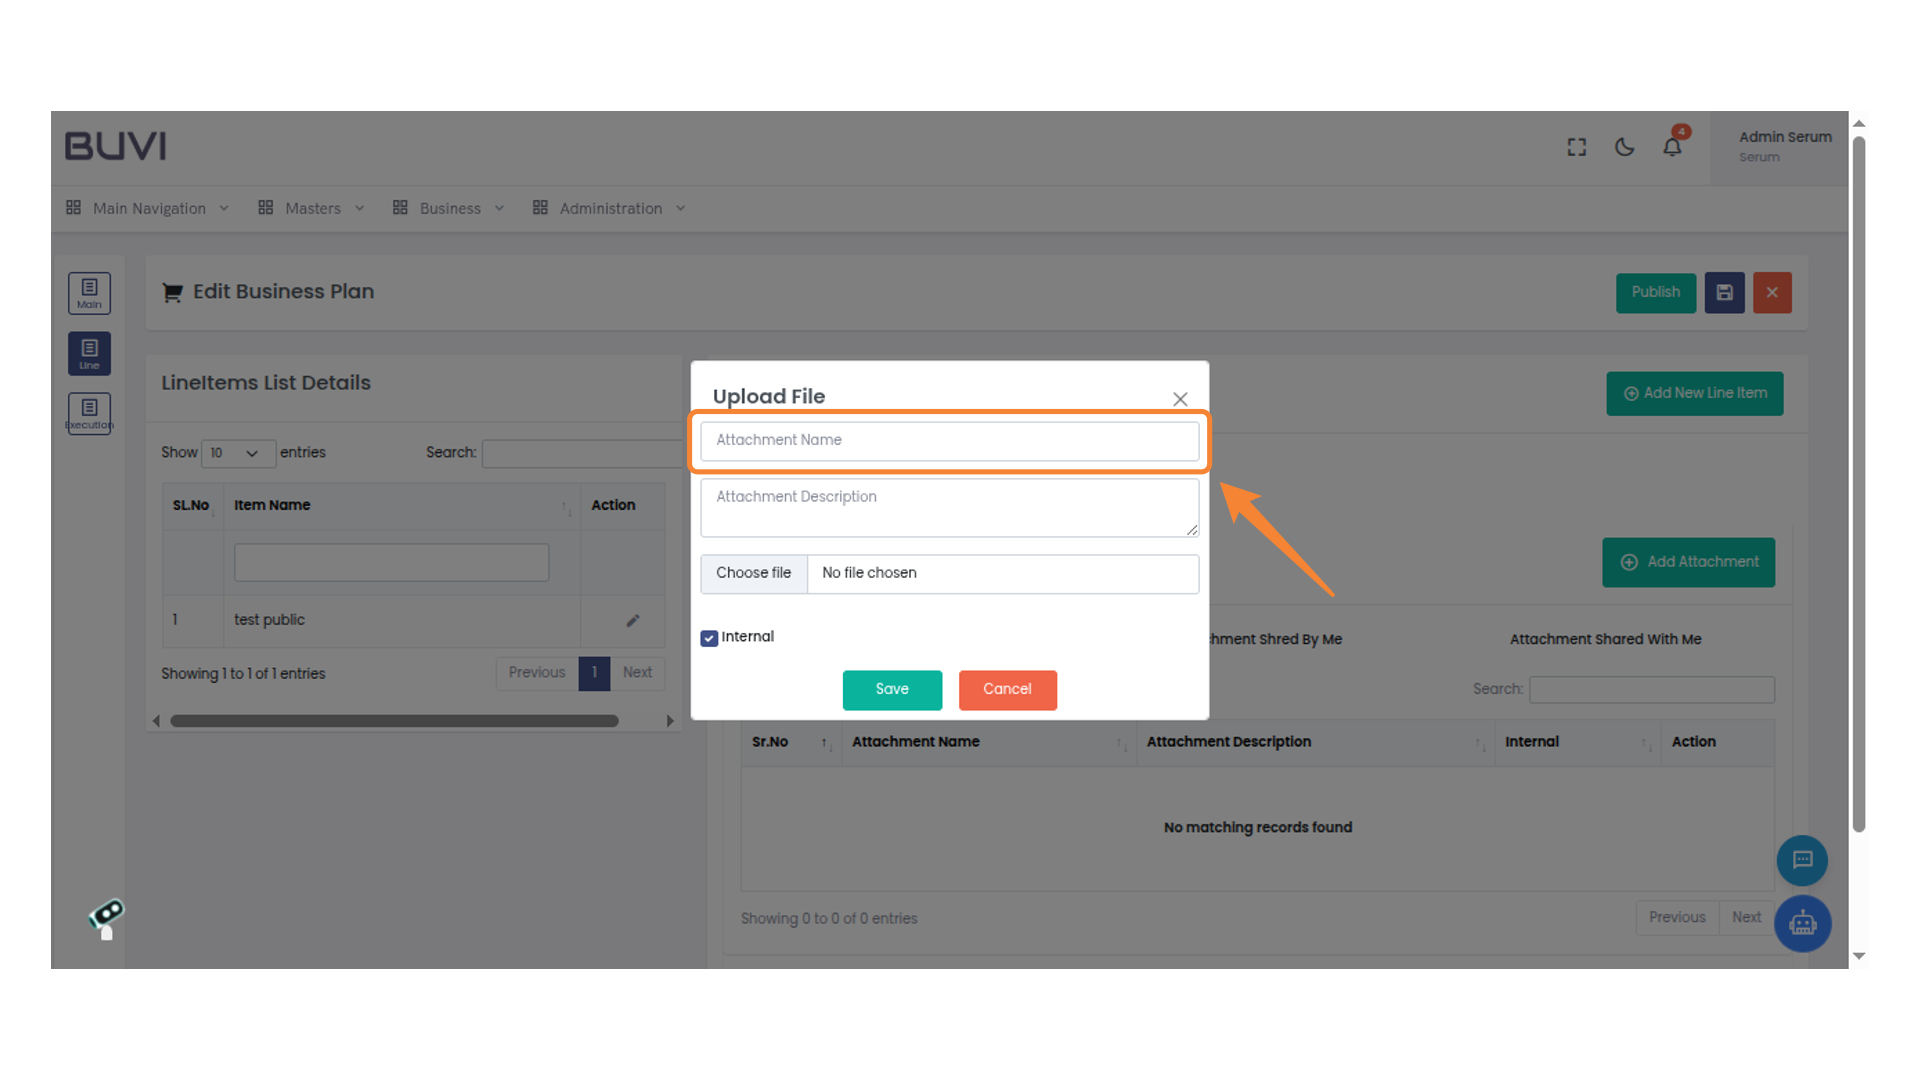
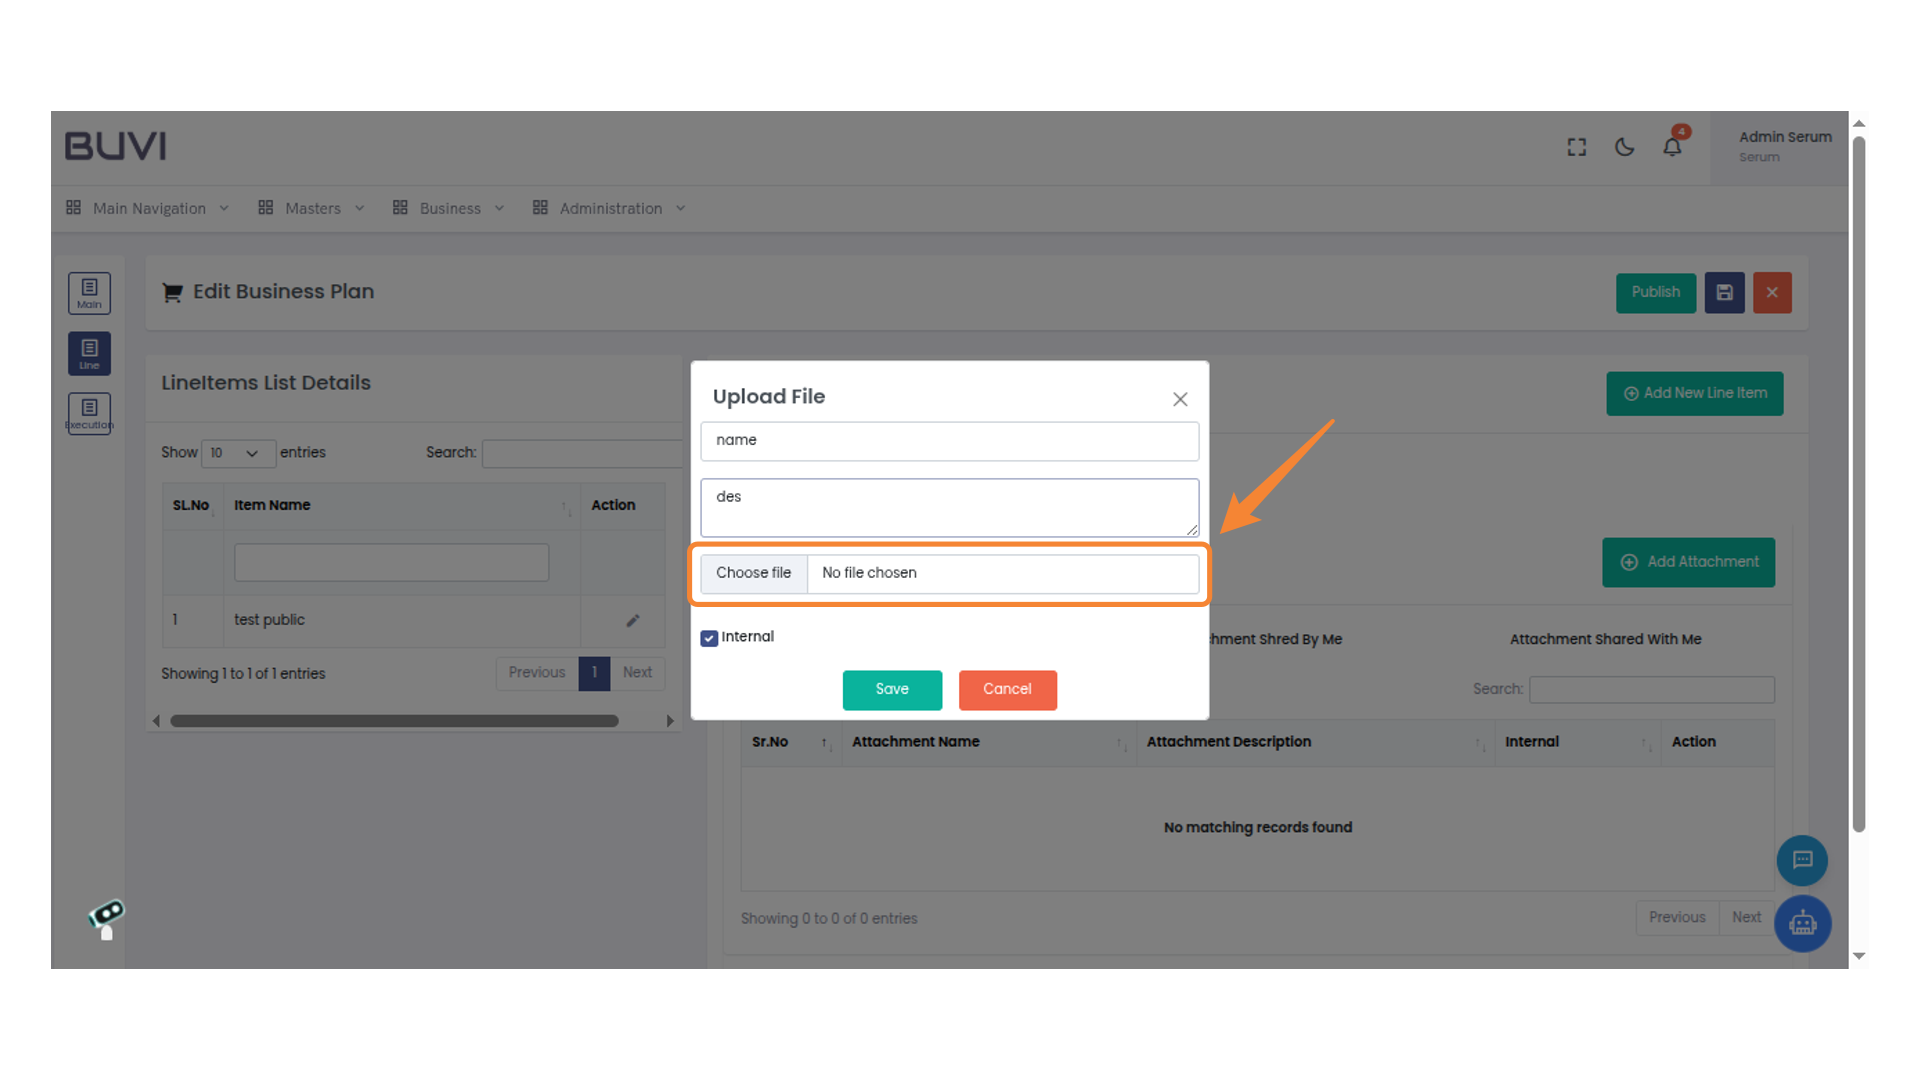
52. Upload a File
Click 'Choose file' to select a file for upload. Ensure no file has been selected yet.
53. Toggle Internal Option
Check the box labeled 'Internal' to mark the file as internal.
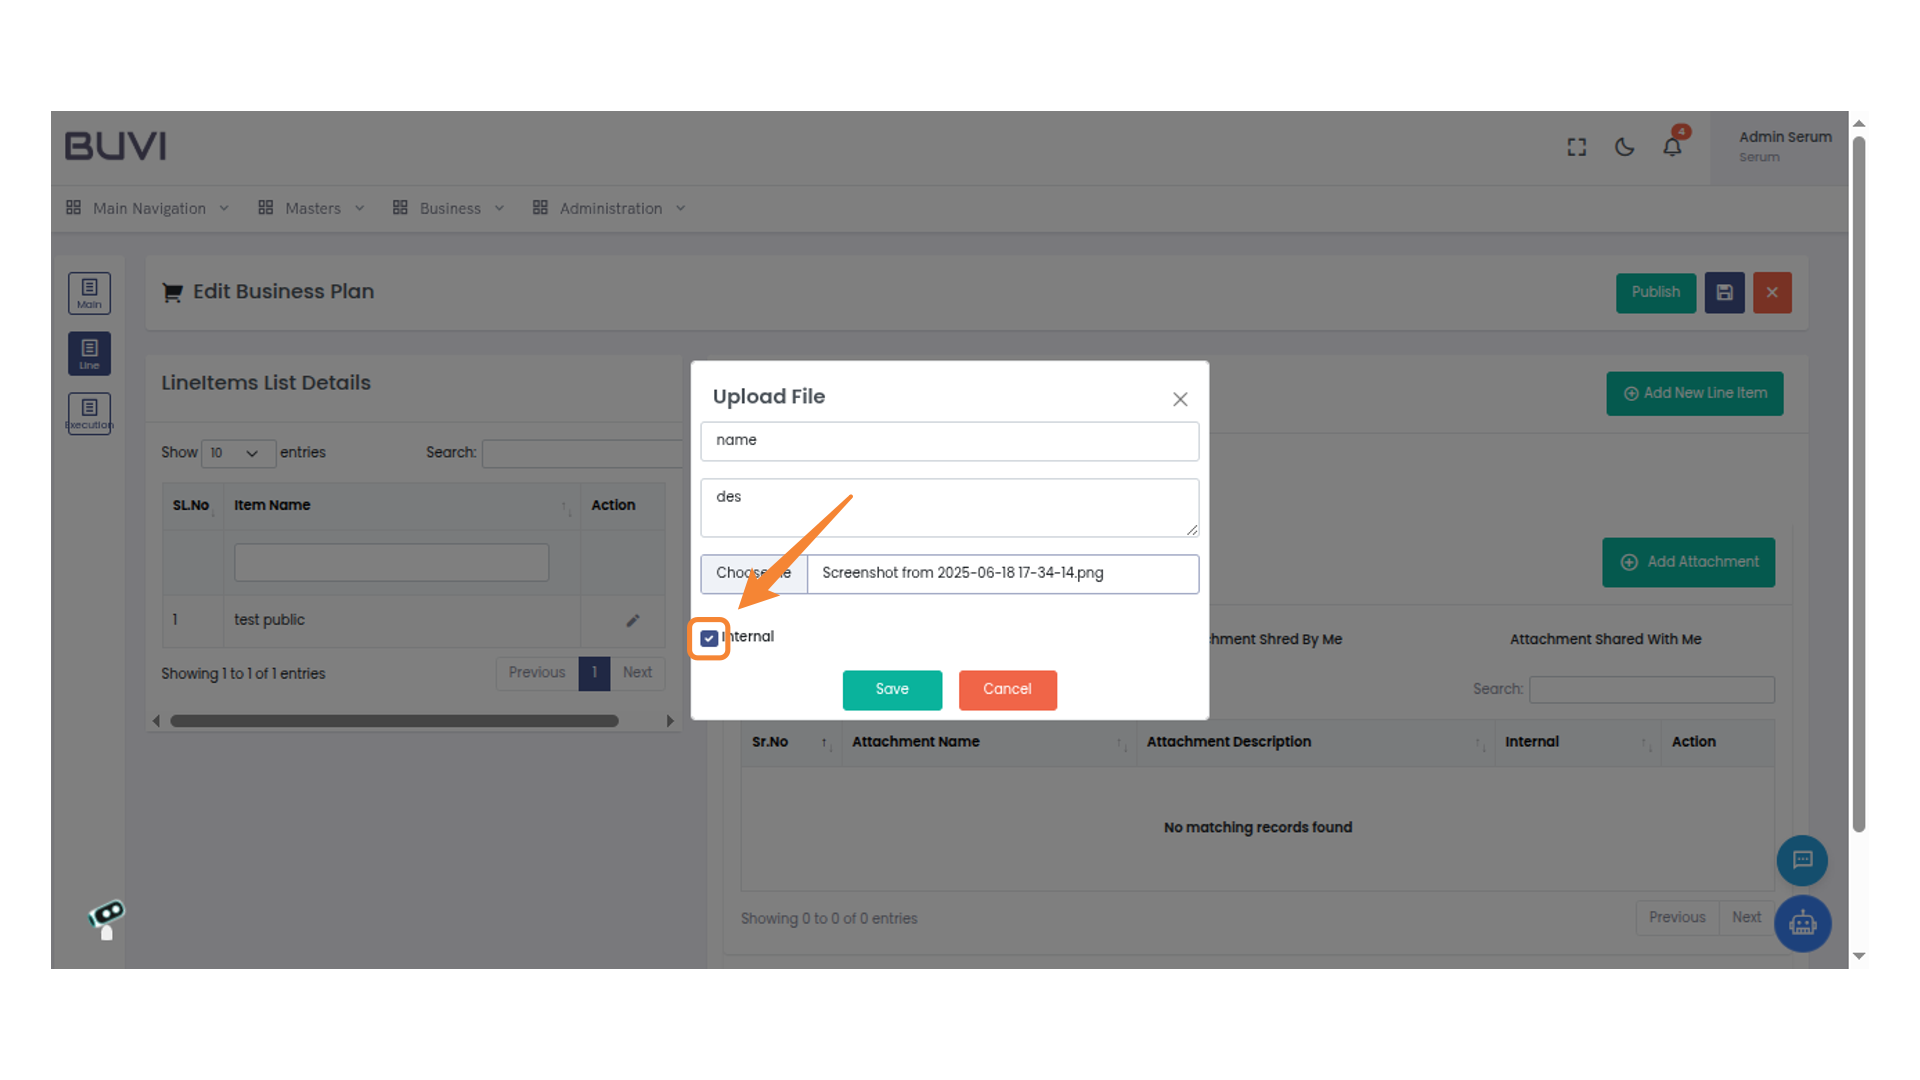
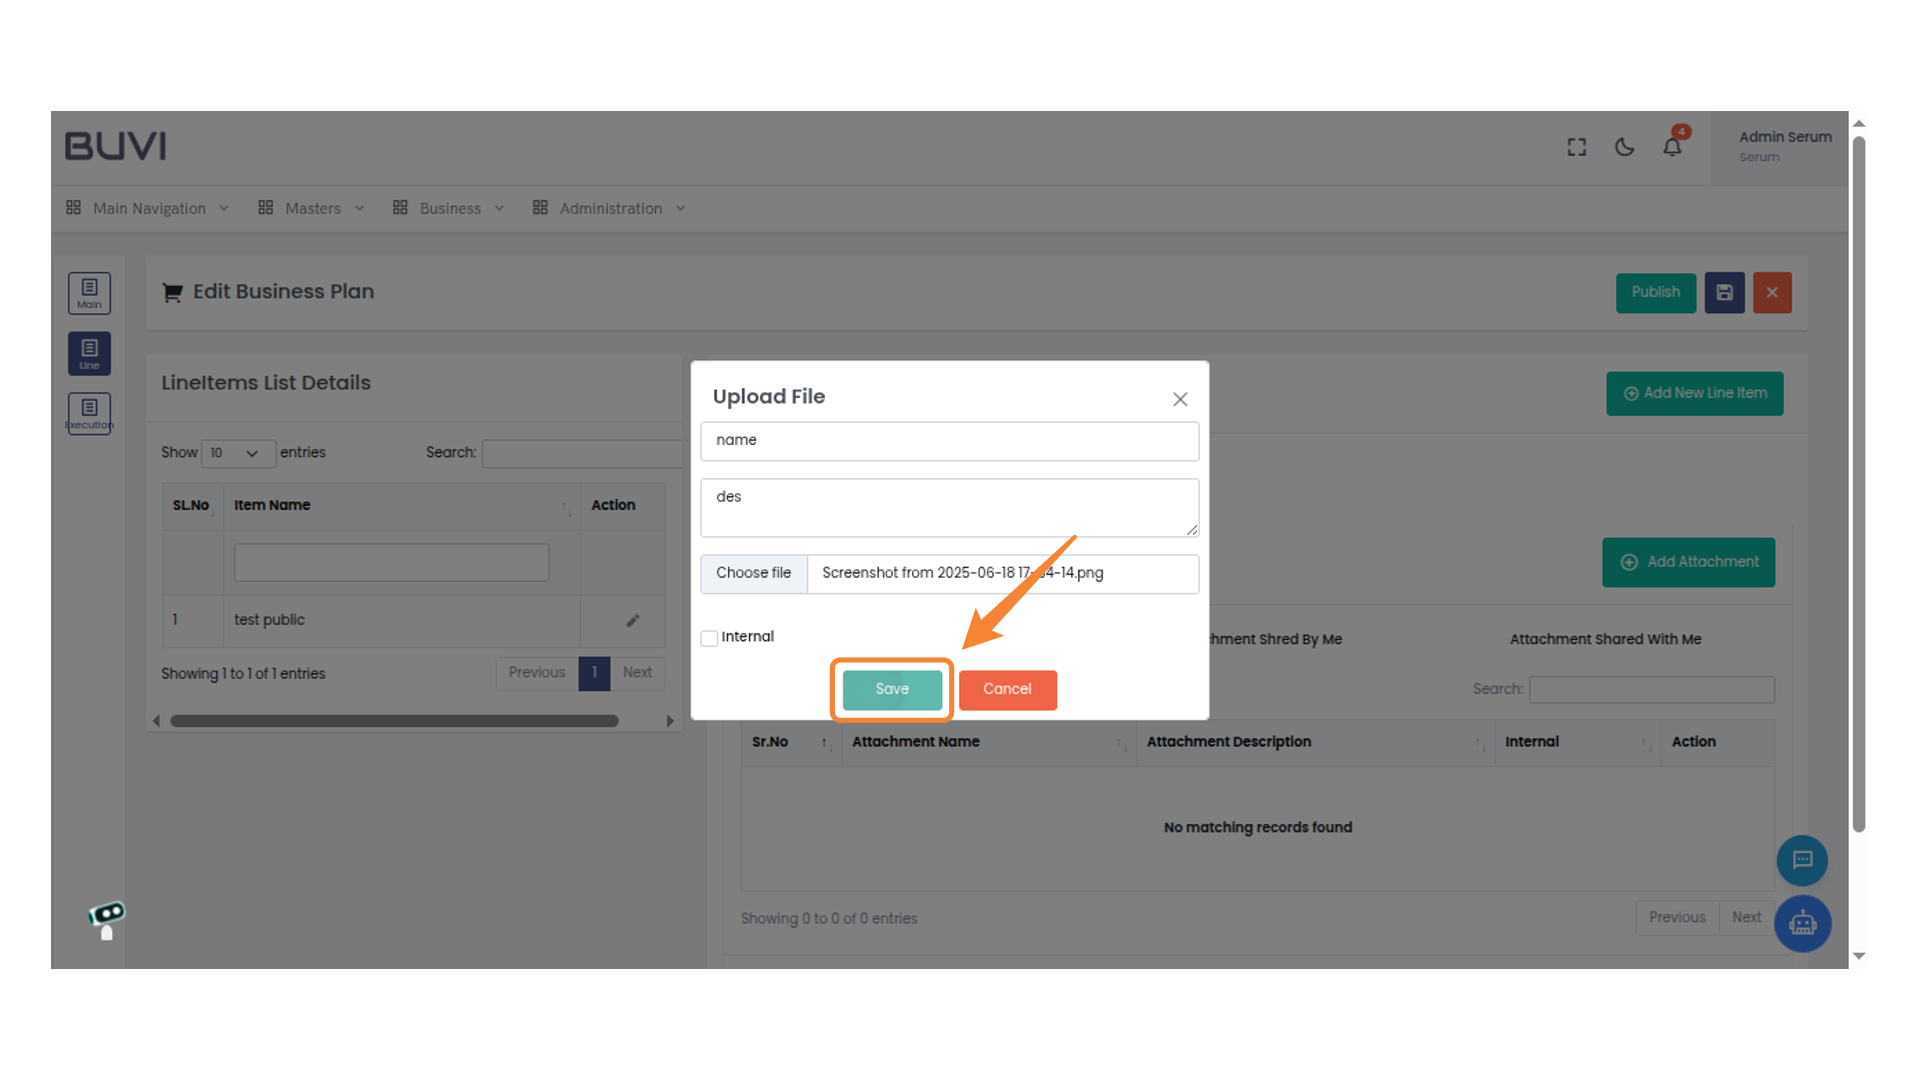
54. Save the Uploaded File
Click 'Save' to upload your selected file.
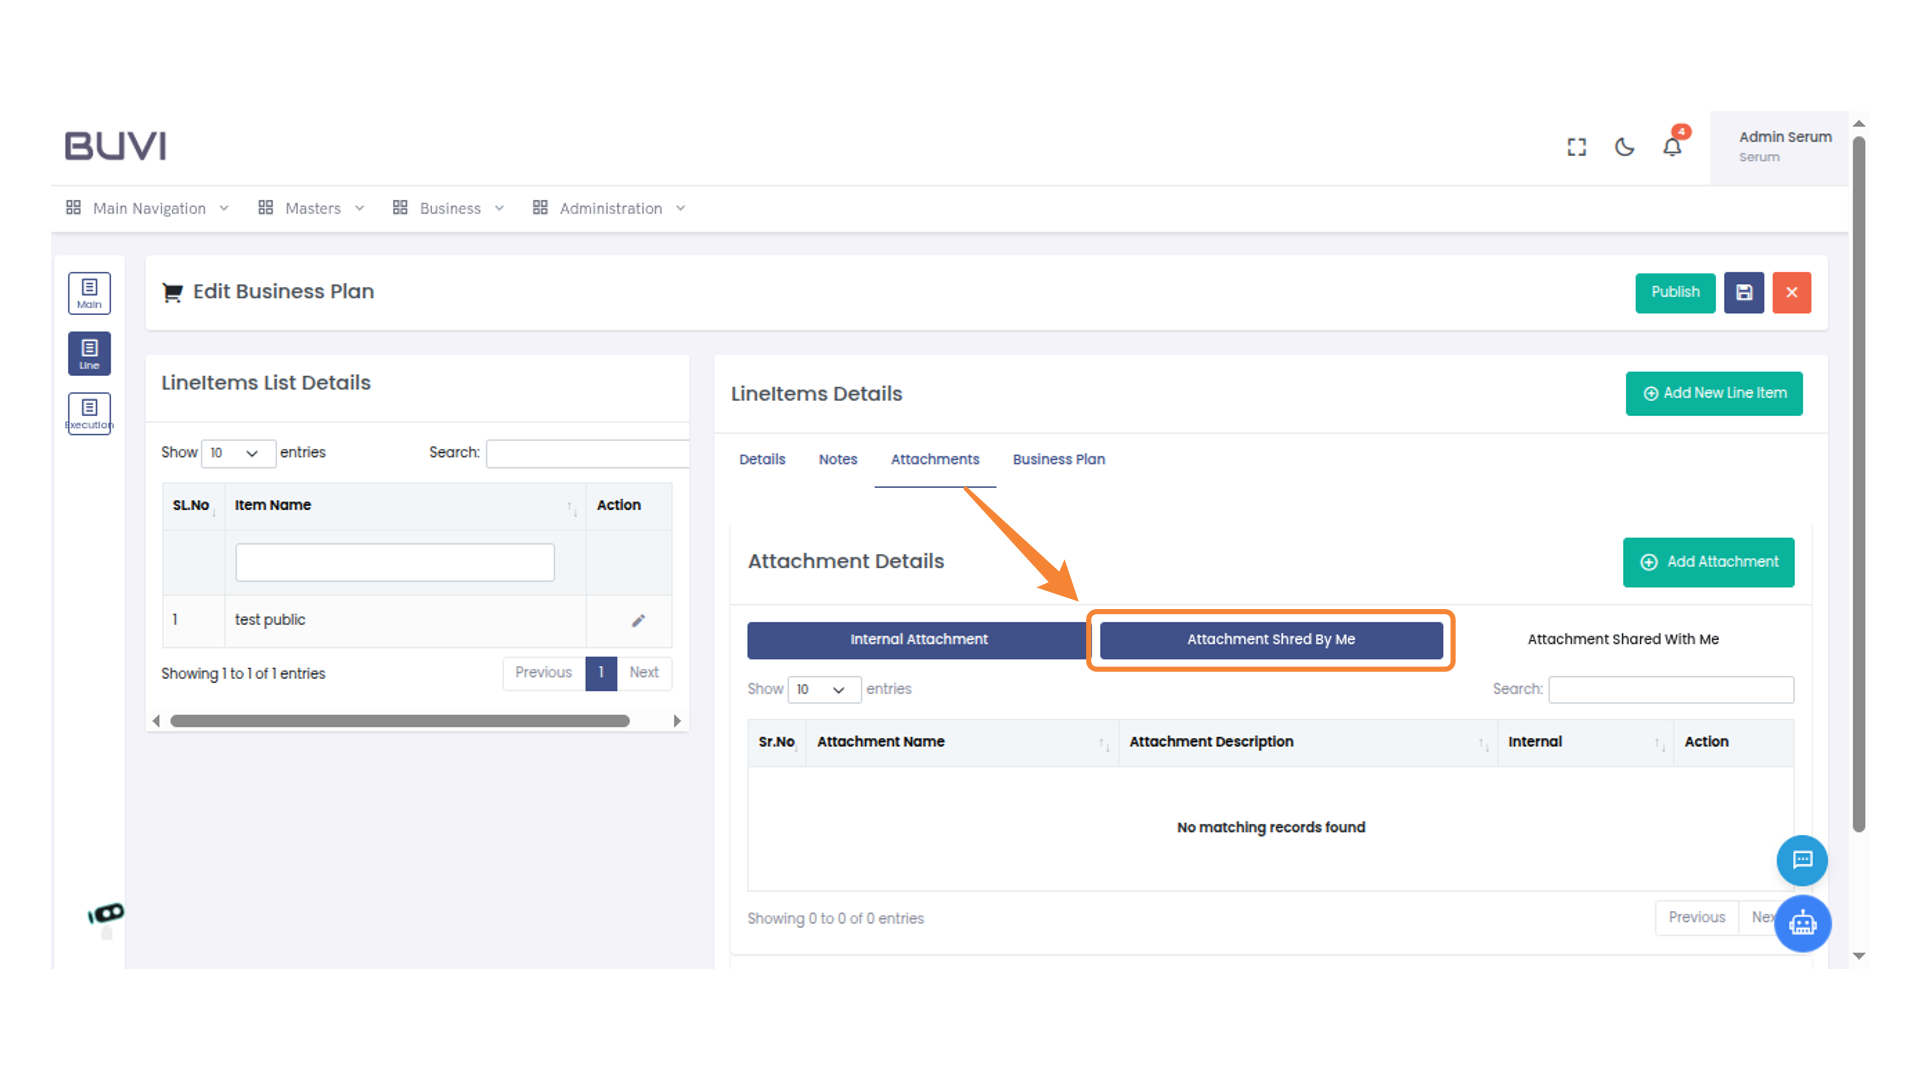
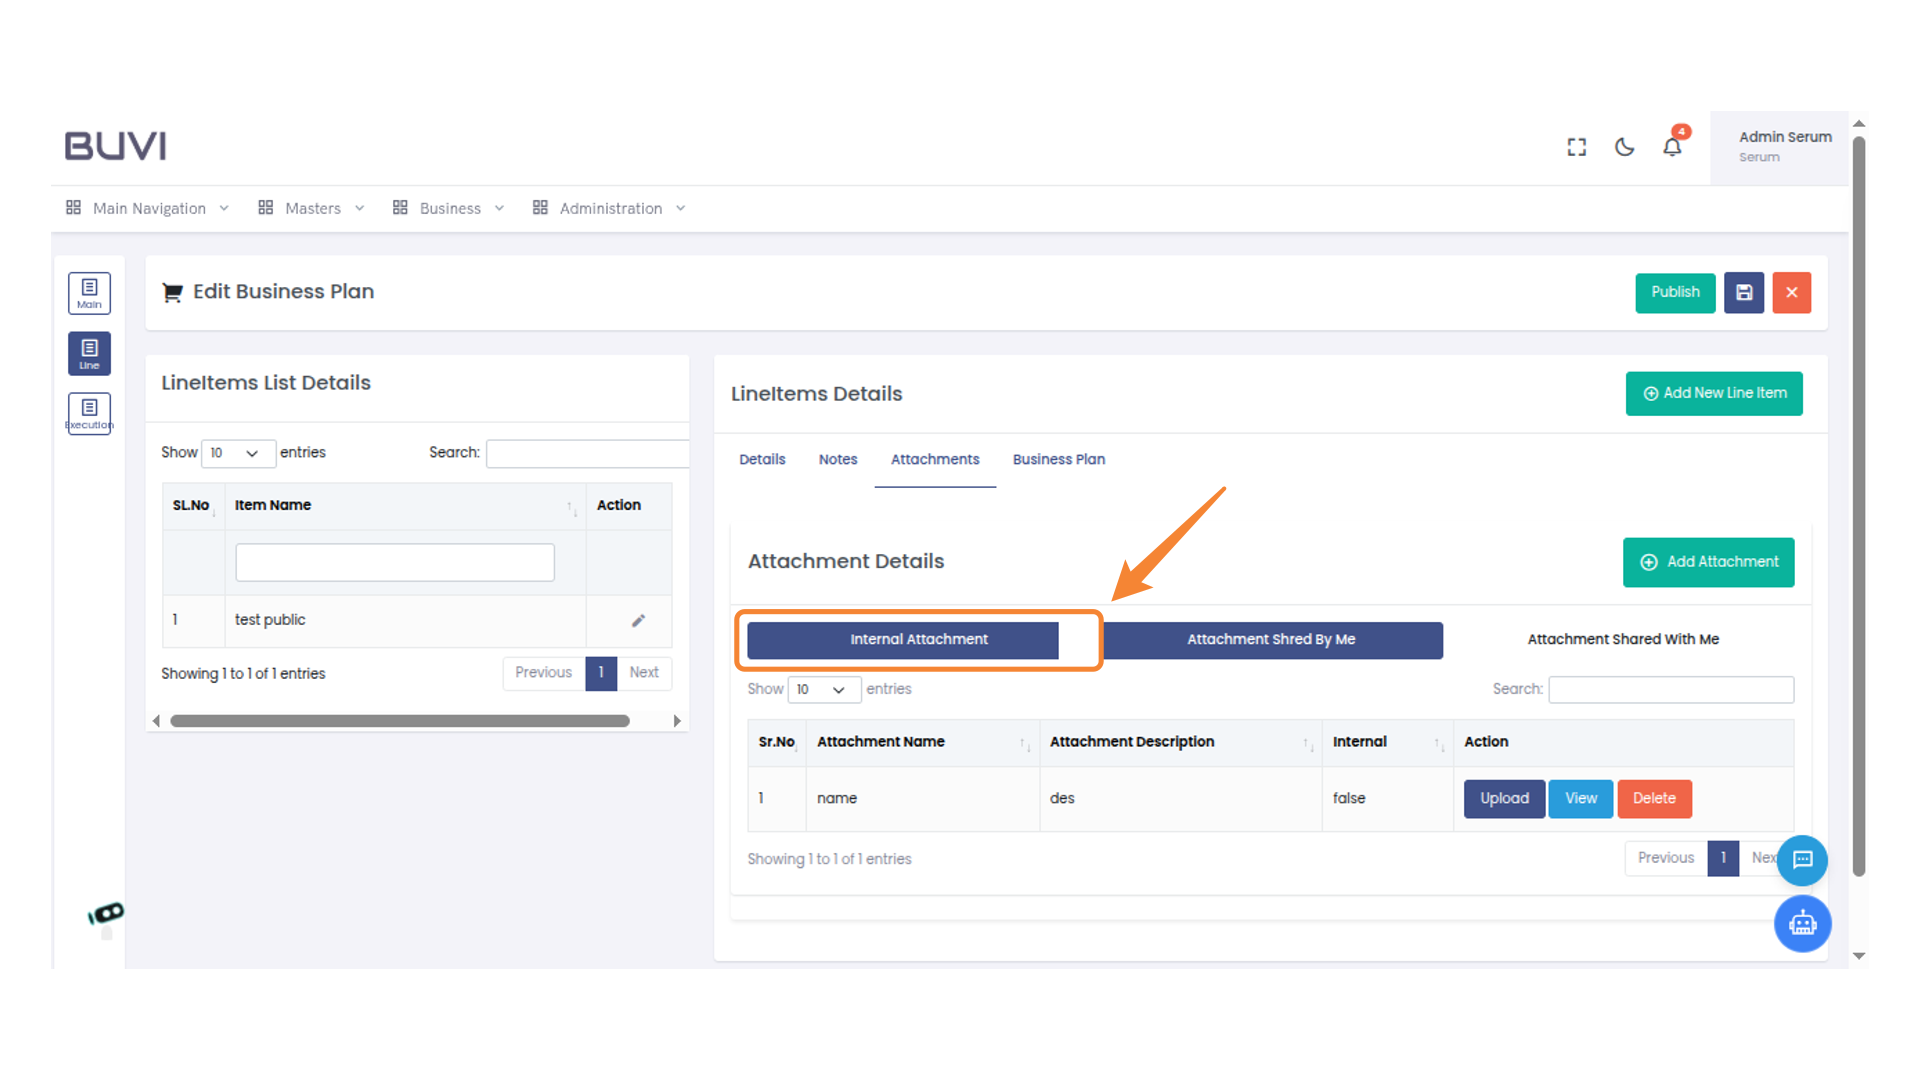
55. Click on Shared Attachments
Select 'Attachment Shred By Me' to view all attachments you have shared.
56. Add an Attachment
Click the 'Add Attachment' button to upload a new file to the business plan.

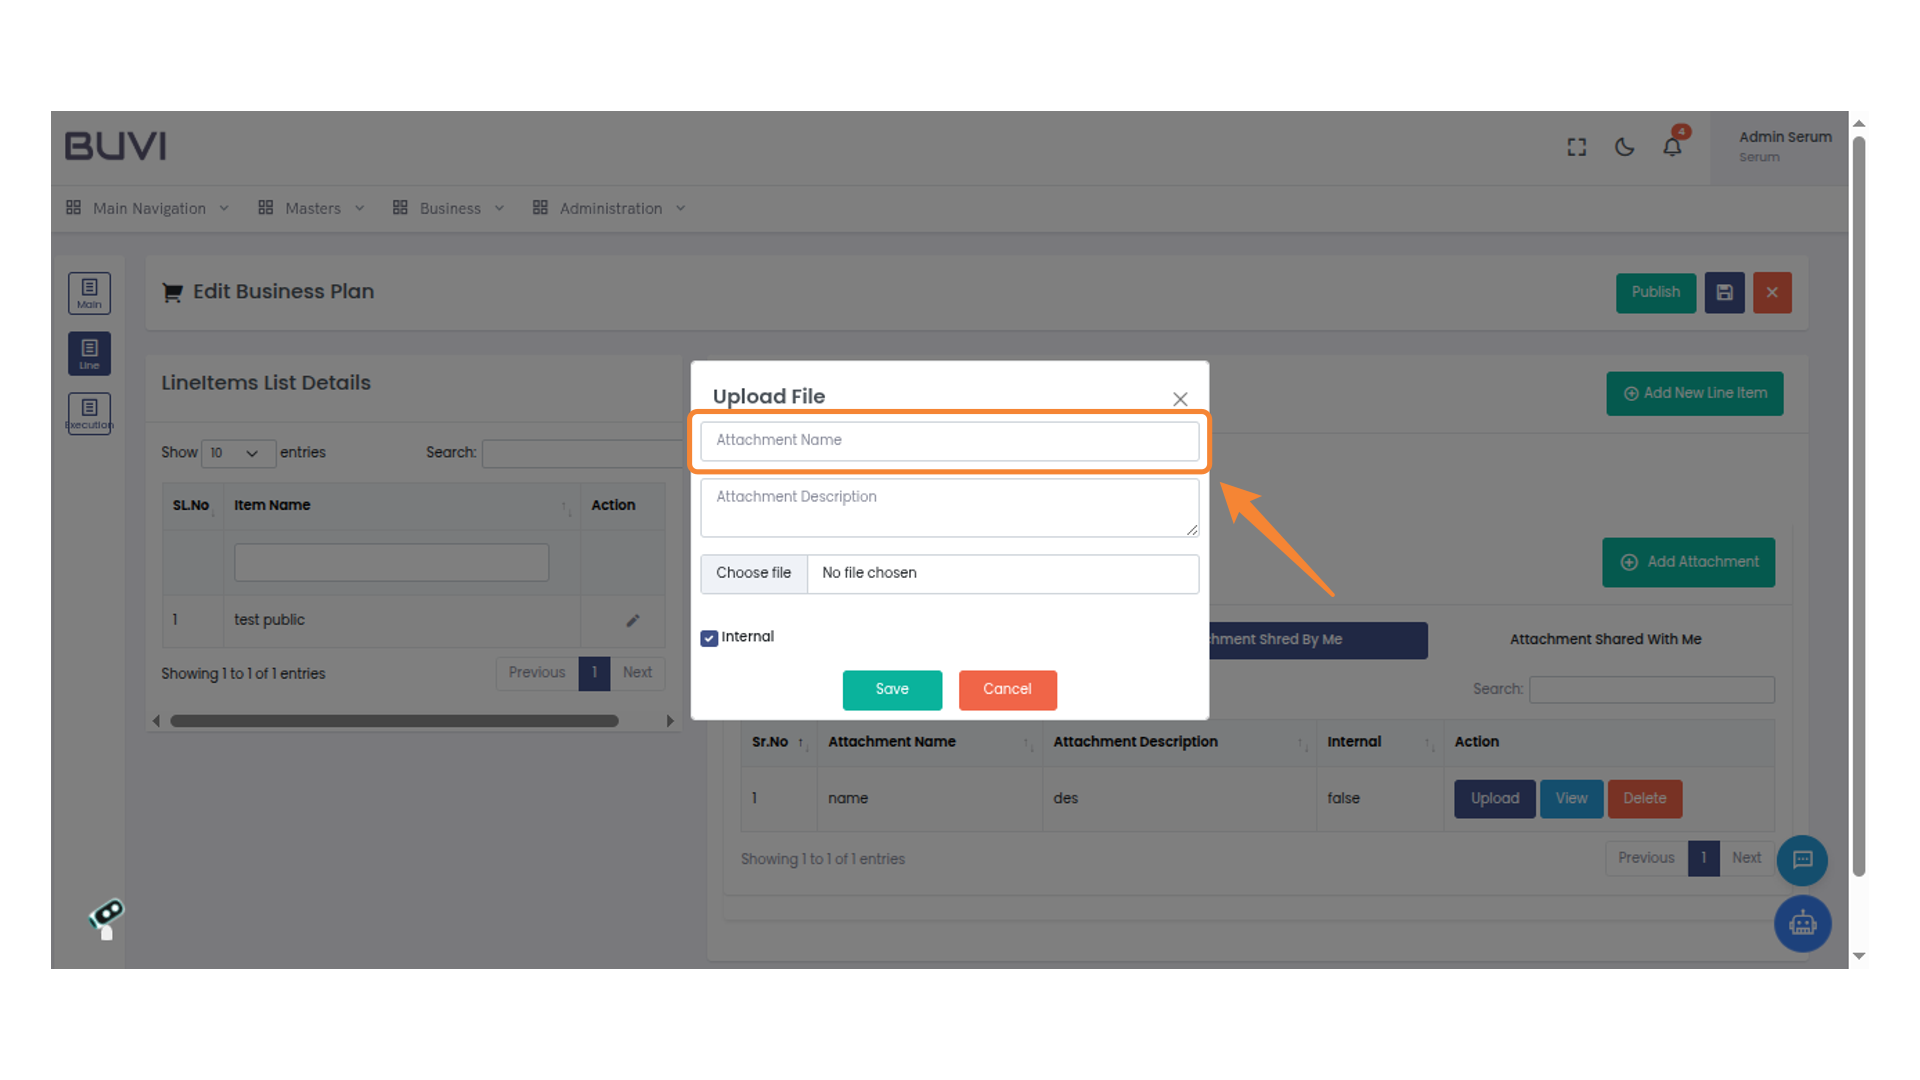
57. Enter Attachment Name
Enter the name of the attachment in the provided field to proceed.
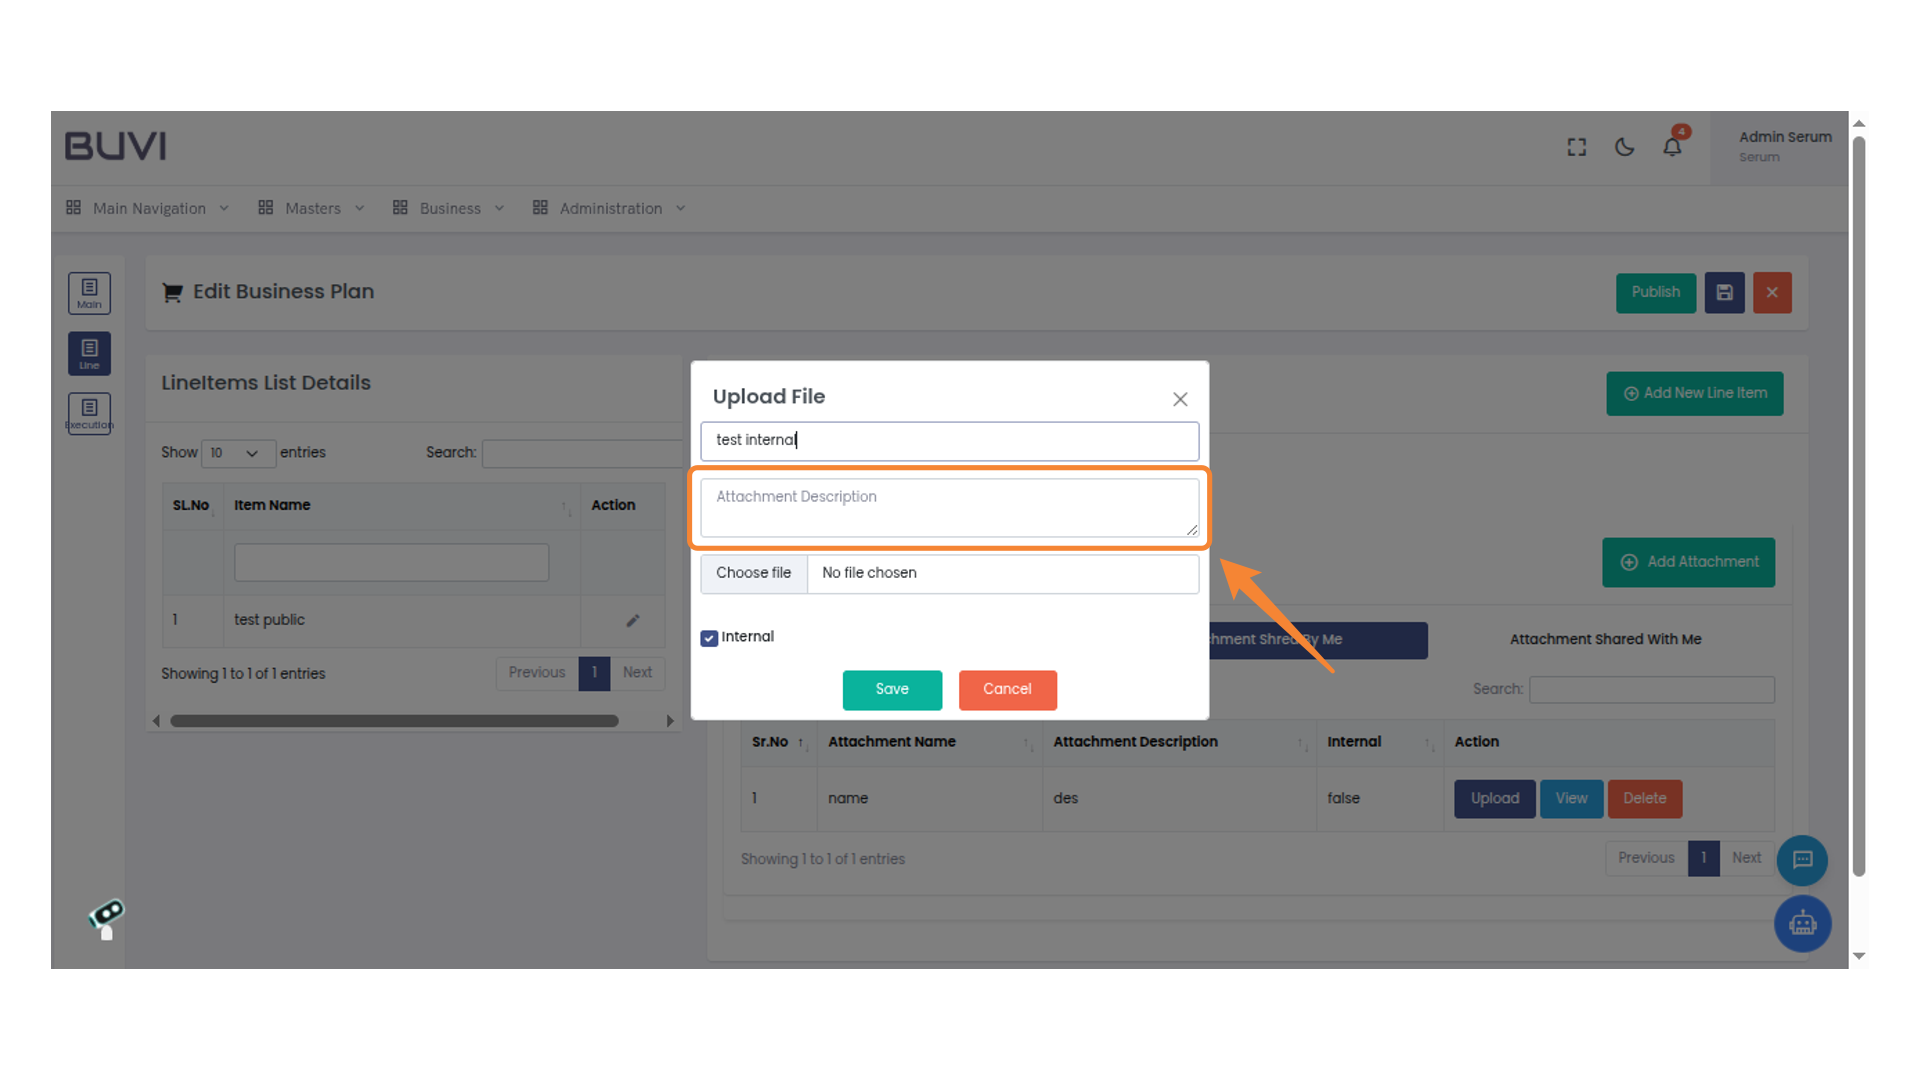
58. Enter Attachment Description
Enter a description for the attachment in the provided text box before saving or cancelling the upload.
59. Select a File
Click 'Choose file' to upload the desired document.

60. Save the Uploaded File
Click on 'Save' to confirm uploading the file.
61. Select Internal Attachment
Click on 'Internal Attachment' to view or manage internal attachments.
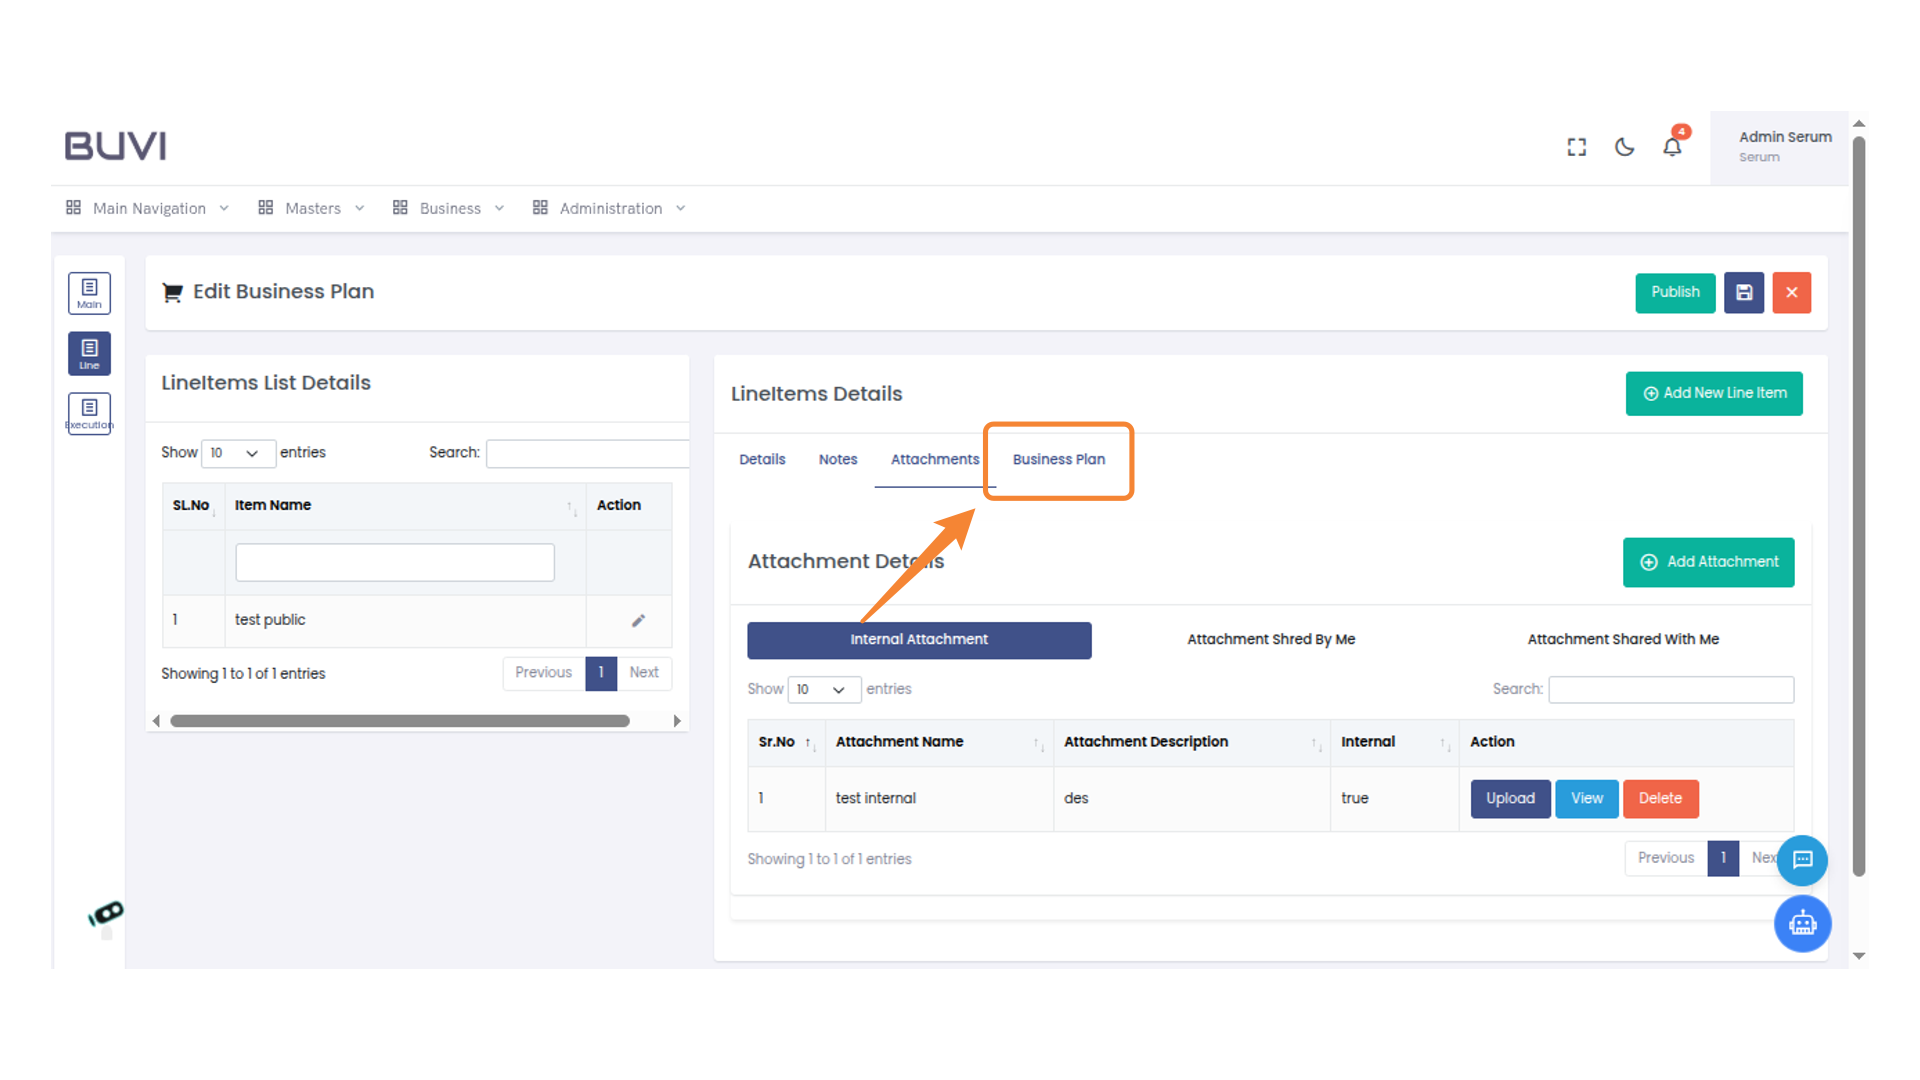
62. Access Business Plan
Select the 'Business Plan' tab to view related attachments and details.
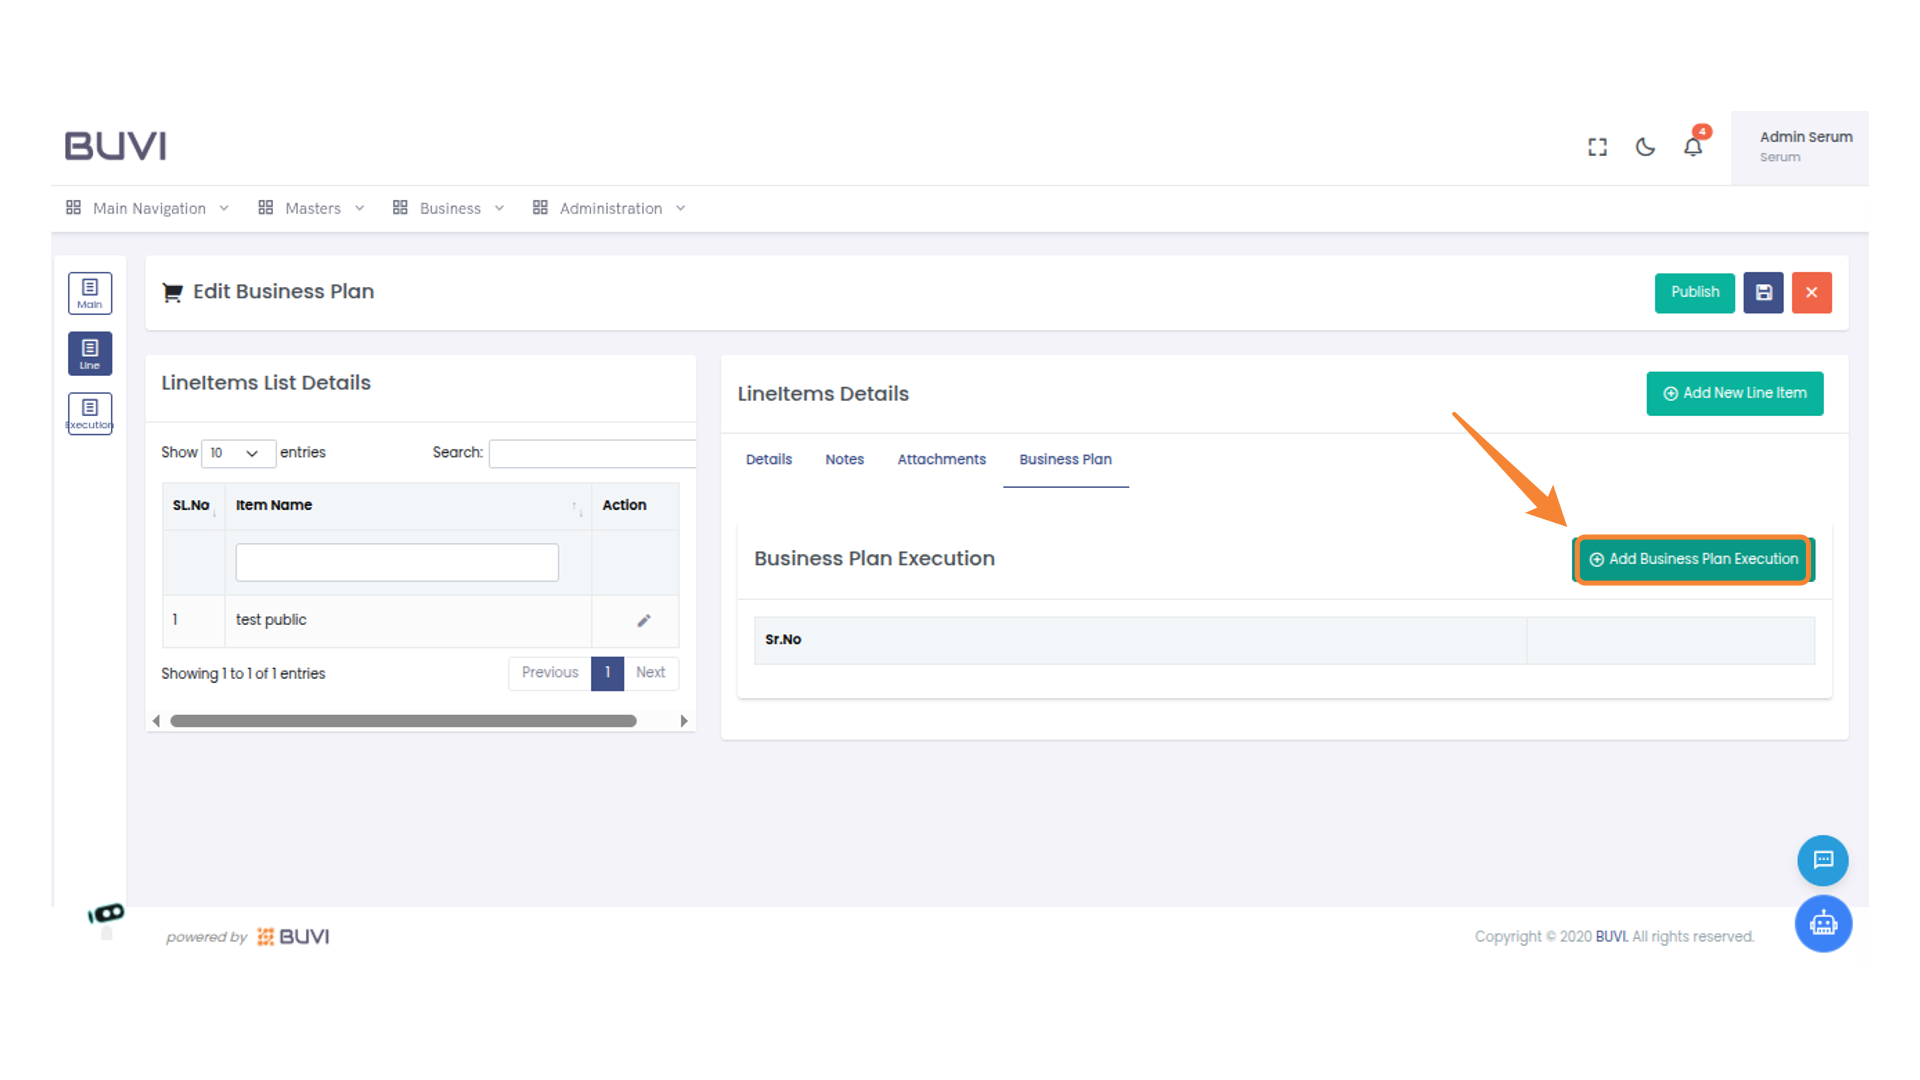
63. Add Business Plan
Click 'Add Business Plan Execution' to proceed with adding a new business plan execution.
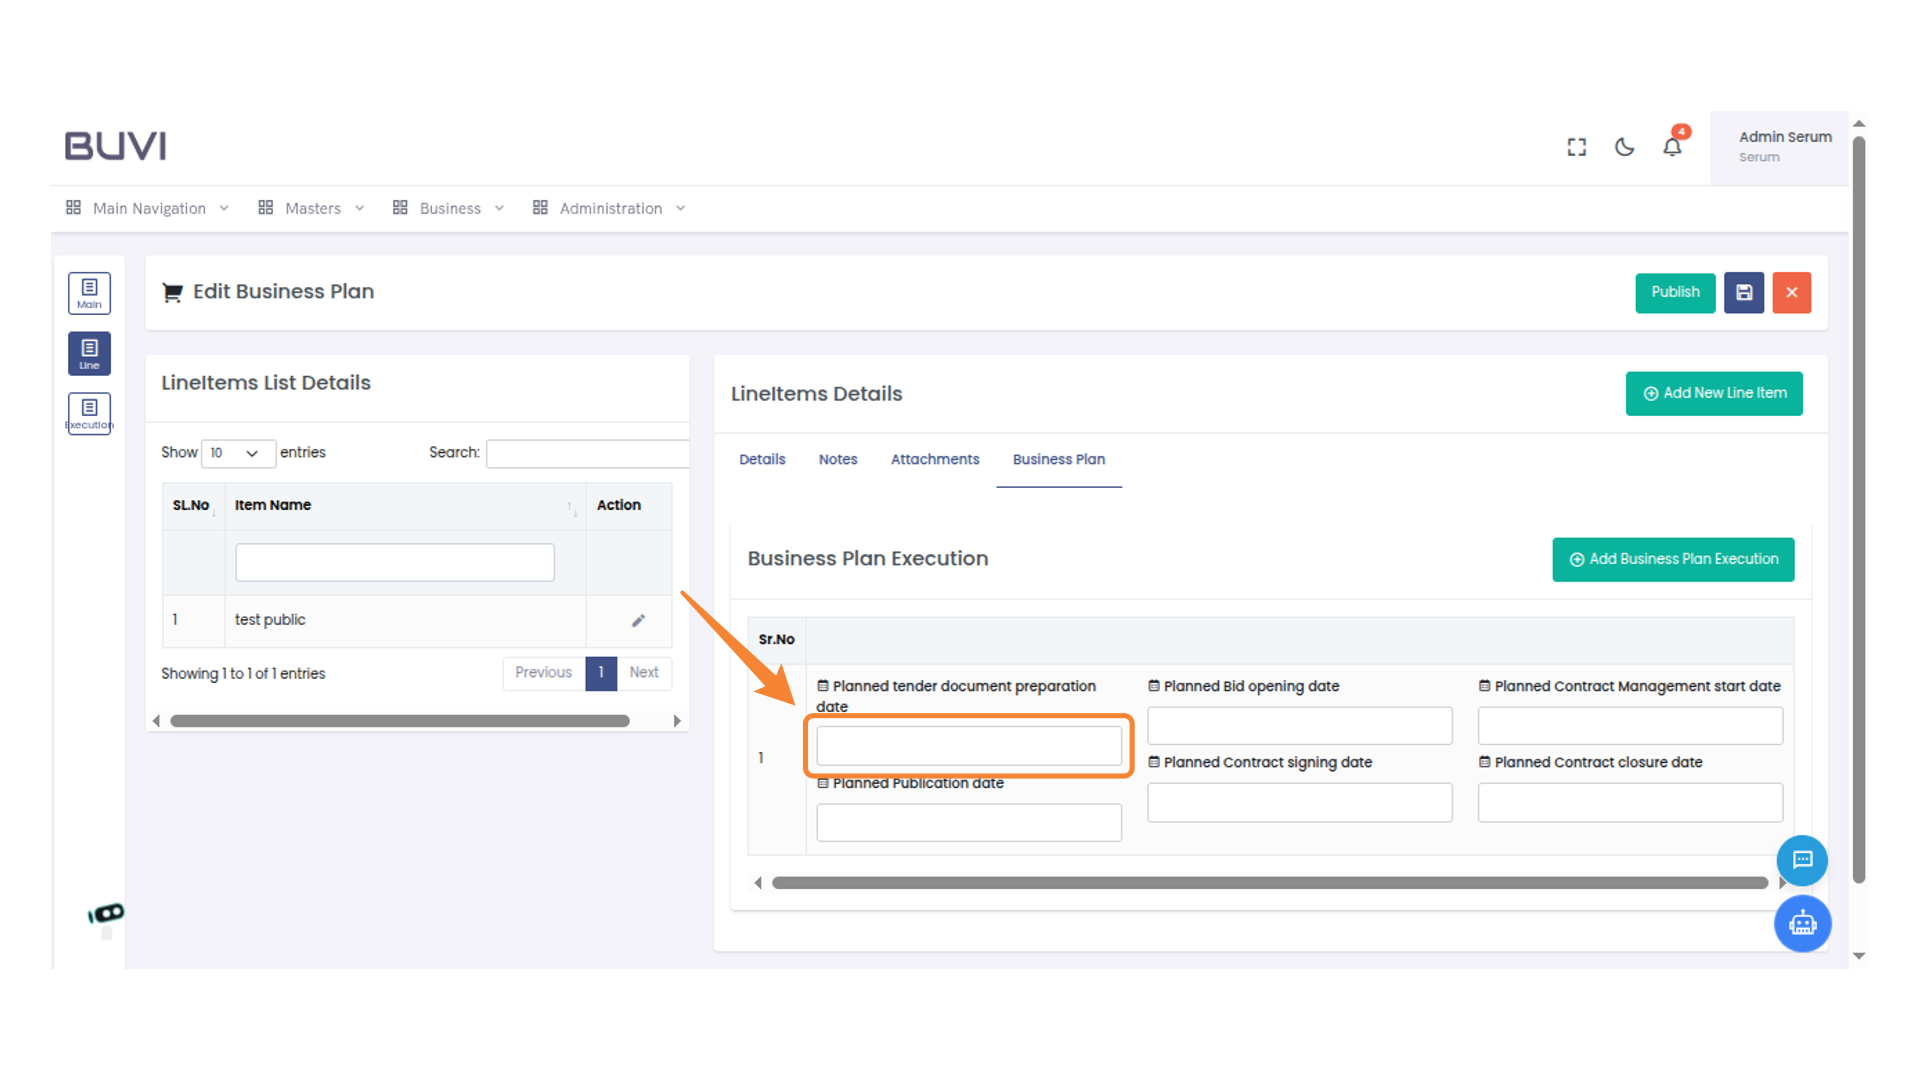
64. Enter Planned Tender Date
Input the date for planned tender document preparation in the designated field.
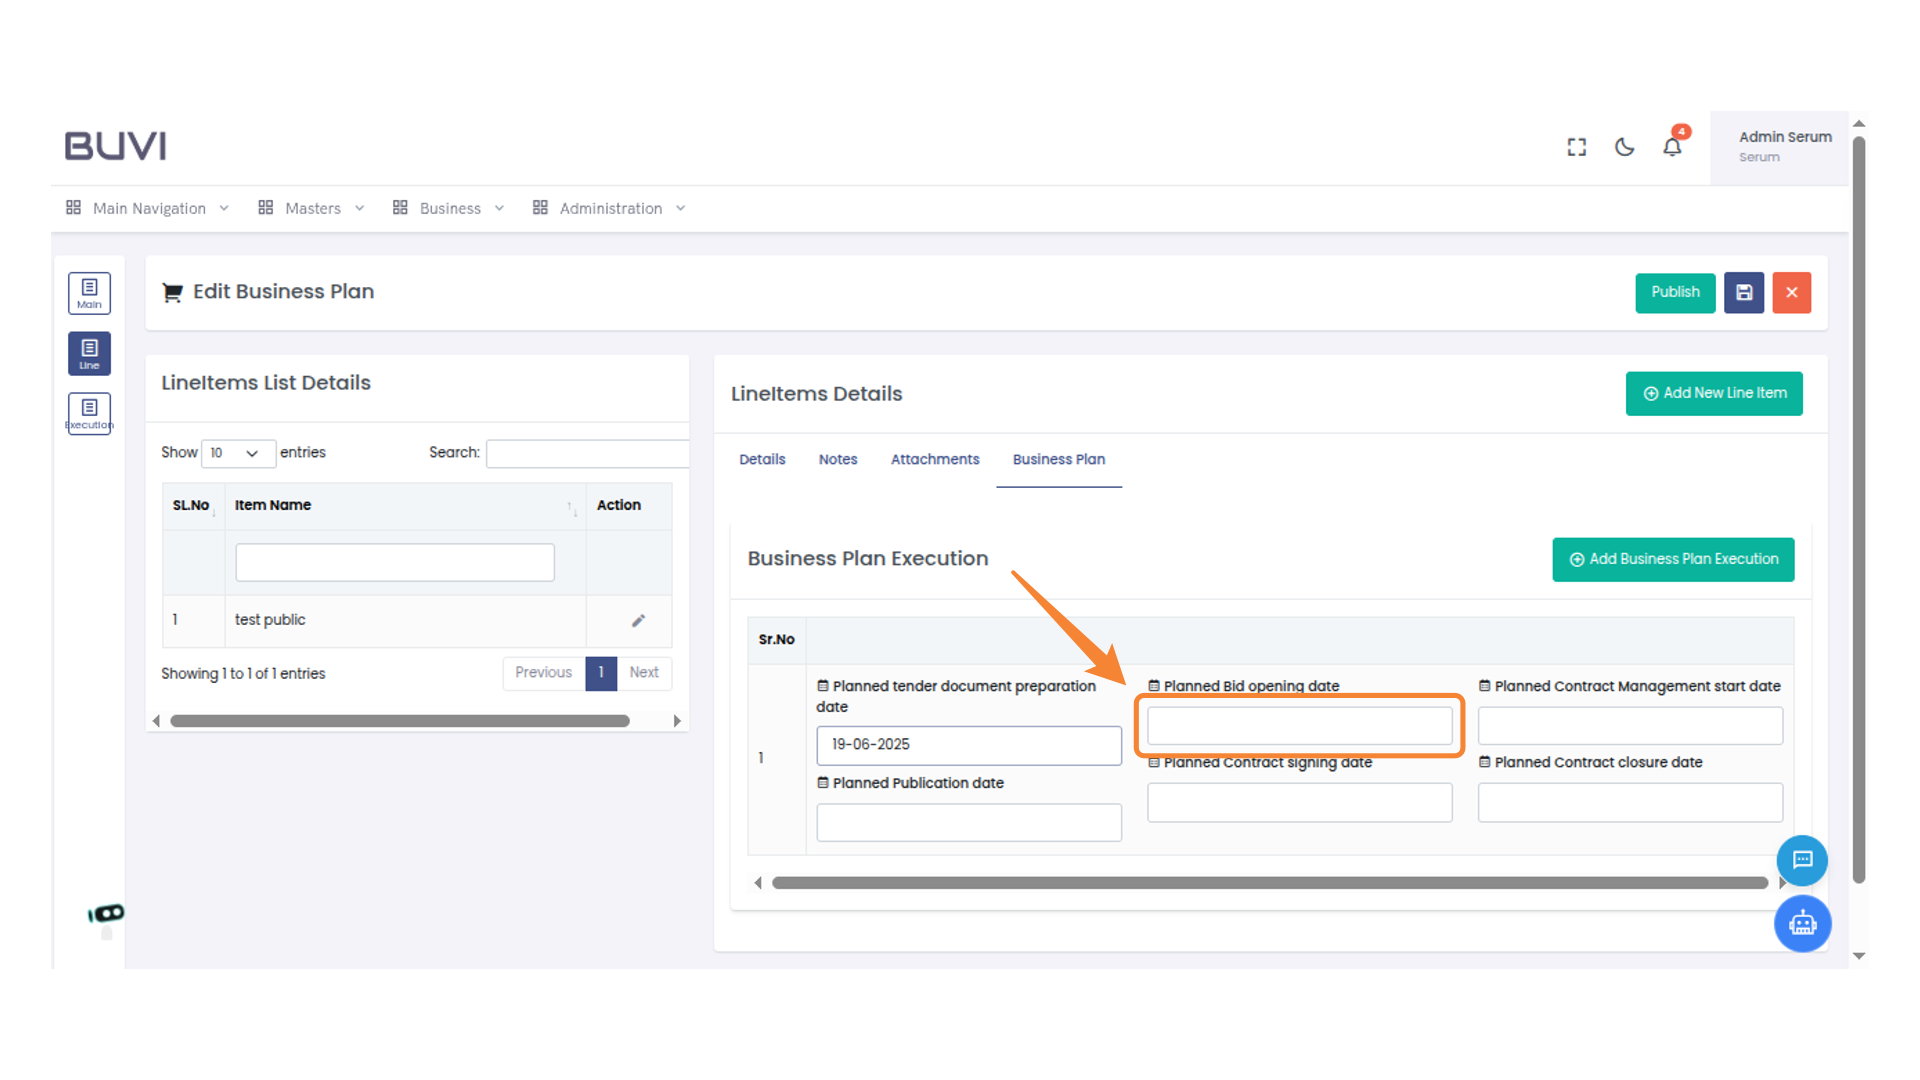
65. Enter Bid Opening Date
Enter the planned bid opening date into the designated field.
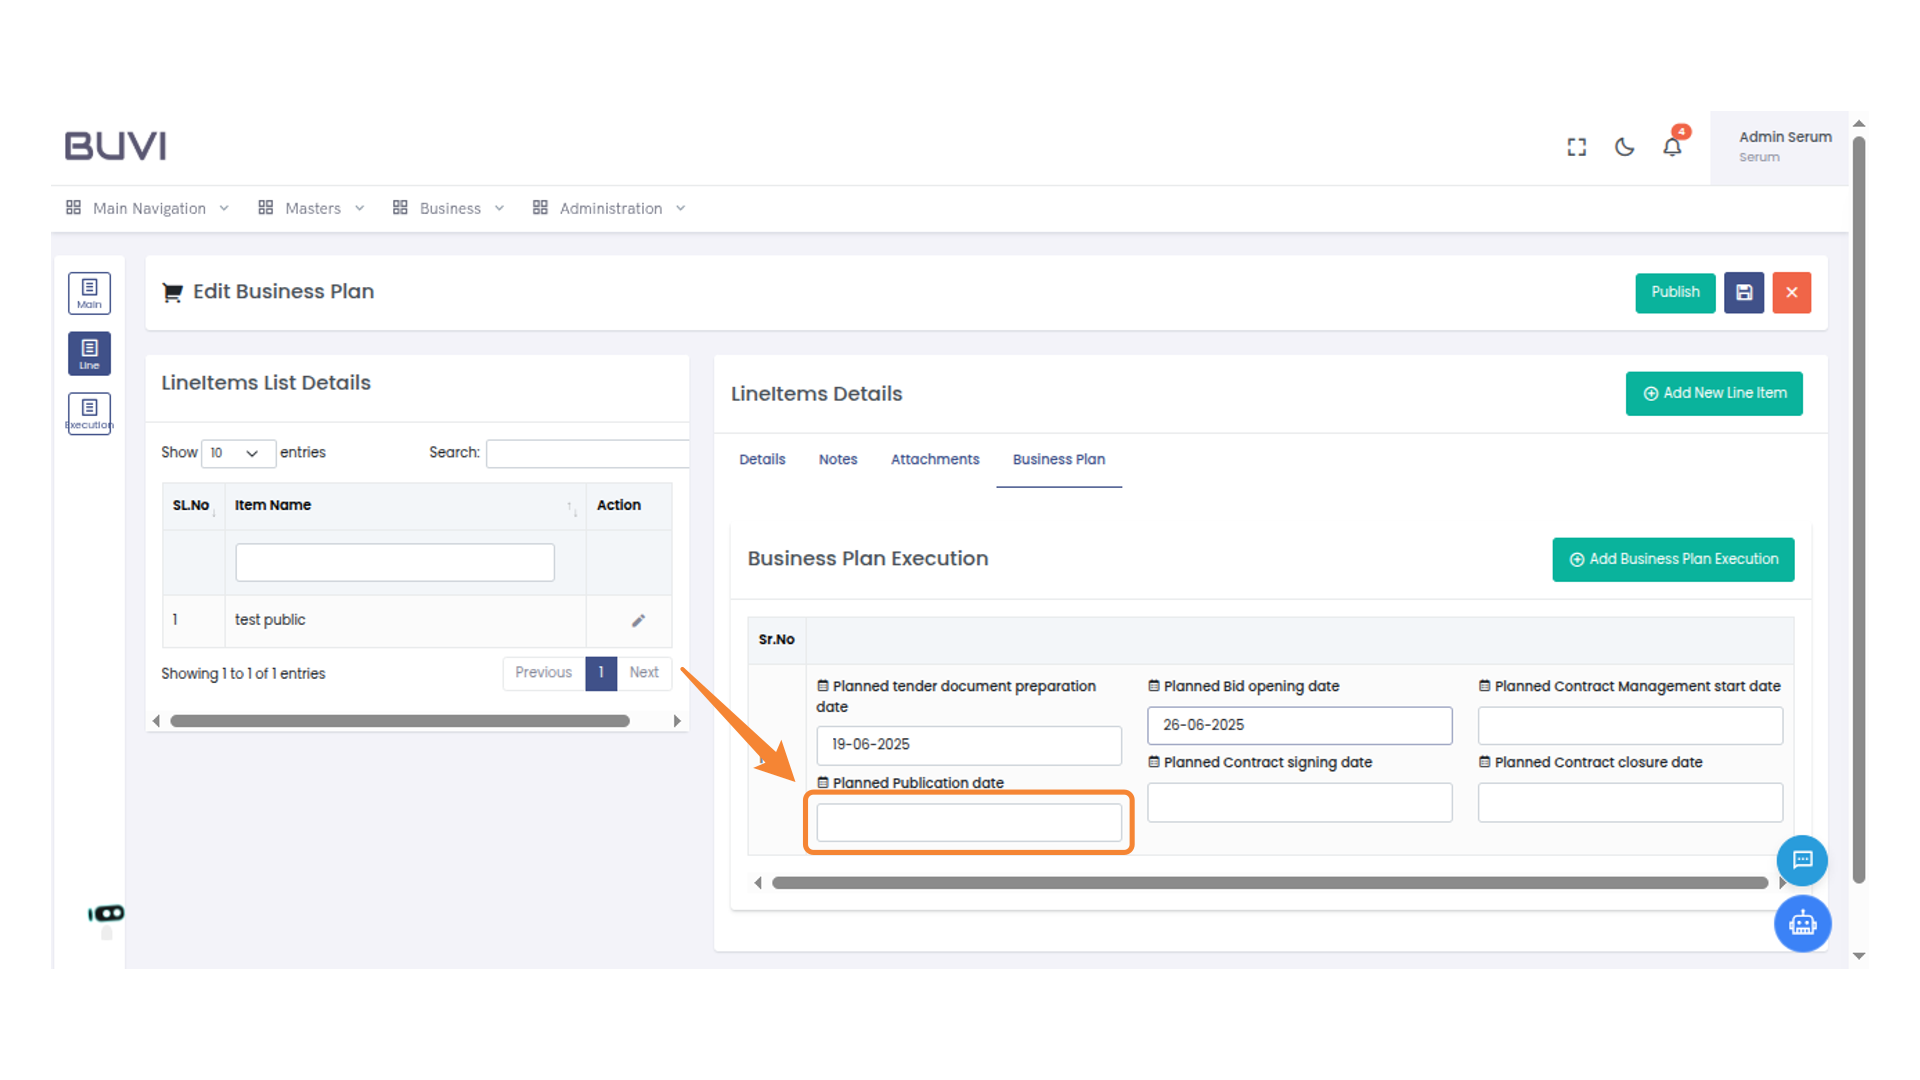
66. Enter Planned Publication Date
Input the planned publication date in the designated field to proceed with the business plan execution.
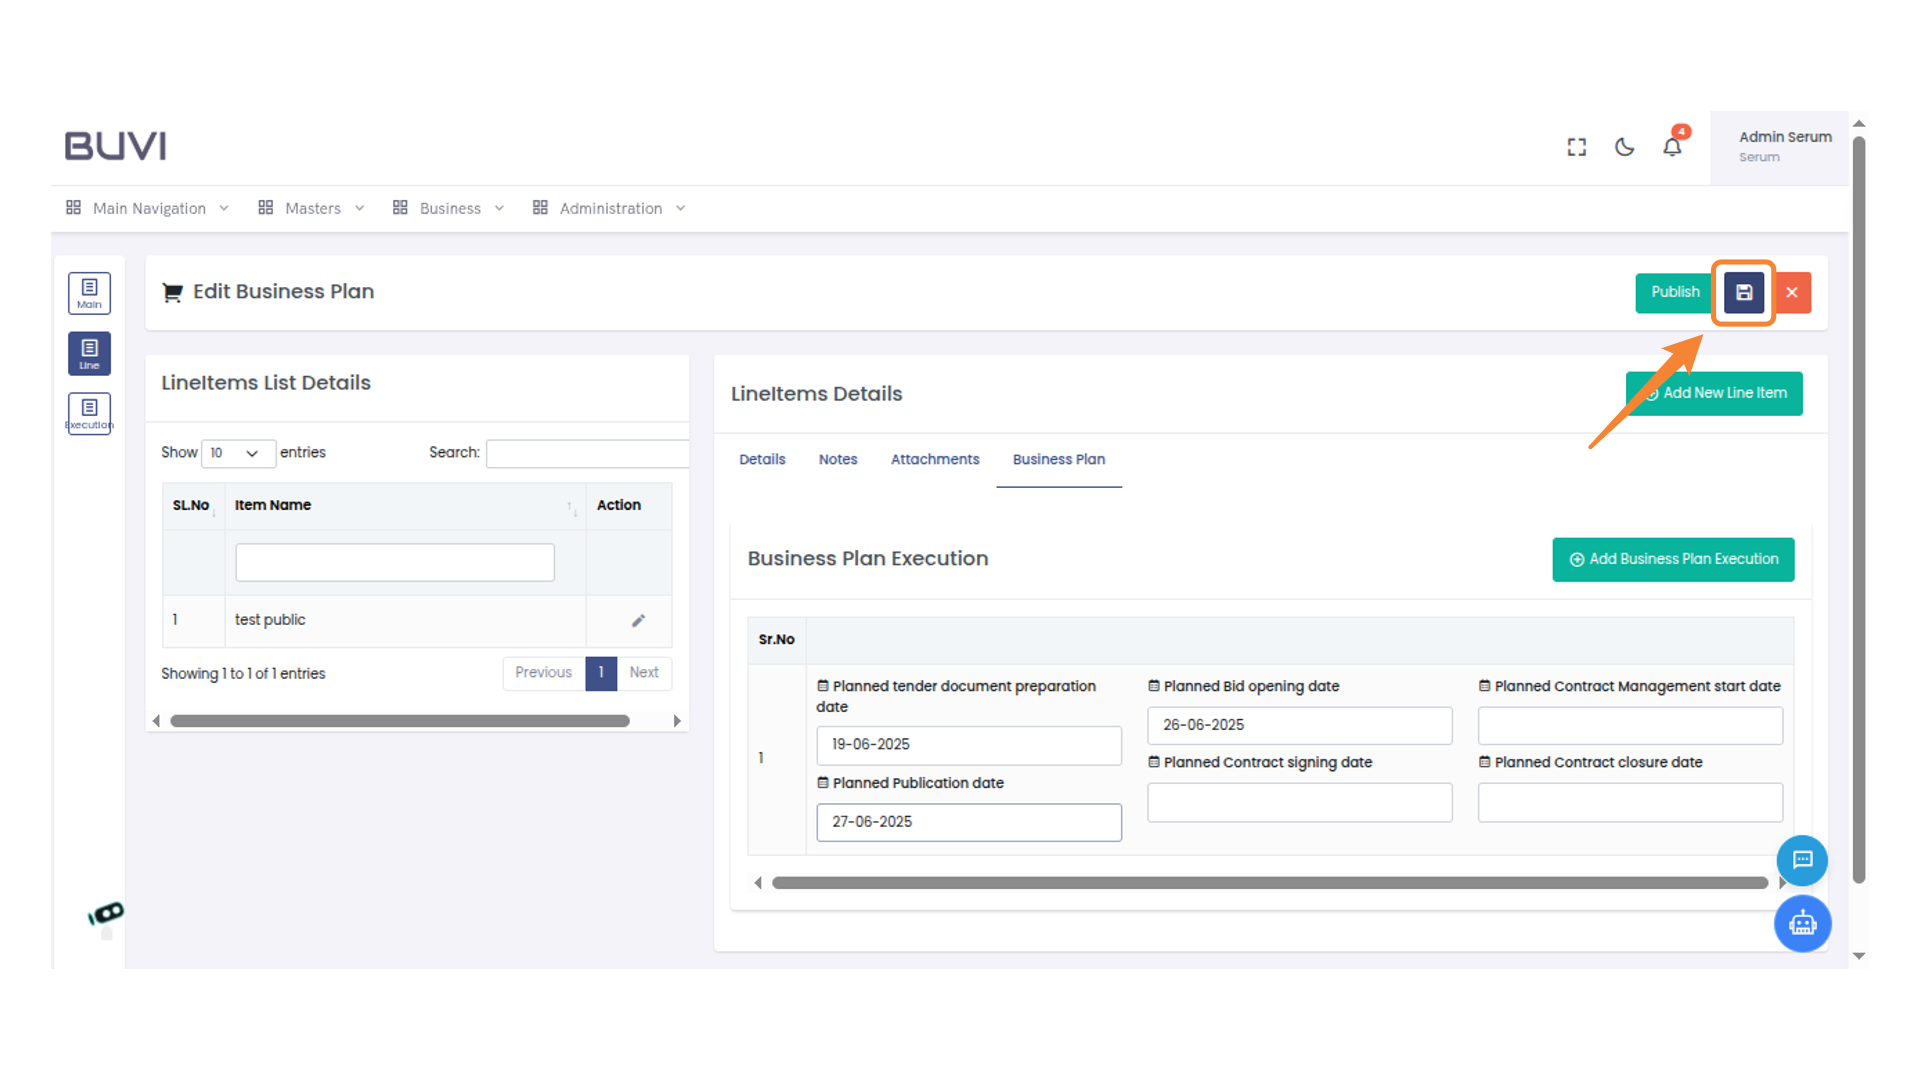
67. Save Business Plan
Click the save icon to store your changes to the business plan.
68. Confirm Your Action
Click 'Save' to confirm your changes.
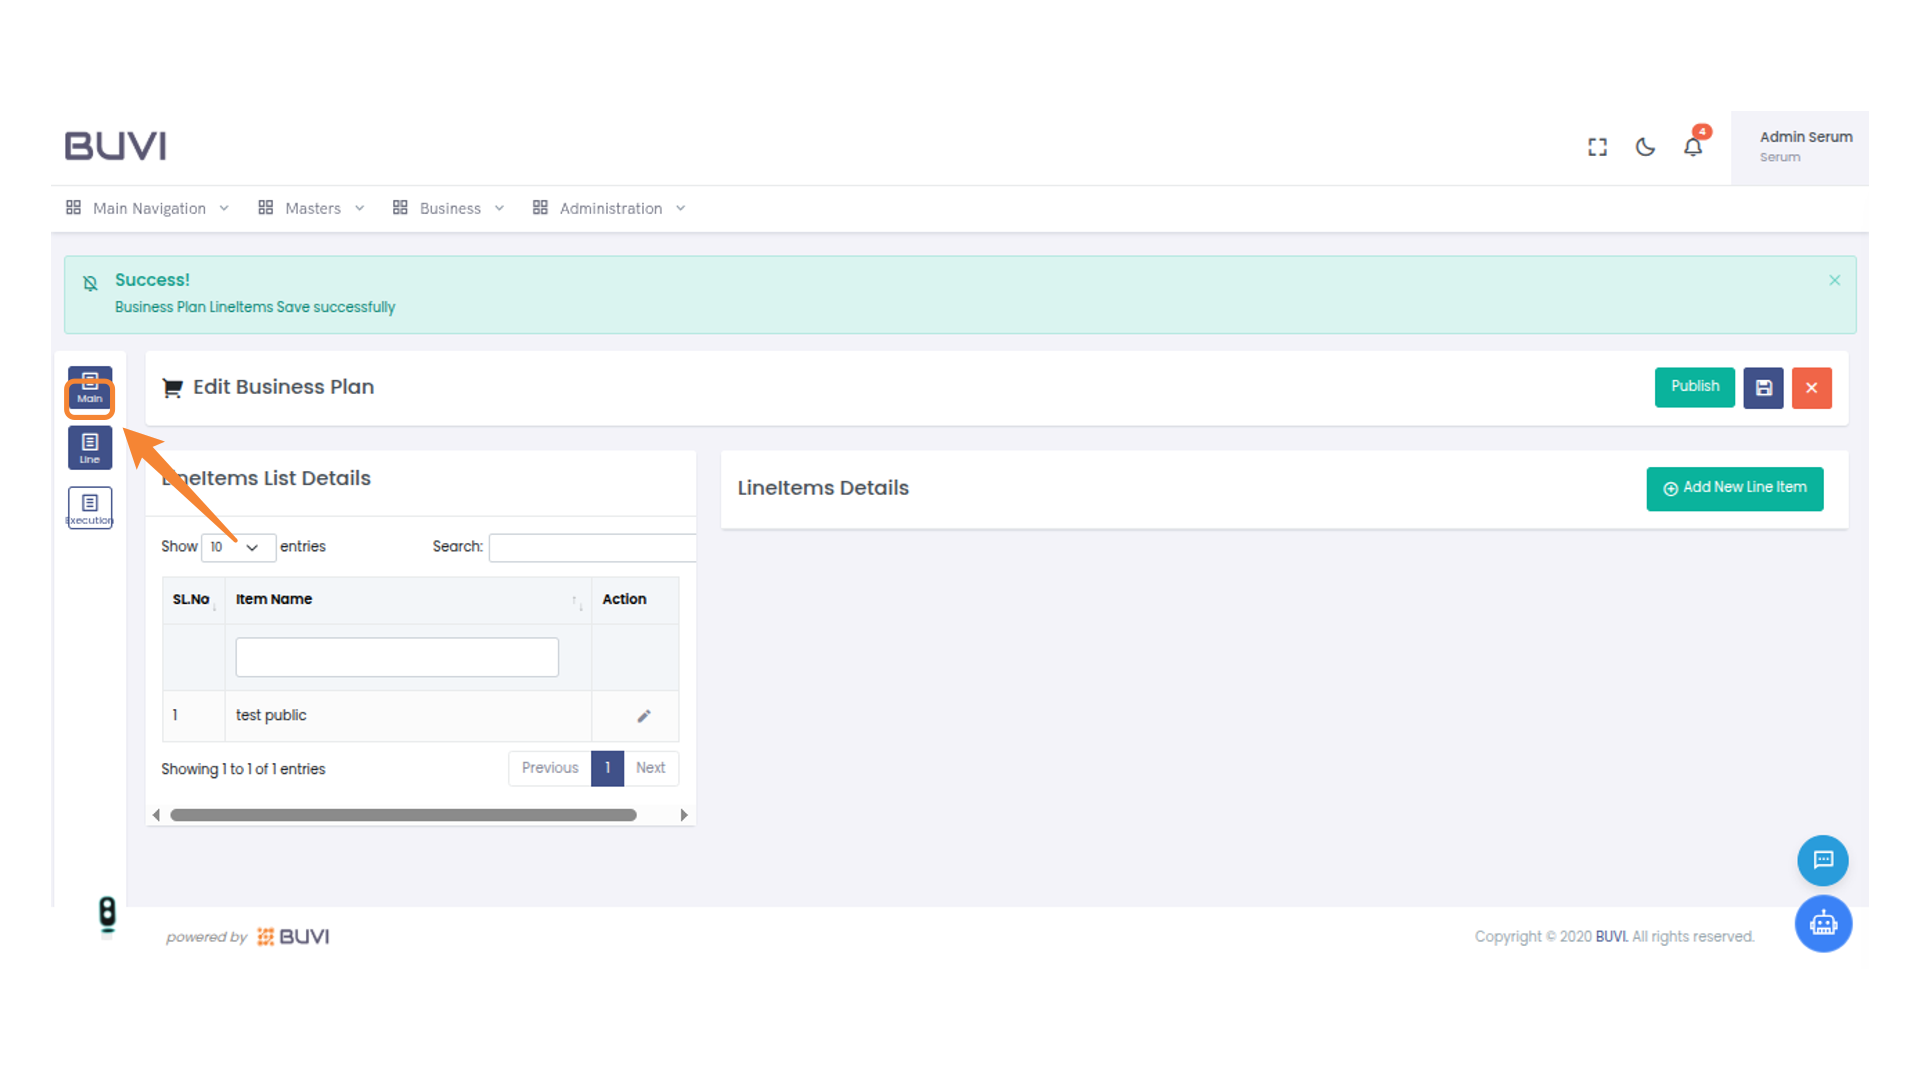
69. Access Main Menu
Select the 'Main' menu icon to navigate to the primary dashboard options and manage the business plan effectively.
70. Publish Business Plan
Click the 'Publish' button to finalize and publish the business plan.

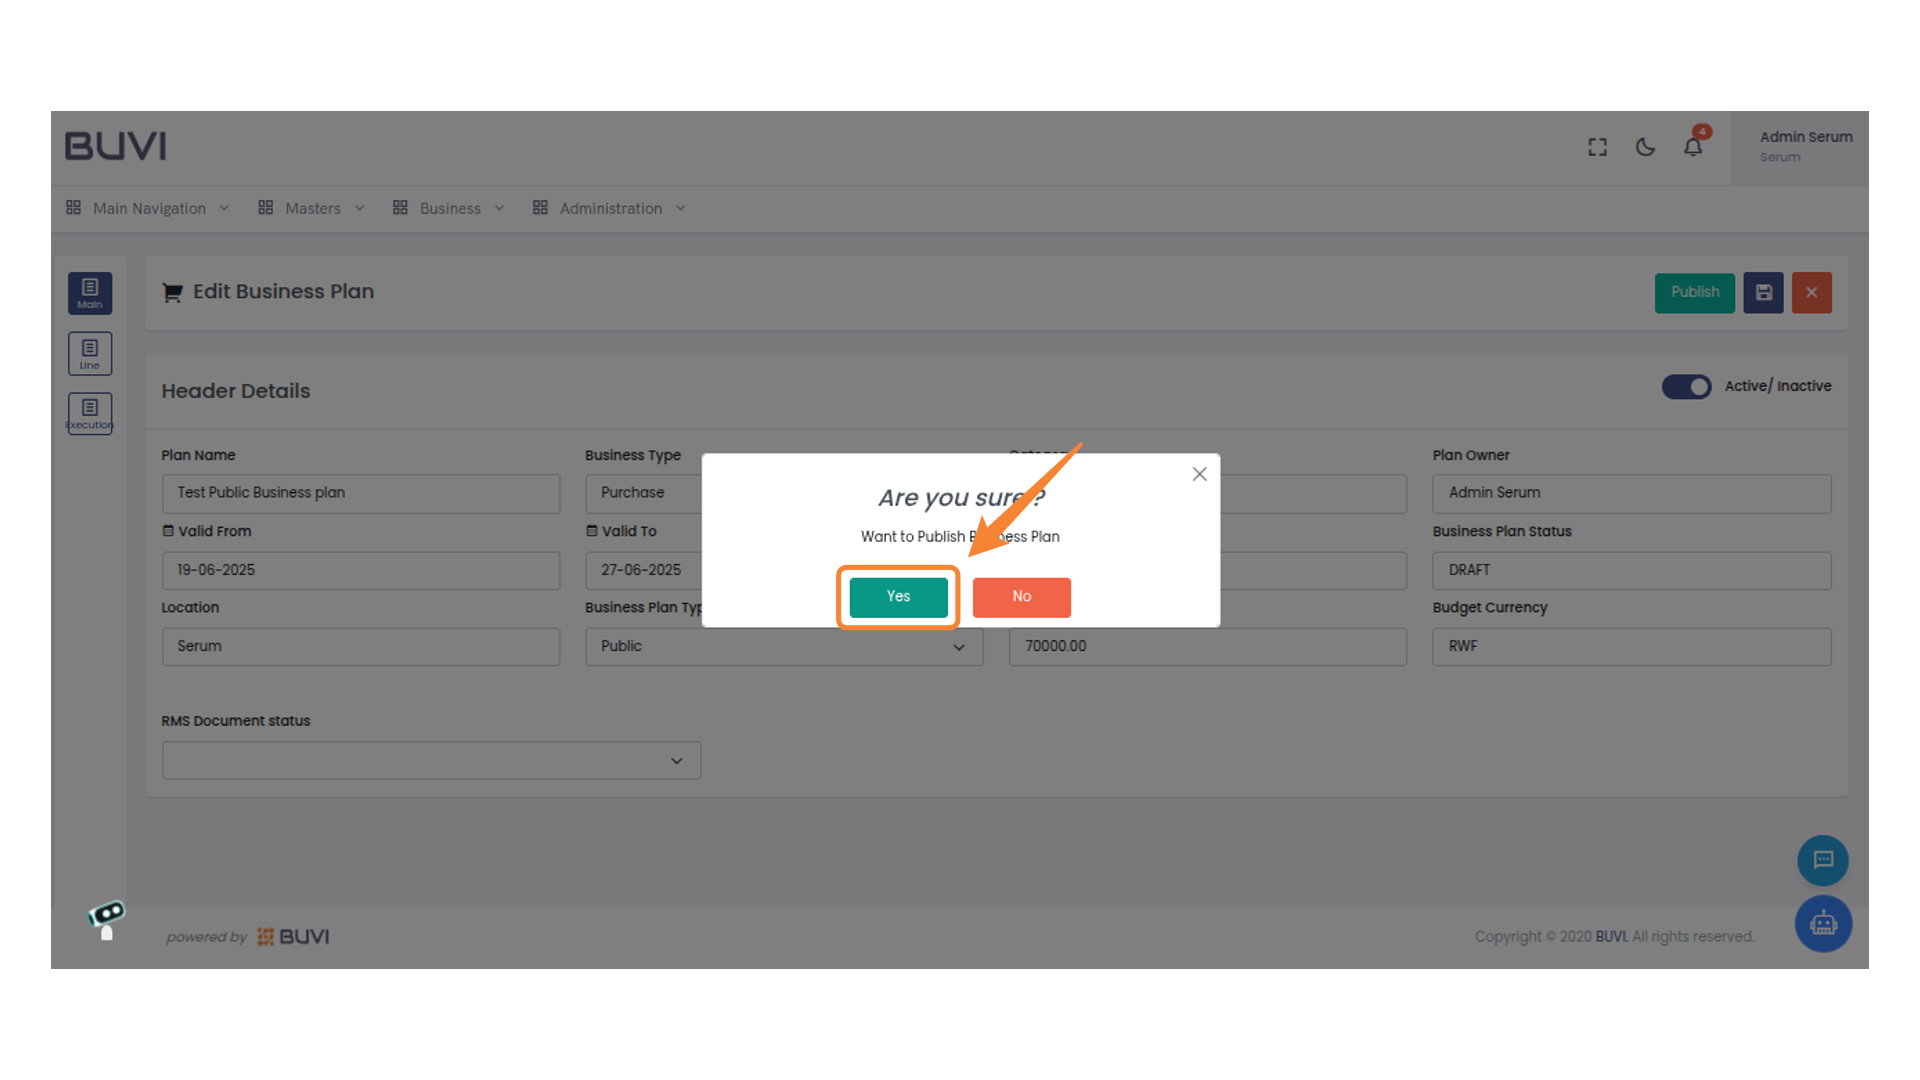
71. Confirm Action
Click 'Yes' to confirm publishing the business plan.
72. Go to Public Portal
Go to Public Portal
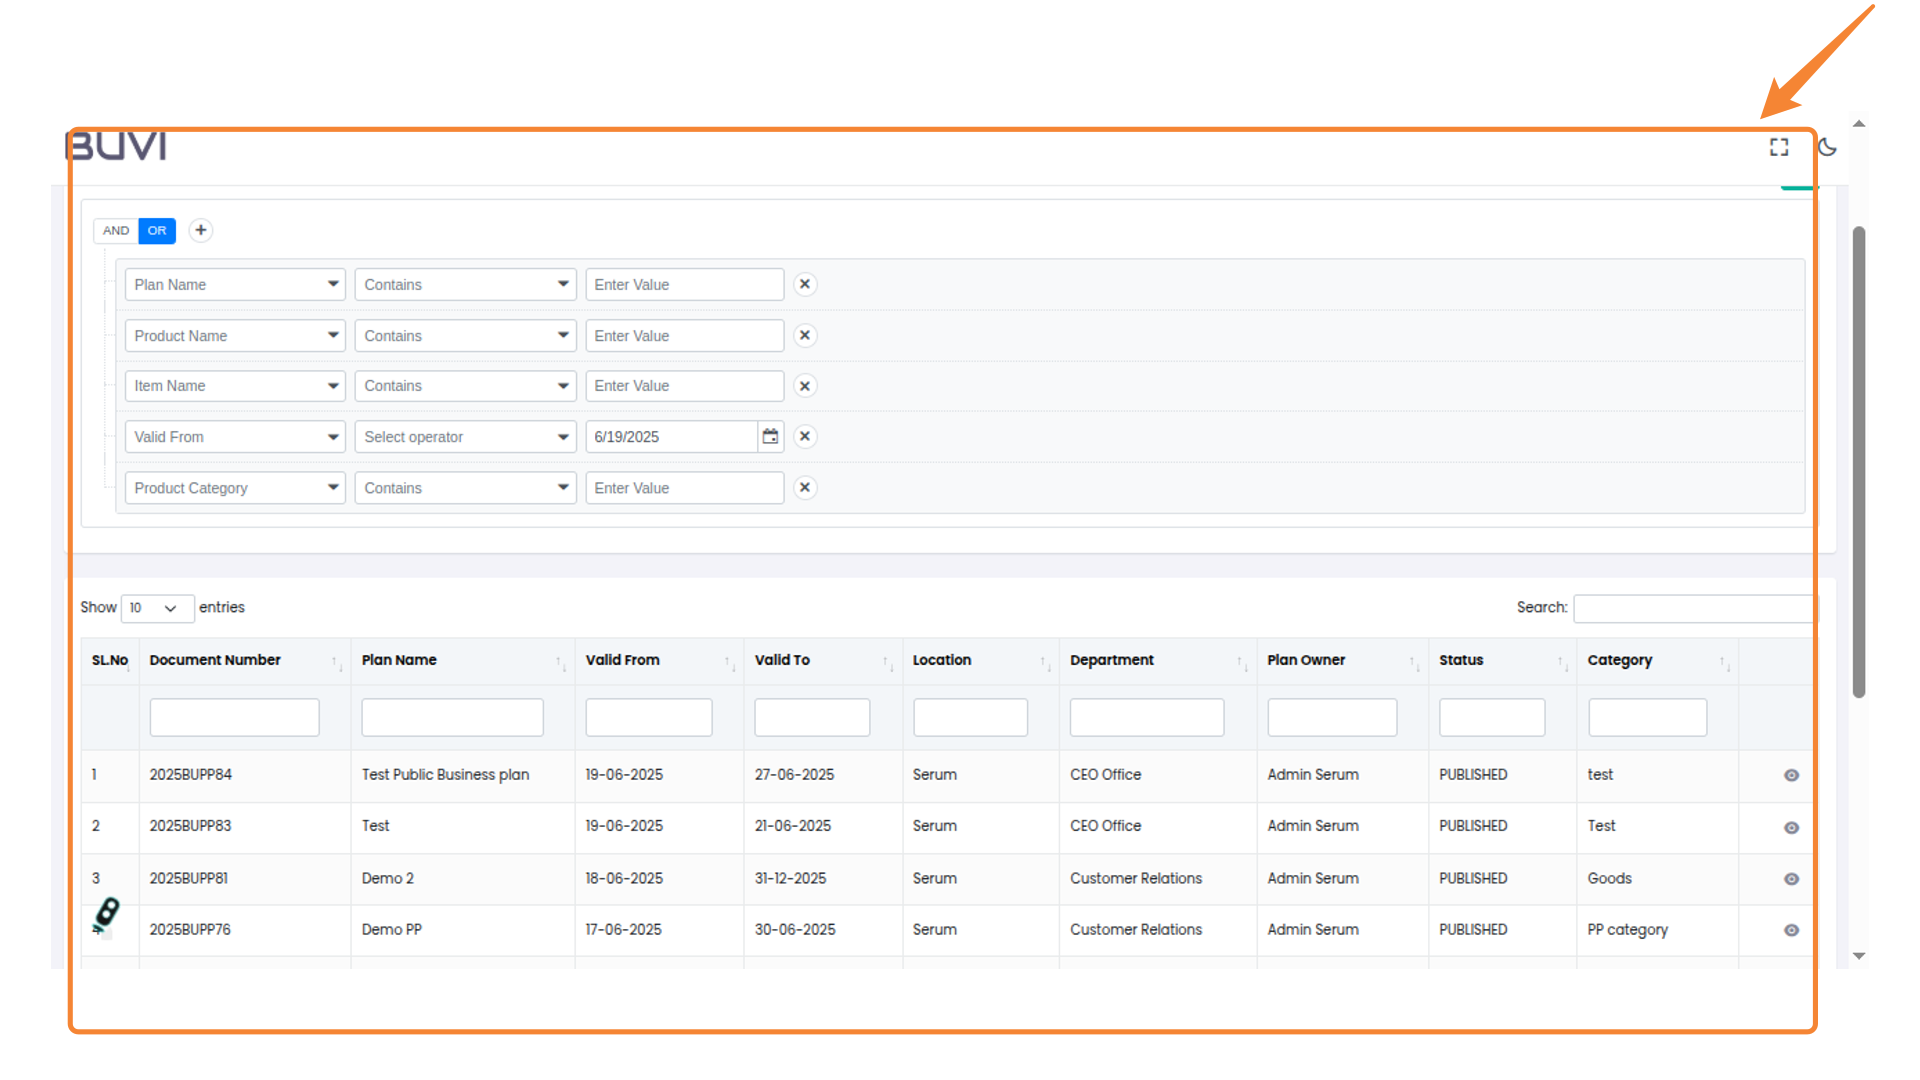
73. Filter Results
Filter Result
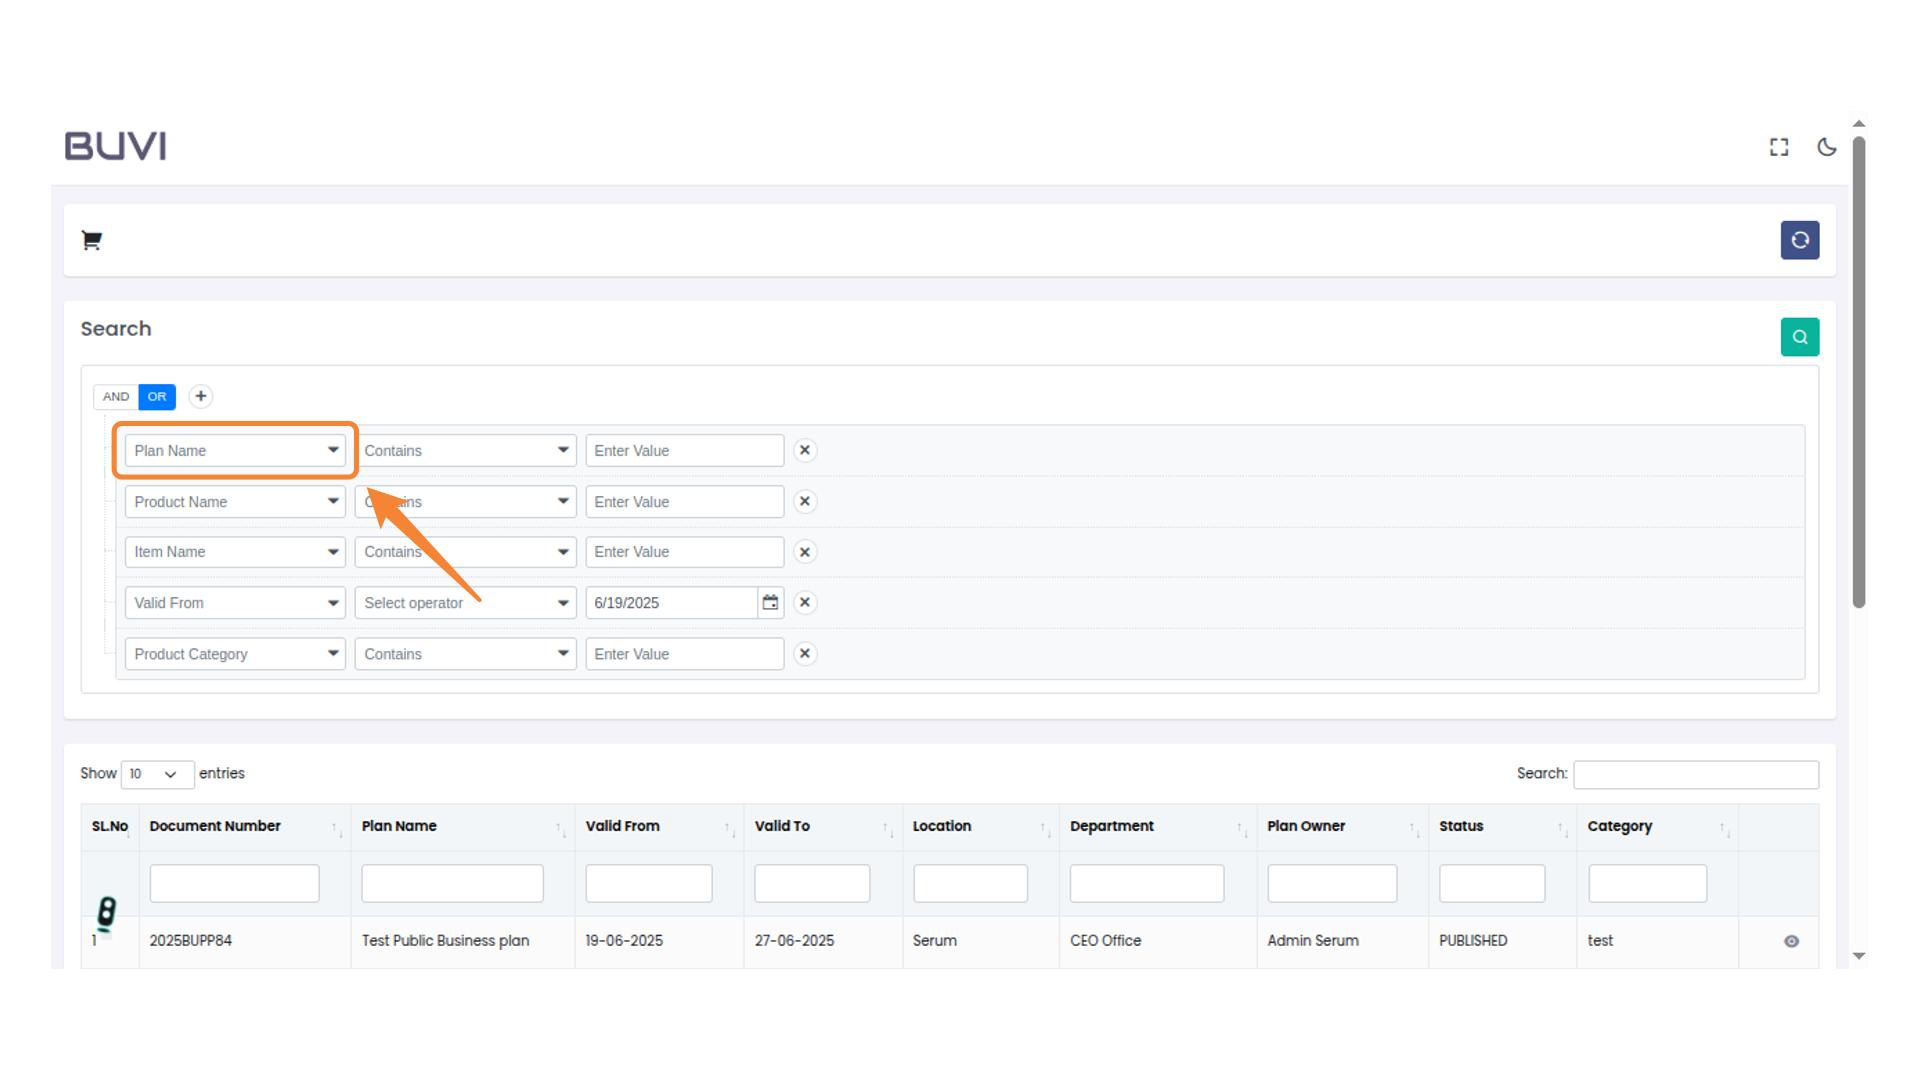
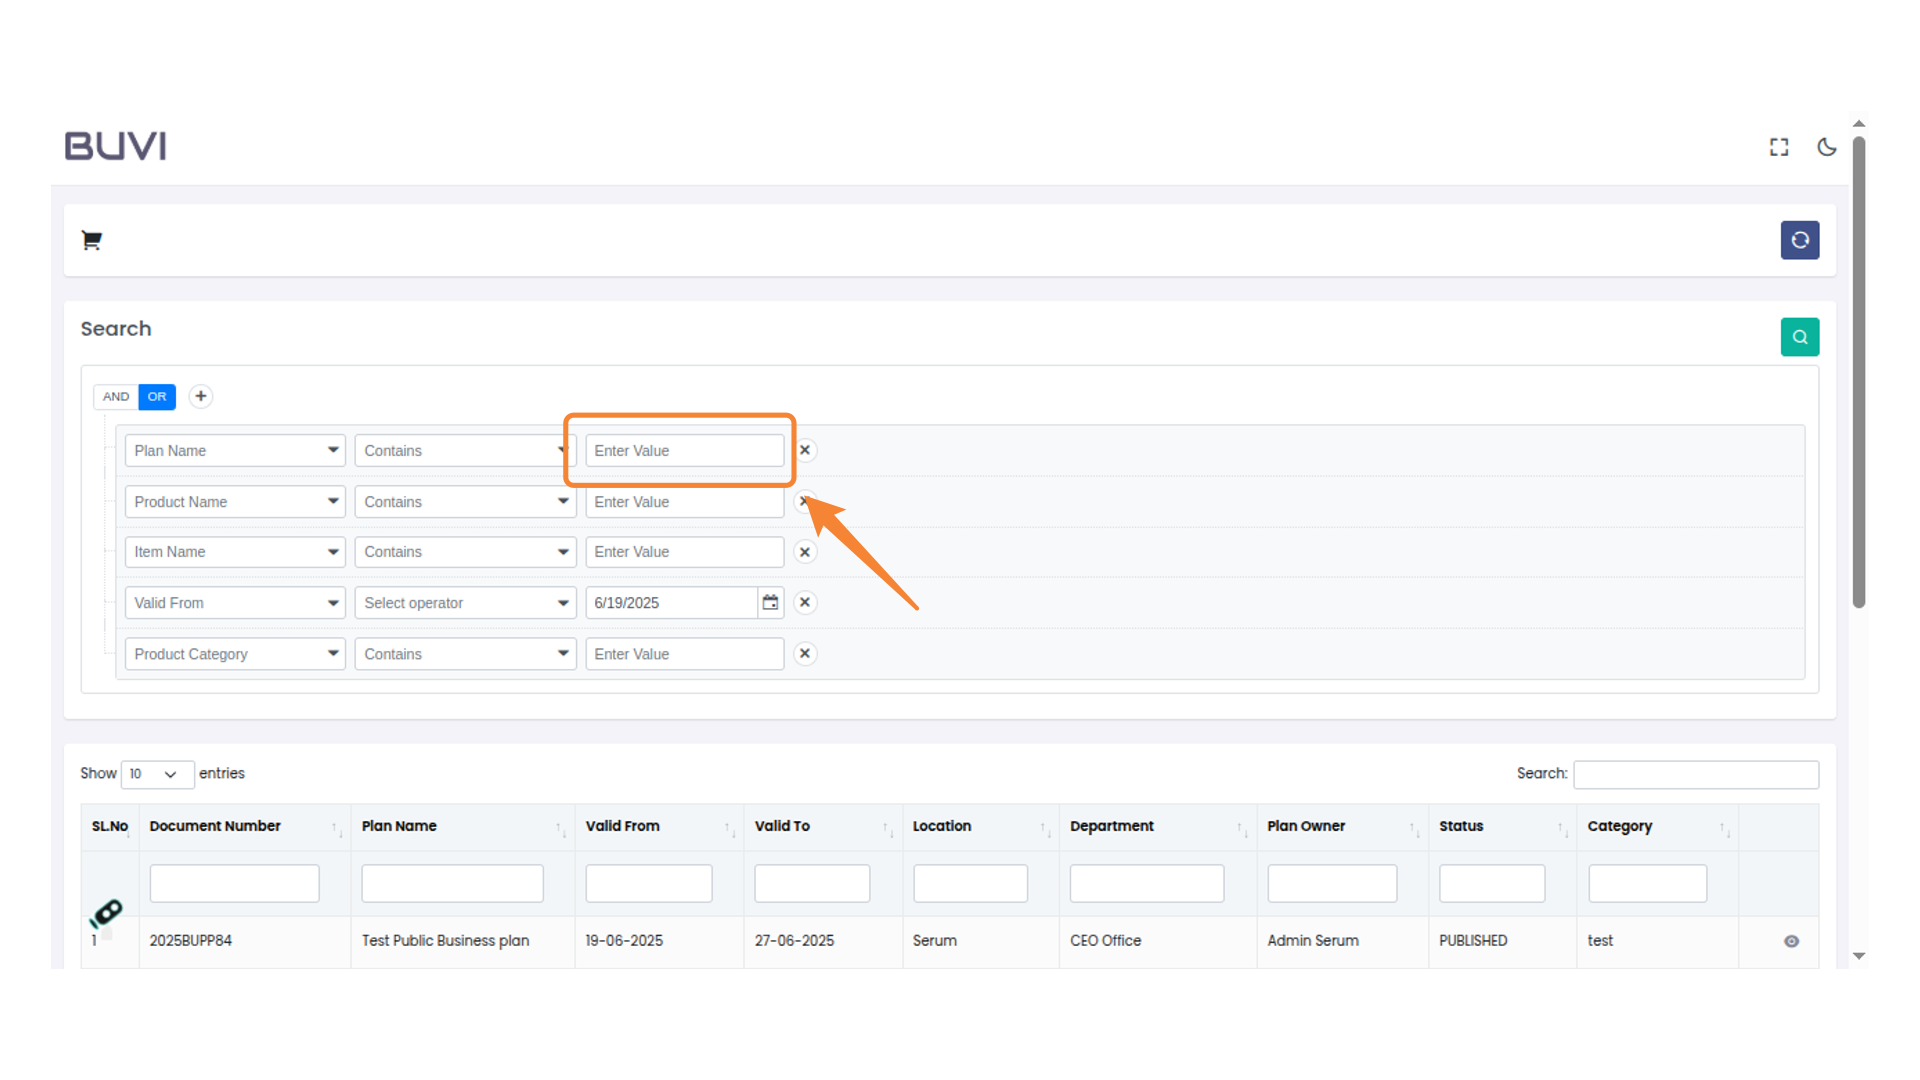
74. Enter Search Criteria
Input a value to specify the plan name for filtering results.
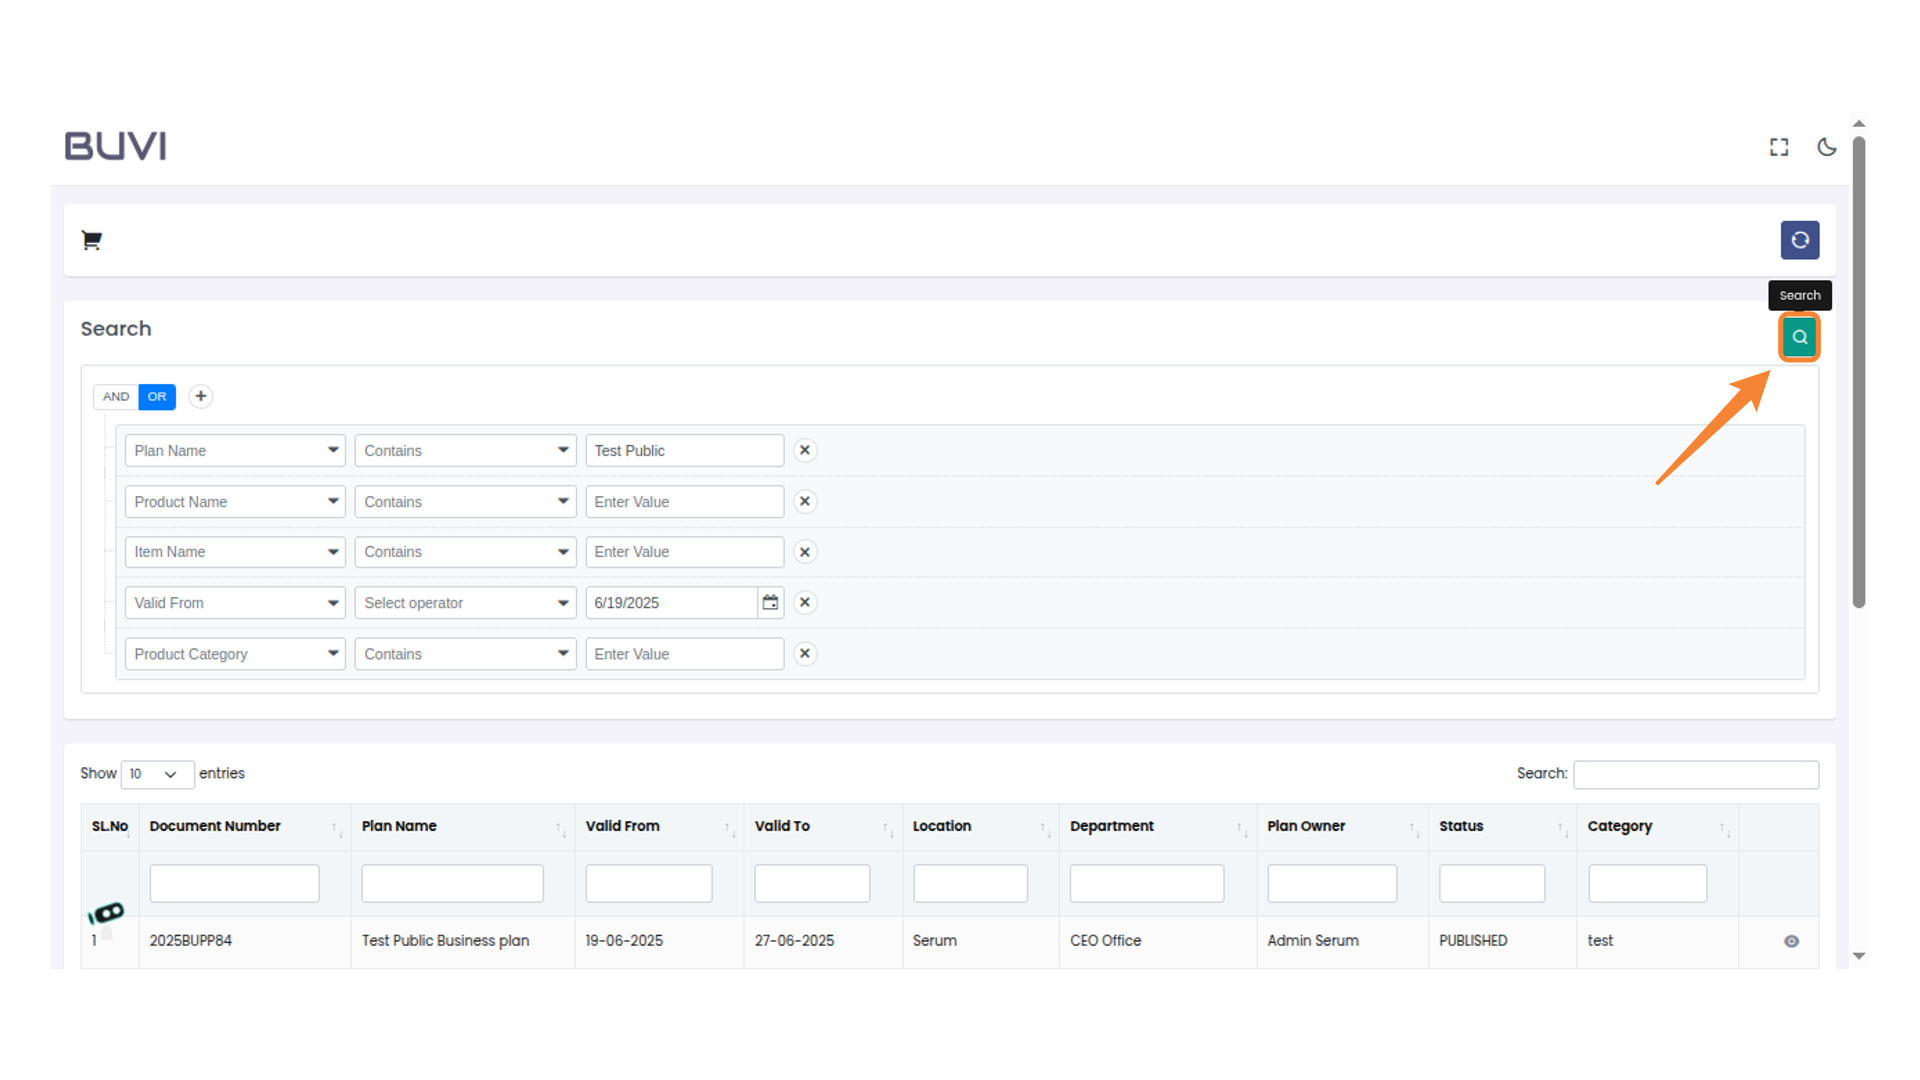
75. Initiate Search Action
Click the magnifying glass icon to start the search.
76. Click on View Button
Click on View Button
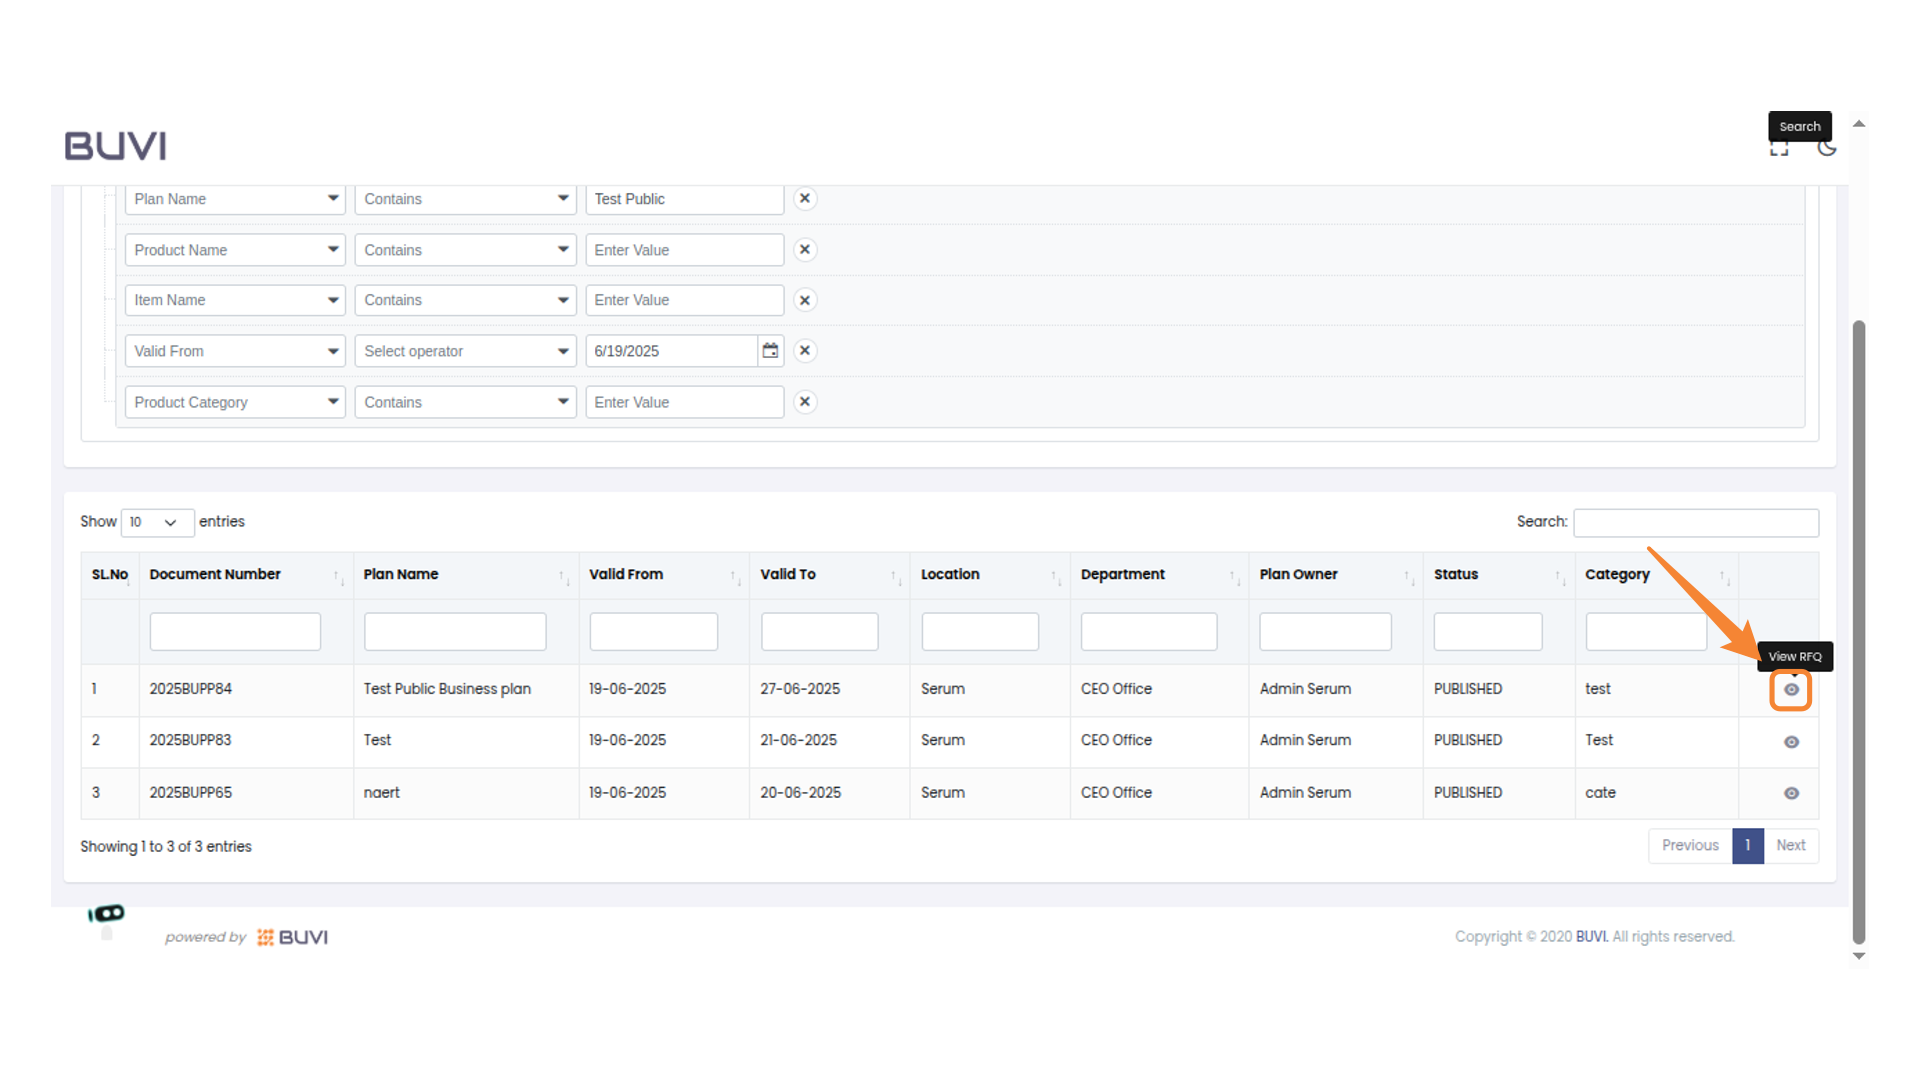
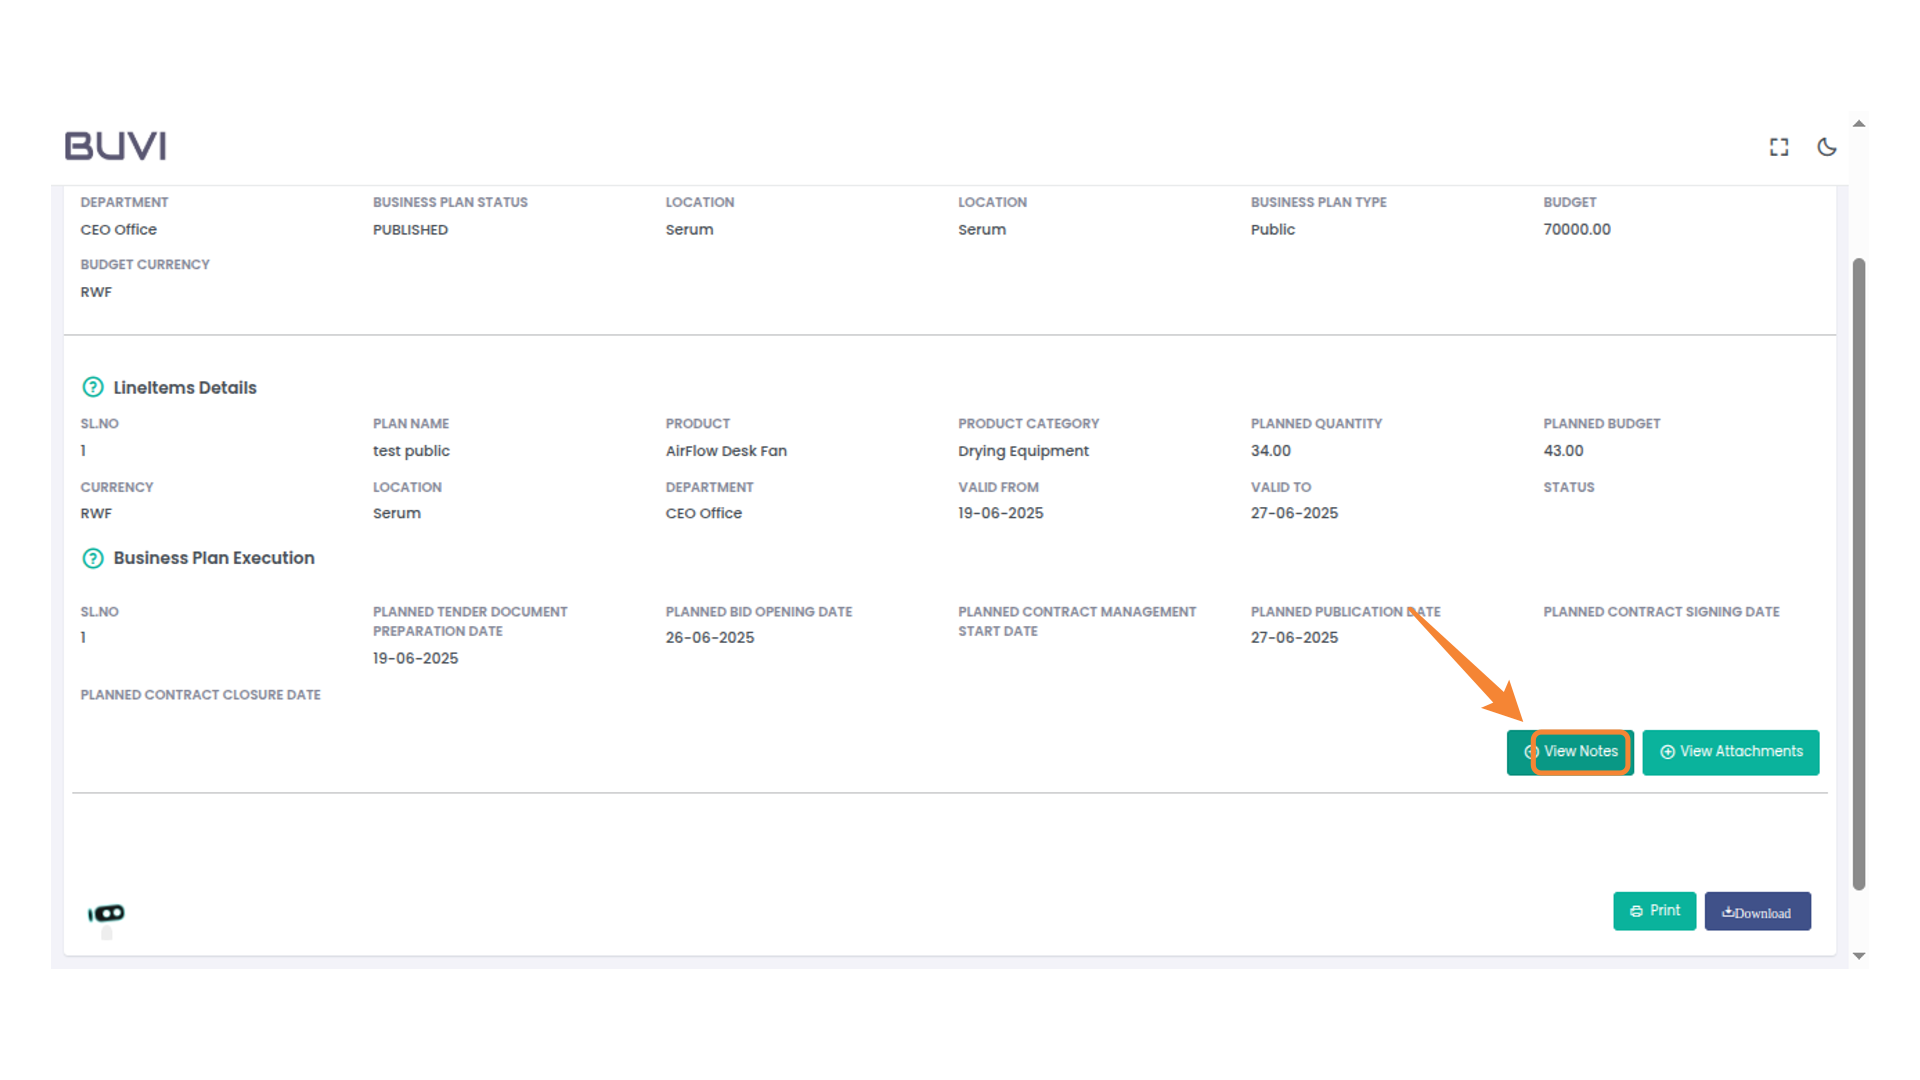
77. Access Notes or Attachments
Click 'View Notes' to see additional information or 'View Attachments' to review related files.
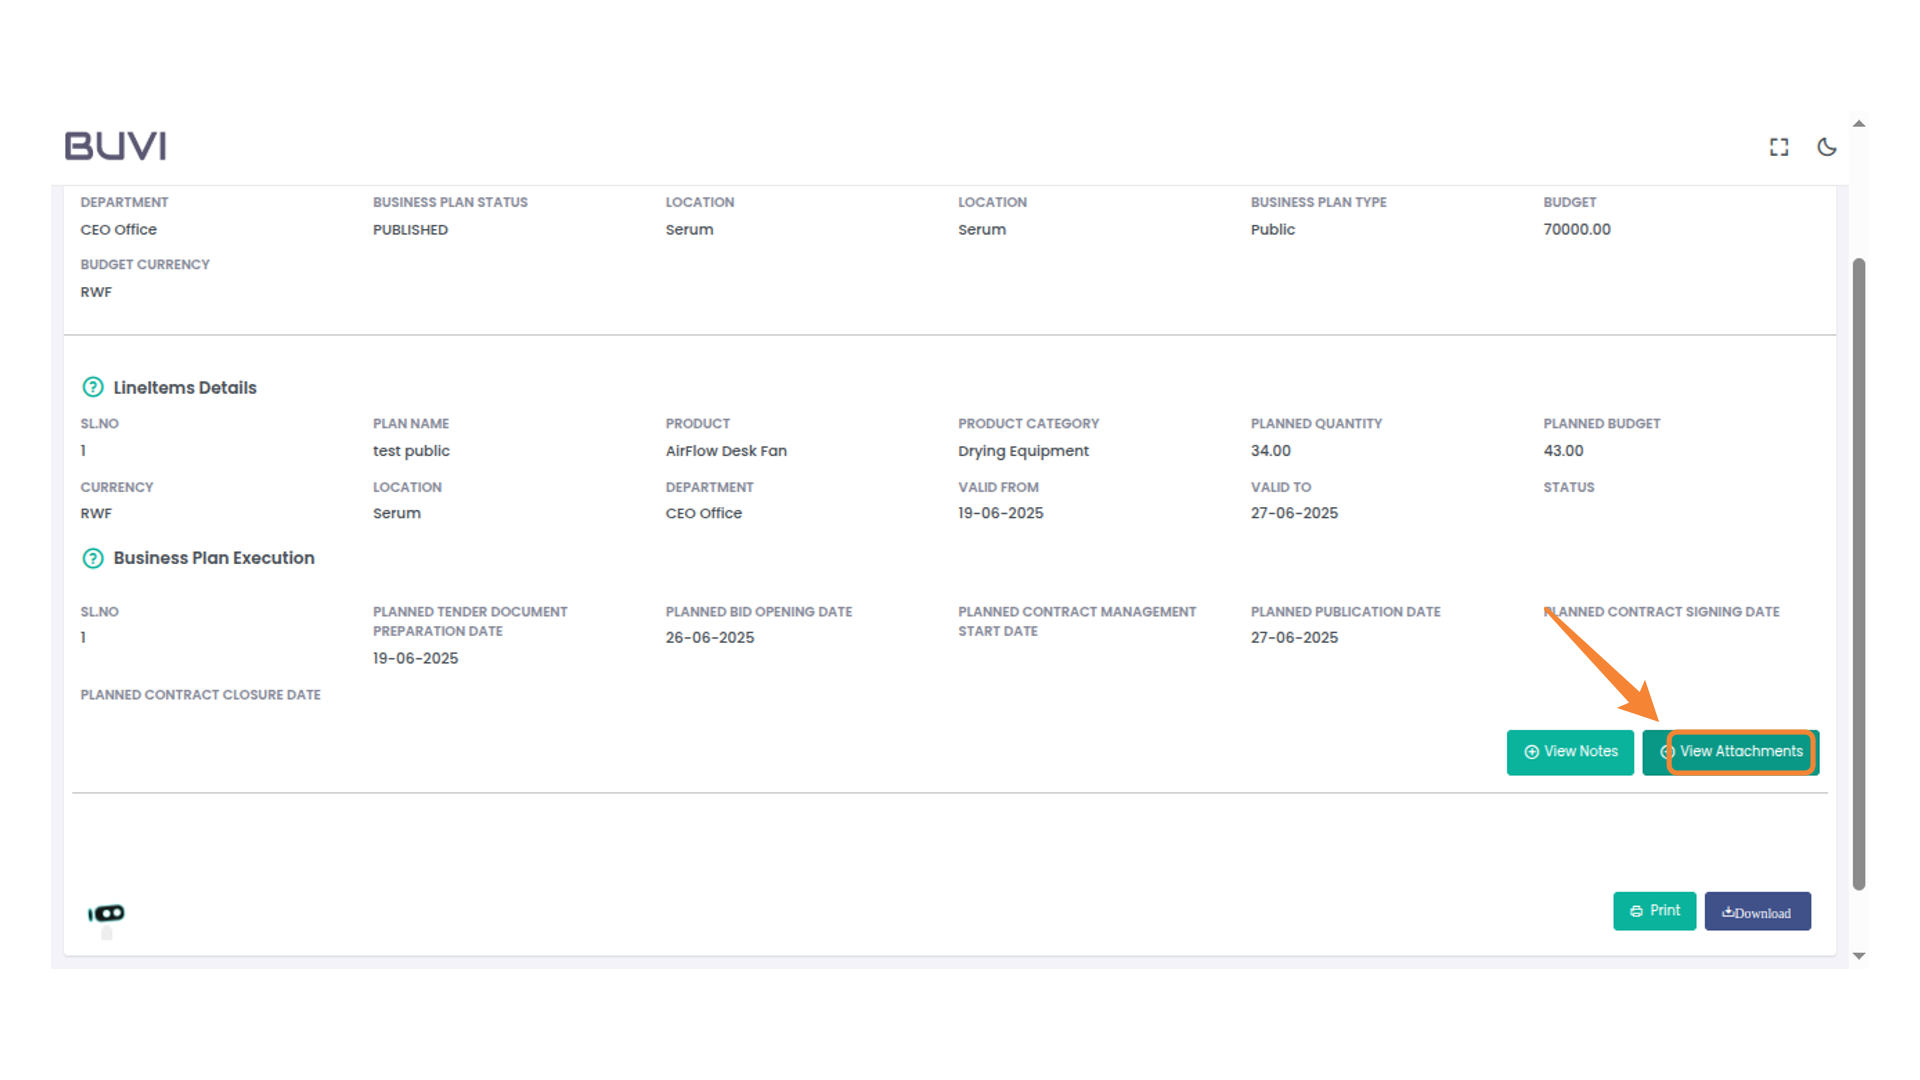
78. Access Attachments
Click 'View Attachments' to access related files or documents.
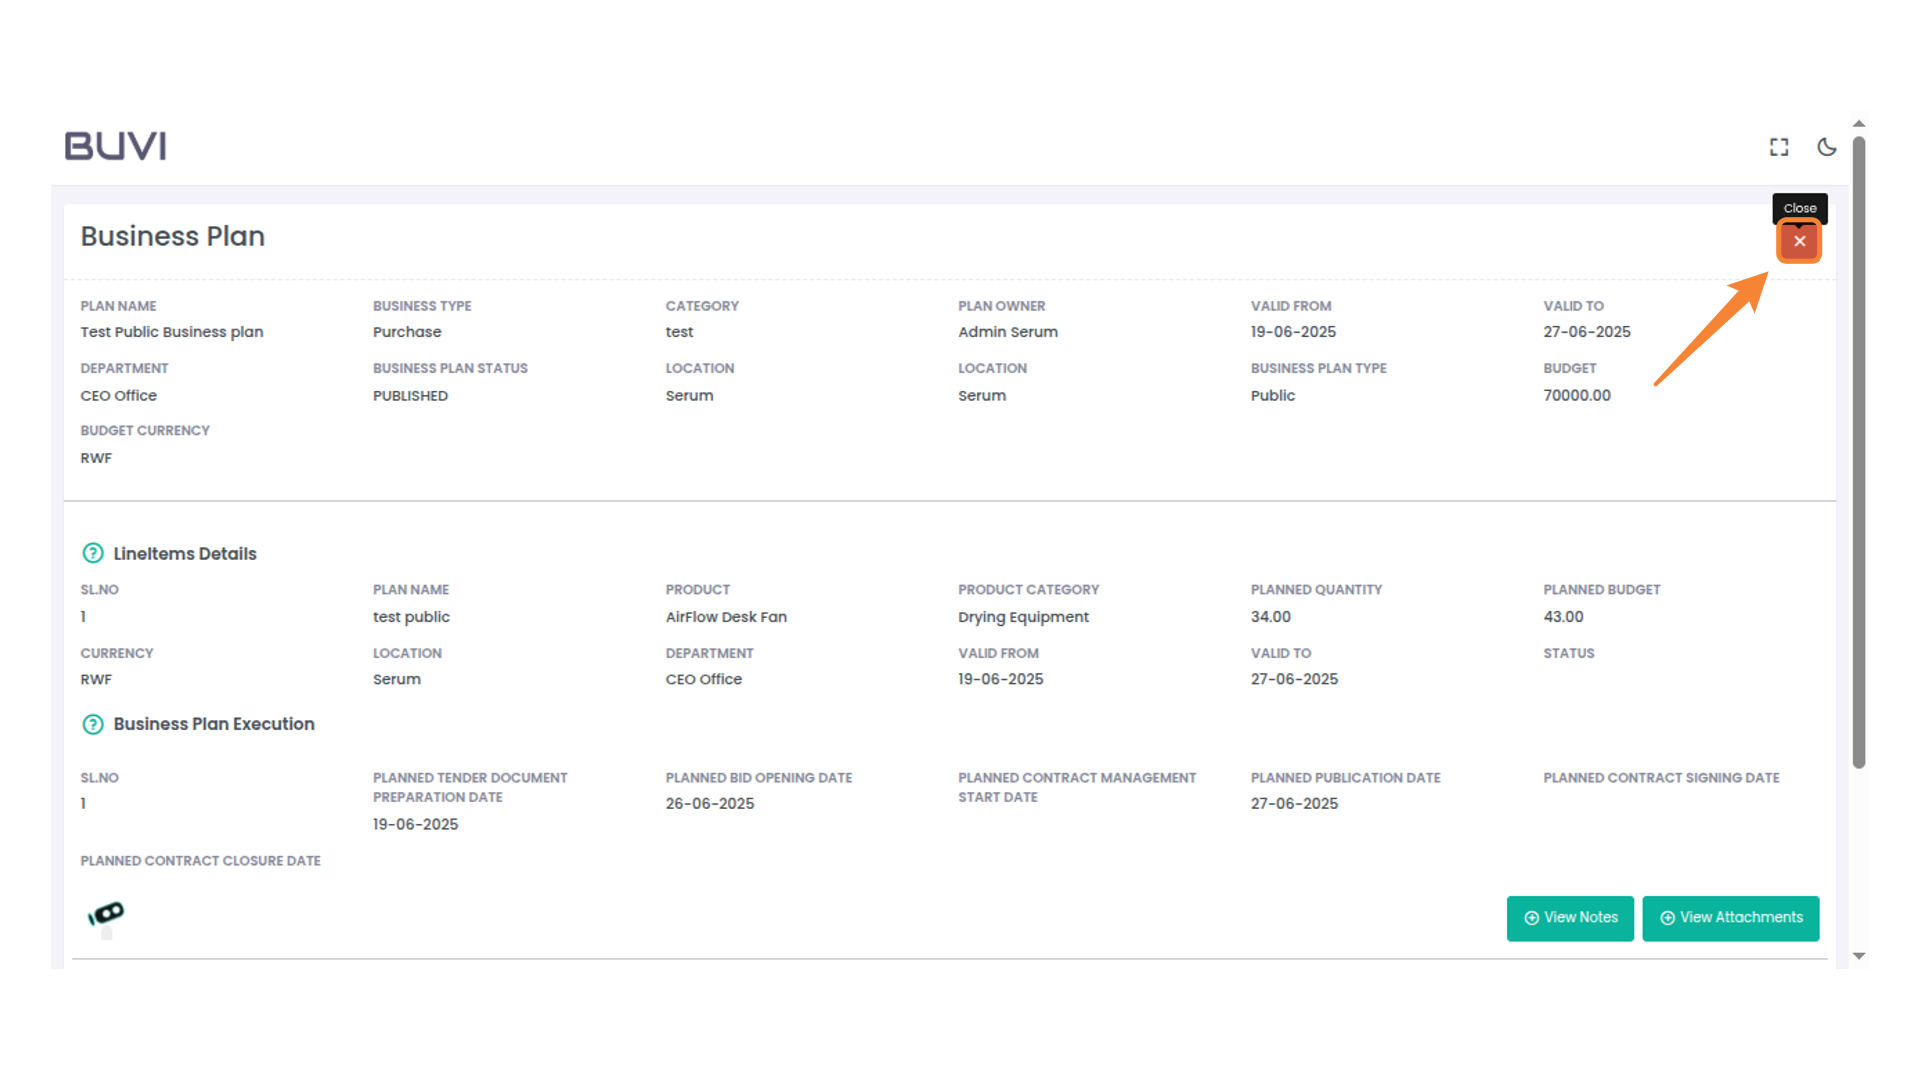
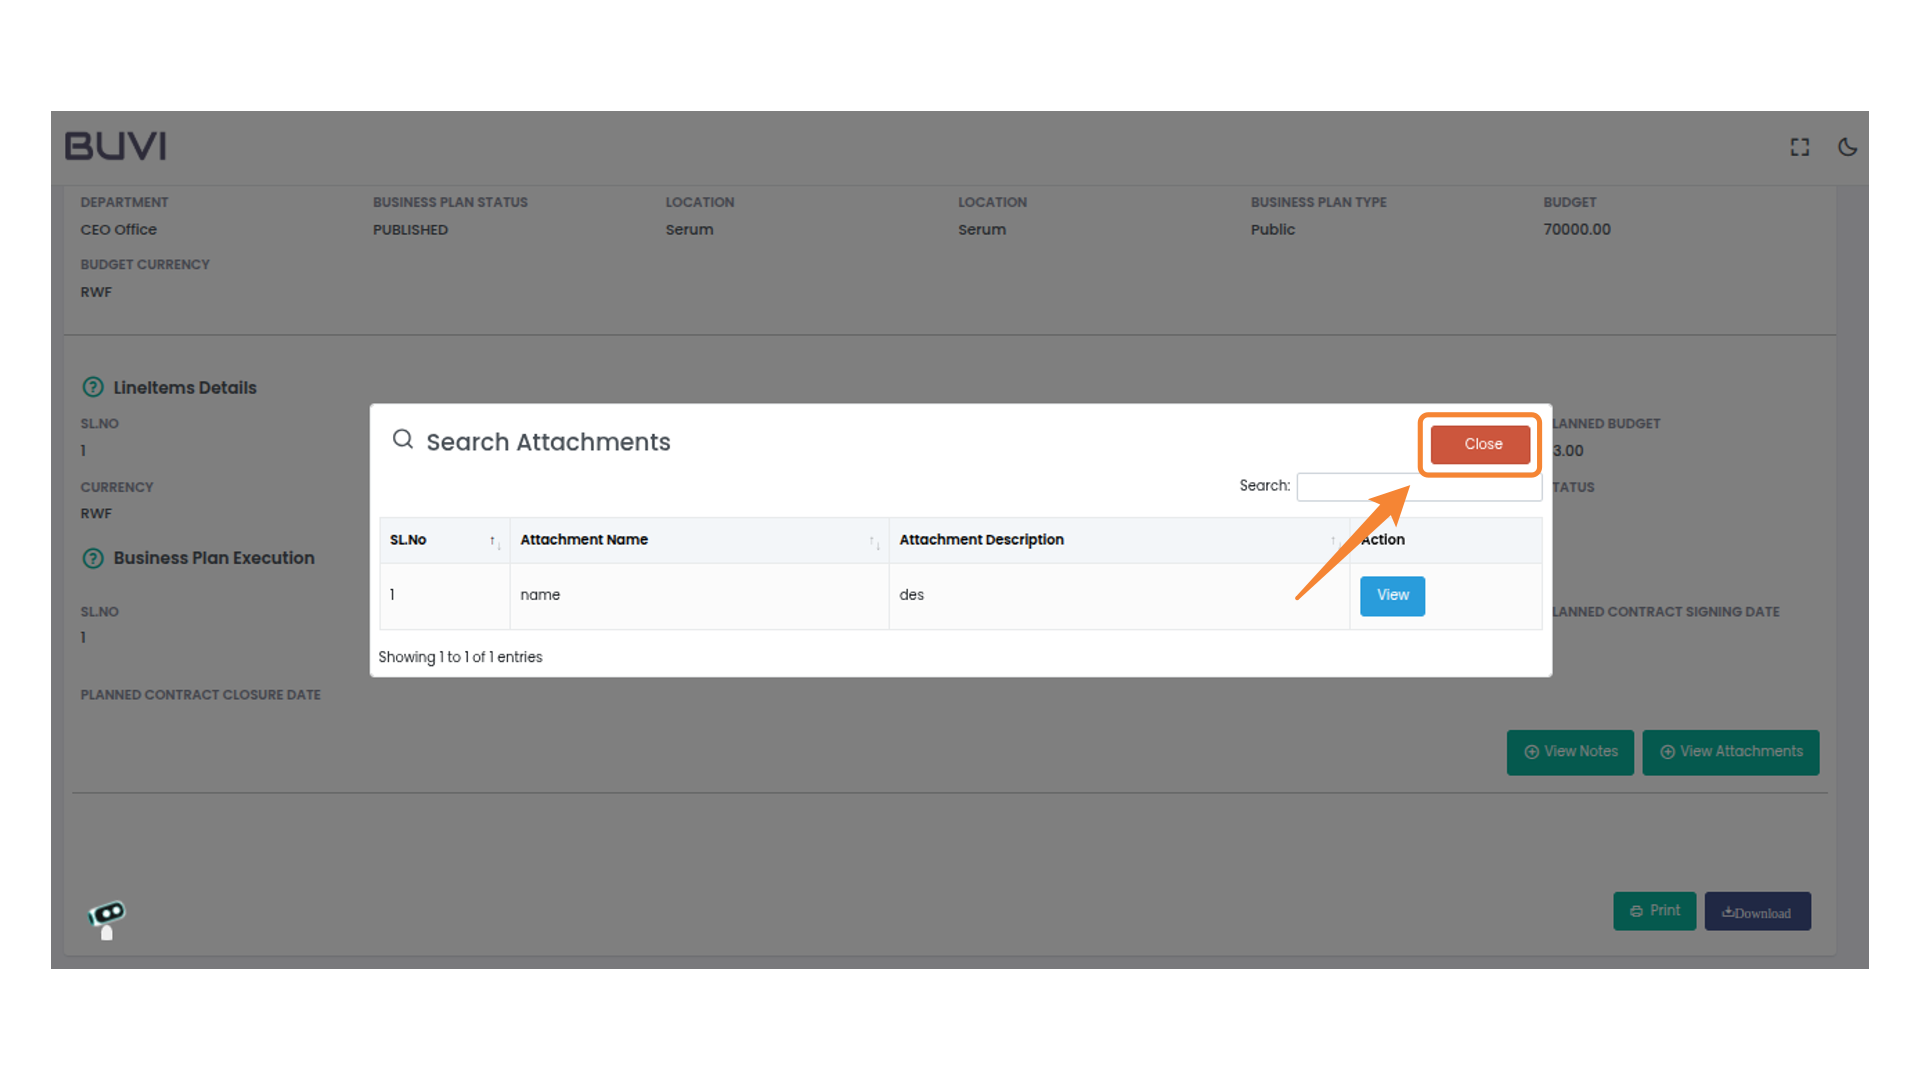
79. Close the Search Attachments Window
Click the 'Close' button to exit the search attachments window.
80. Close the Window
Click the 'Close' button to exit the current view.